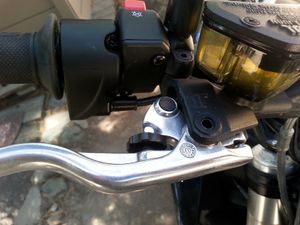
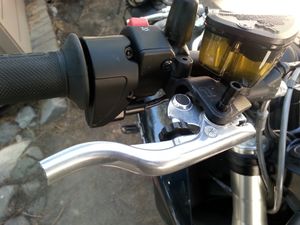
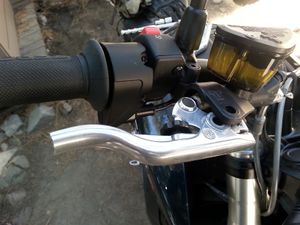
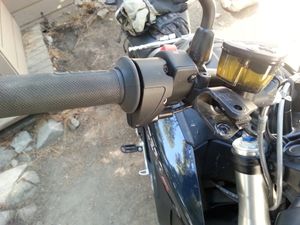
Front Brake Lever Replacement
This replaces the Brake Lever.
- Manual for a MY2016 DSR, applies to 2014+ models with JJuan front brake systems.
- Parts
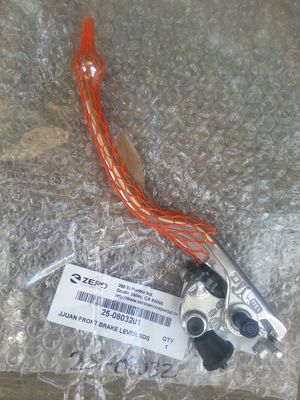
- JJUAN FRONT BRAKE LEVER SDS 25-0803201 $76 USD
- JJUAN FRONT BRAKE LEVER SDS 25-08032 (alternate) $76 USD
- Tools
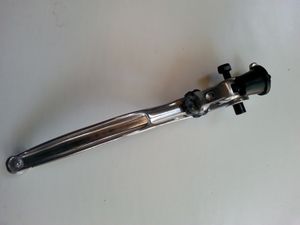
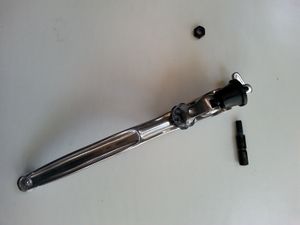
- 5mm Allen key (above)
- 10mm hex socket (below)
- Removal
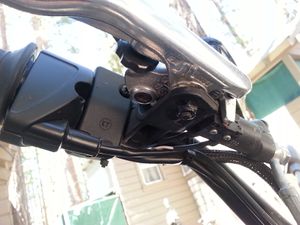
- Remove bottom 10mm lock nut.
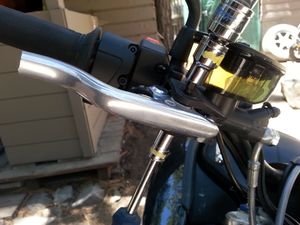
- Loosen top 5mm hex bolt.
- Remove top 5mm hex bolt.
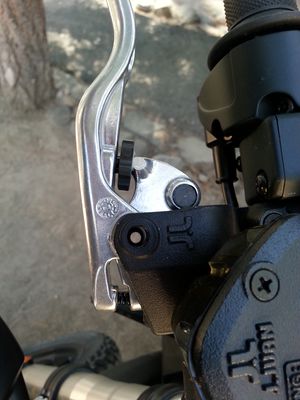
- Slide out brake lever assembly.
- Inspect brake lever mount for damage
- Replacement
- Remove bottom 10mm lock nut from 5mm hex bolt and set both pieces aside.
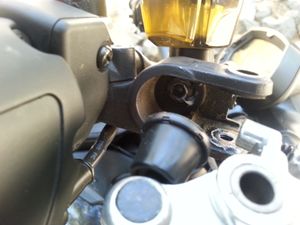
- Slide in brake lever assembly, taking care to align the rubber boot / plunger (what's the technical term?) and the bolt hole.
- Insert 5mm hex bolt from top to bottom and hand-tighten with 5mm hex bit on top until snug.
- Do not over-torque.
- Hold the 5mm hex bit in place for the next step.
- Fasten threads with 10mm lock nut and hand-tighten until snug.
- Do not over-torque.
- Adjust a set screw on the inside of the lever, if necessary.
- Left-over parts
- The old brake lever assembly.
- Parts
- 2012 XU FRONT BRAKE LEVER (I found one on ebay)
- Tools
- 10mm hex socket
- Removal
- Remove bottom 10mm lock nut.
- Loosen top 10mm hex bolt.
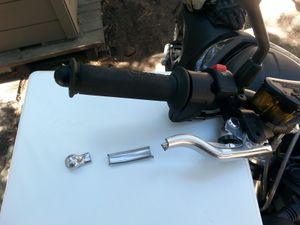
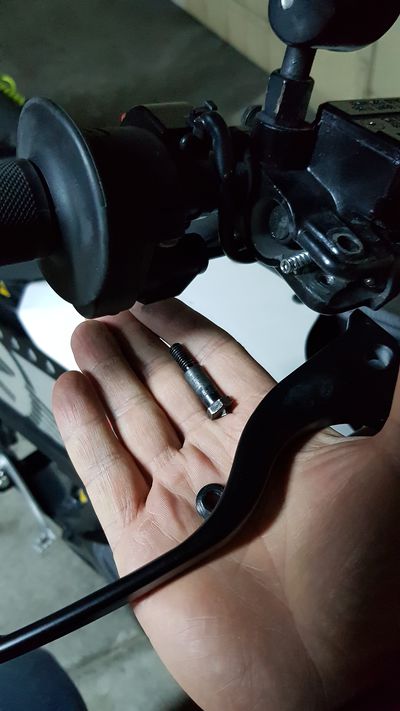
- Remove the broken lever, paying attention no to lose a small steel spring between the lever and the handle (see picture above).
- Replacement
- Slide in brake lever assembly, taking care to align the rubber boot / plunger and the bolt hole.
- Insert 10mm hex bolt from top to bottom and hand-tighten with 10mm hex bit on top until snug.
- Do not over-torque. Test.
- Left-over parts
- The old brake lever assembly.
- Newer brake lever model
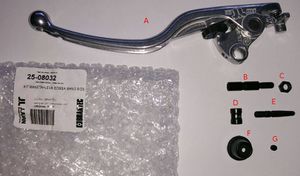
- Newer replacement parts seem to contain an extra screw (G) used to fit the length of the piston (E) into the cylinder.
- With this replacement part, assemble by:
- Put part D into the lower hole of the lever (A).
- Screw the piston (E) into the visible hole of part D.
- Put the rubber boot (F) onto the piston (E), so that it looks like in the assembled version shown before.
- Screw the small screw (G) from the side into part D to fix the piston (E).
- Keep it loose, though, so that you can still screw out or in the piston (E).
- Slide the lever into the bracket as shown before.
- Insert the hex bolt, but do not tighten it.
- Check the function of the brake, especially any slack it shows.
- In case you have slack, take out the hex bolt, slide the lever out again and adjust the length of the piston by slightly screwing it out.
- Reassemble into the bracket and recheck the function of the brake.
- If you are happy with it, then tighten the small screw (G) to fix the length of the piston.
