Givi Monokey Adapter Plate Install
From Unofficial Zero Manual
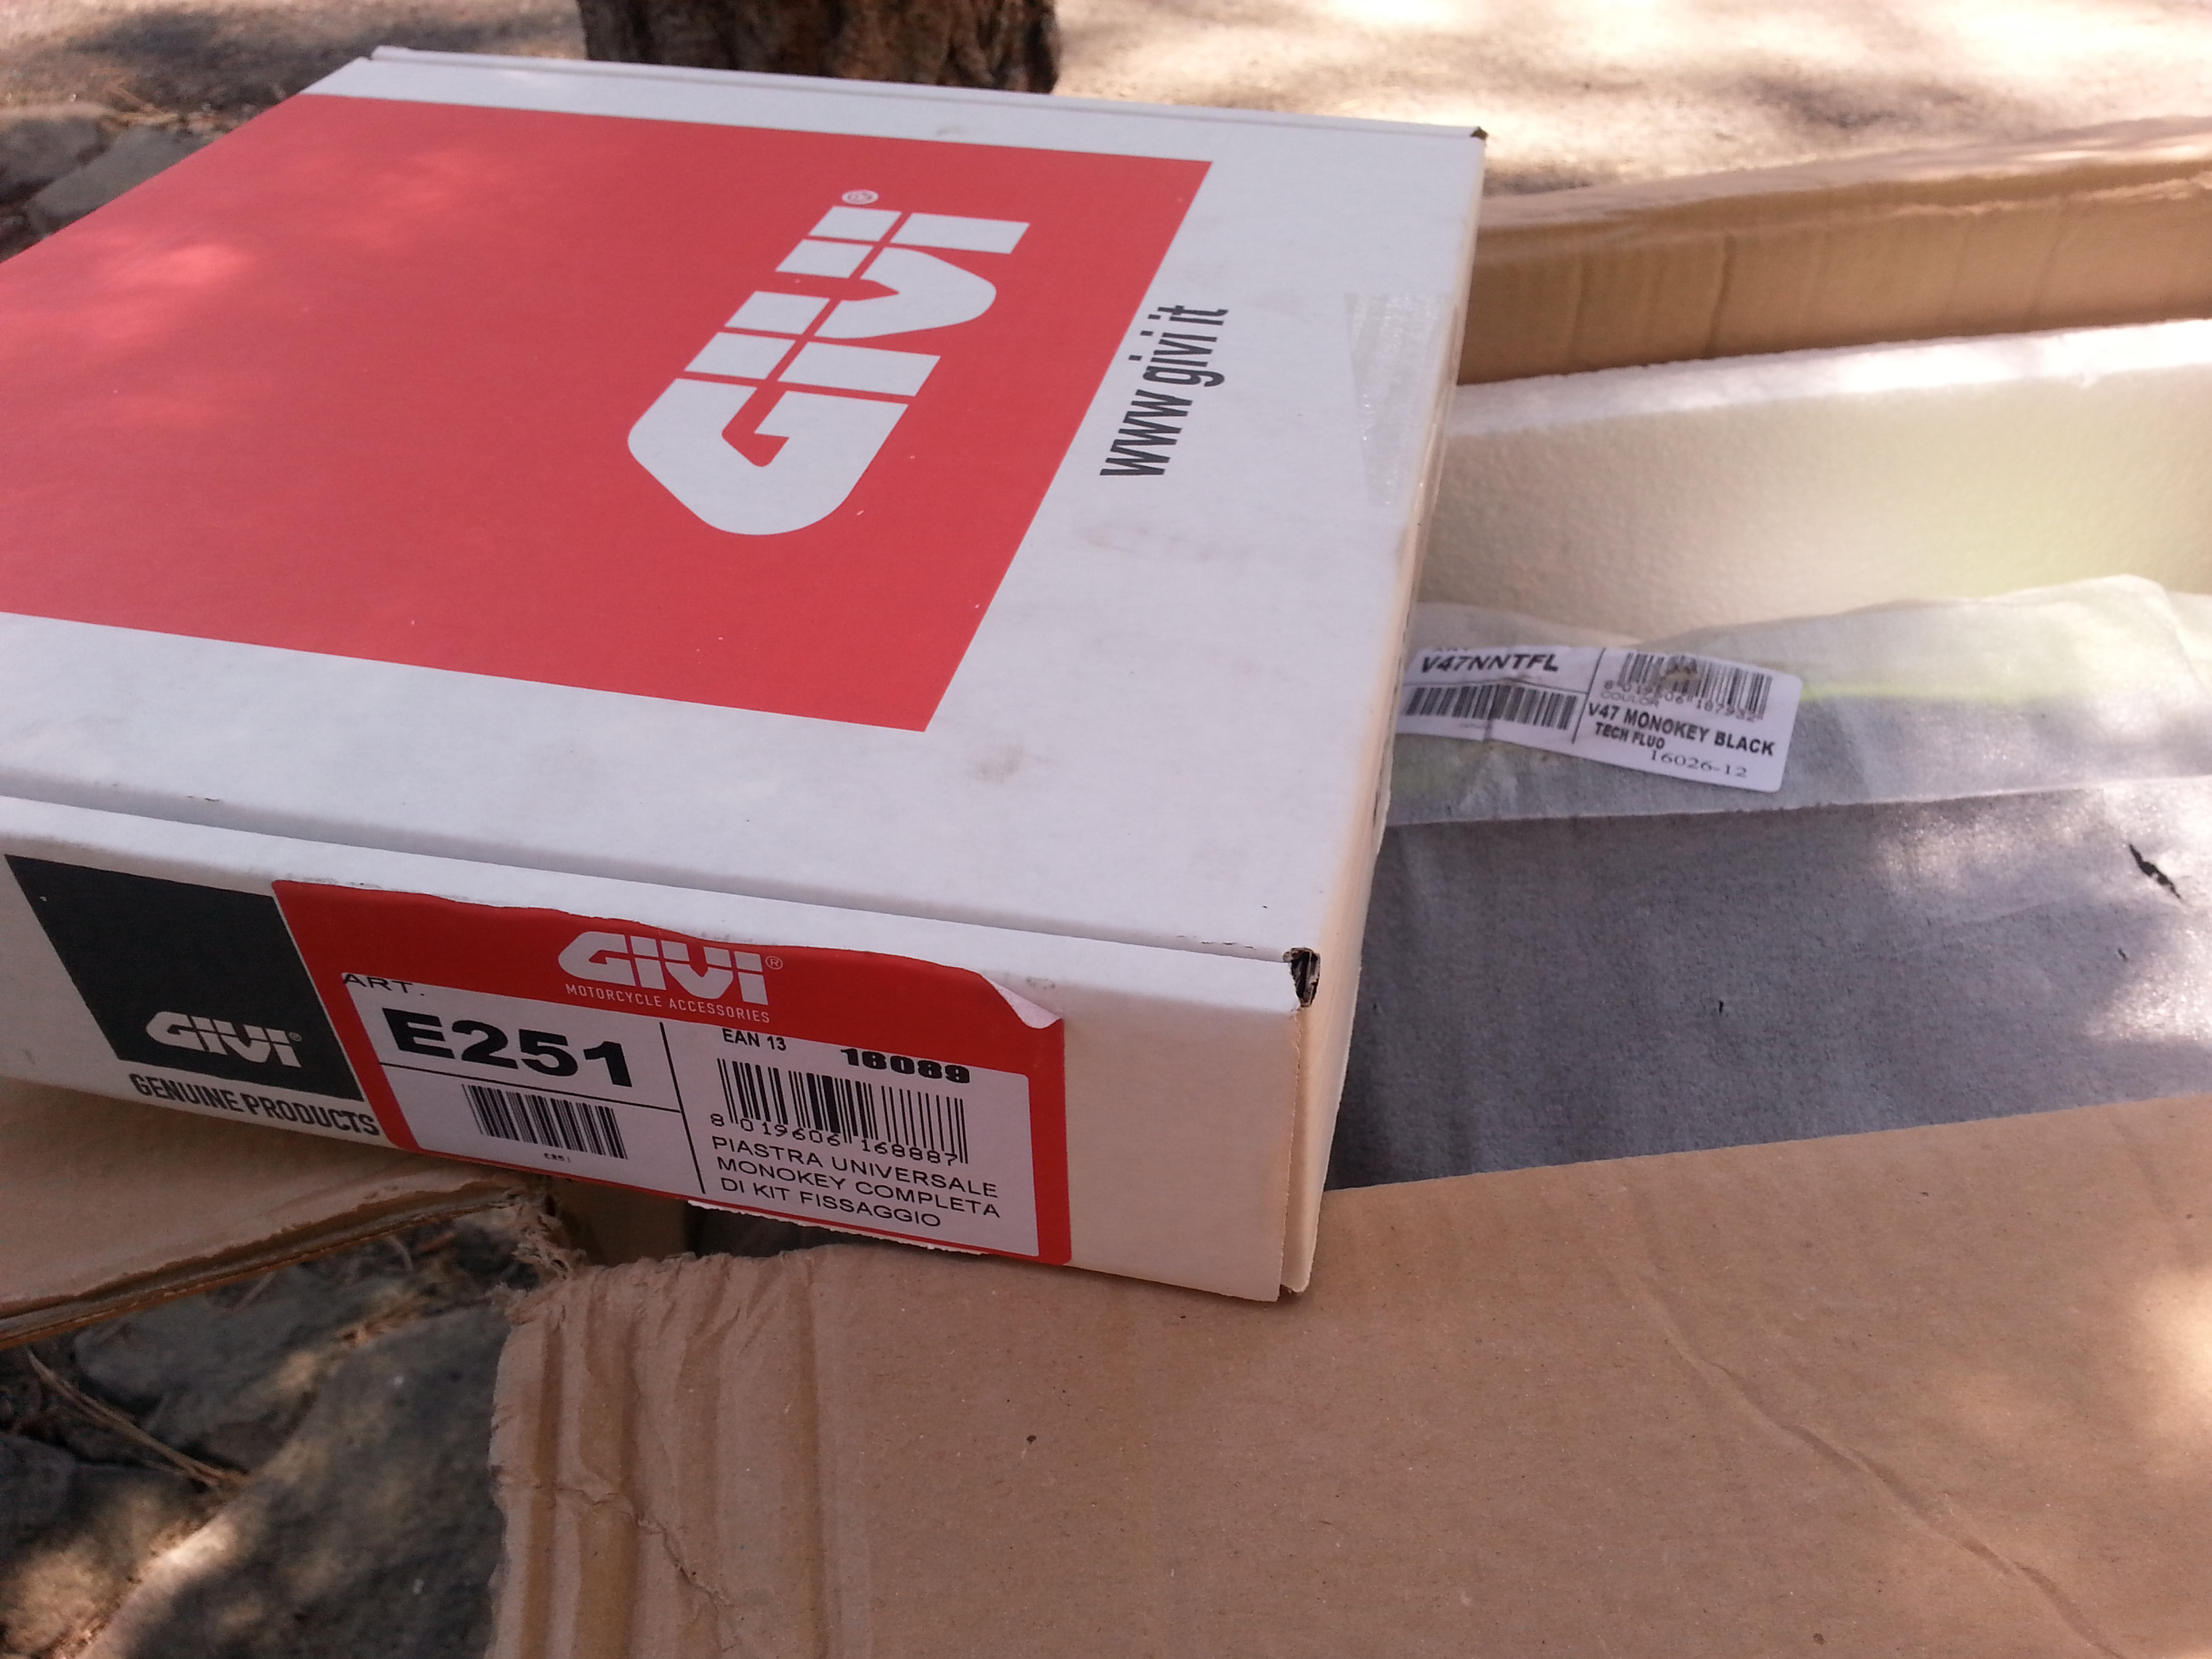
To install any Givi box, get the universal Monokey (part E251) top case adapter.
- Zero's top rack is set up for Monolock cases, which are fine but simpler and often smaller.
- Tools
- M5 hex key wrench
- 10mm hex socket wrench
- Both a deep and shallow socket are helpful for reaching under the rack near the tail and behind it.
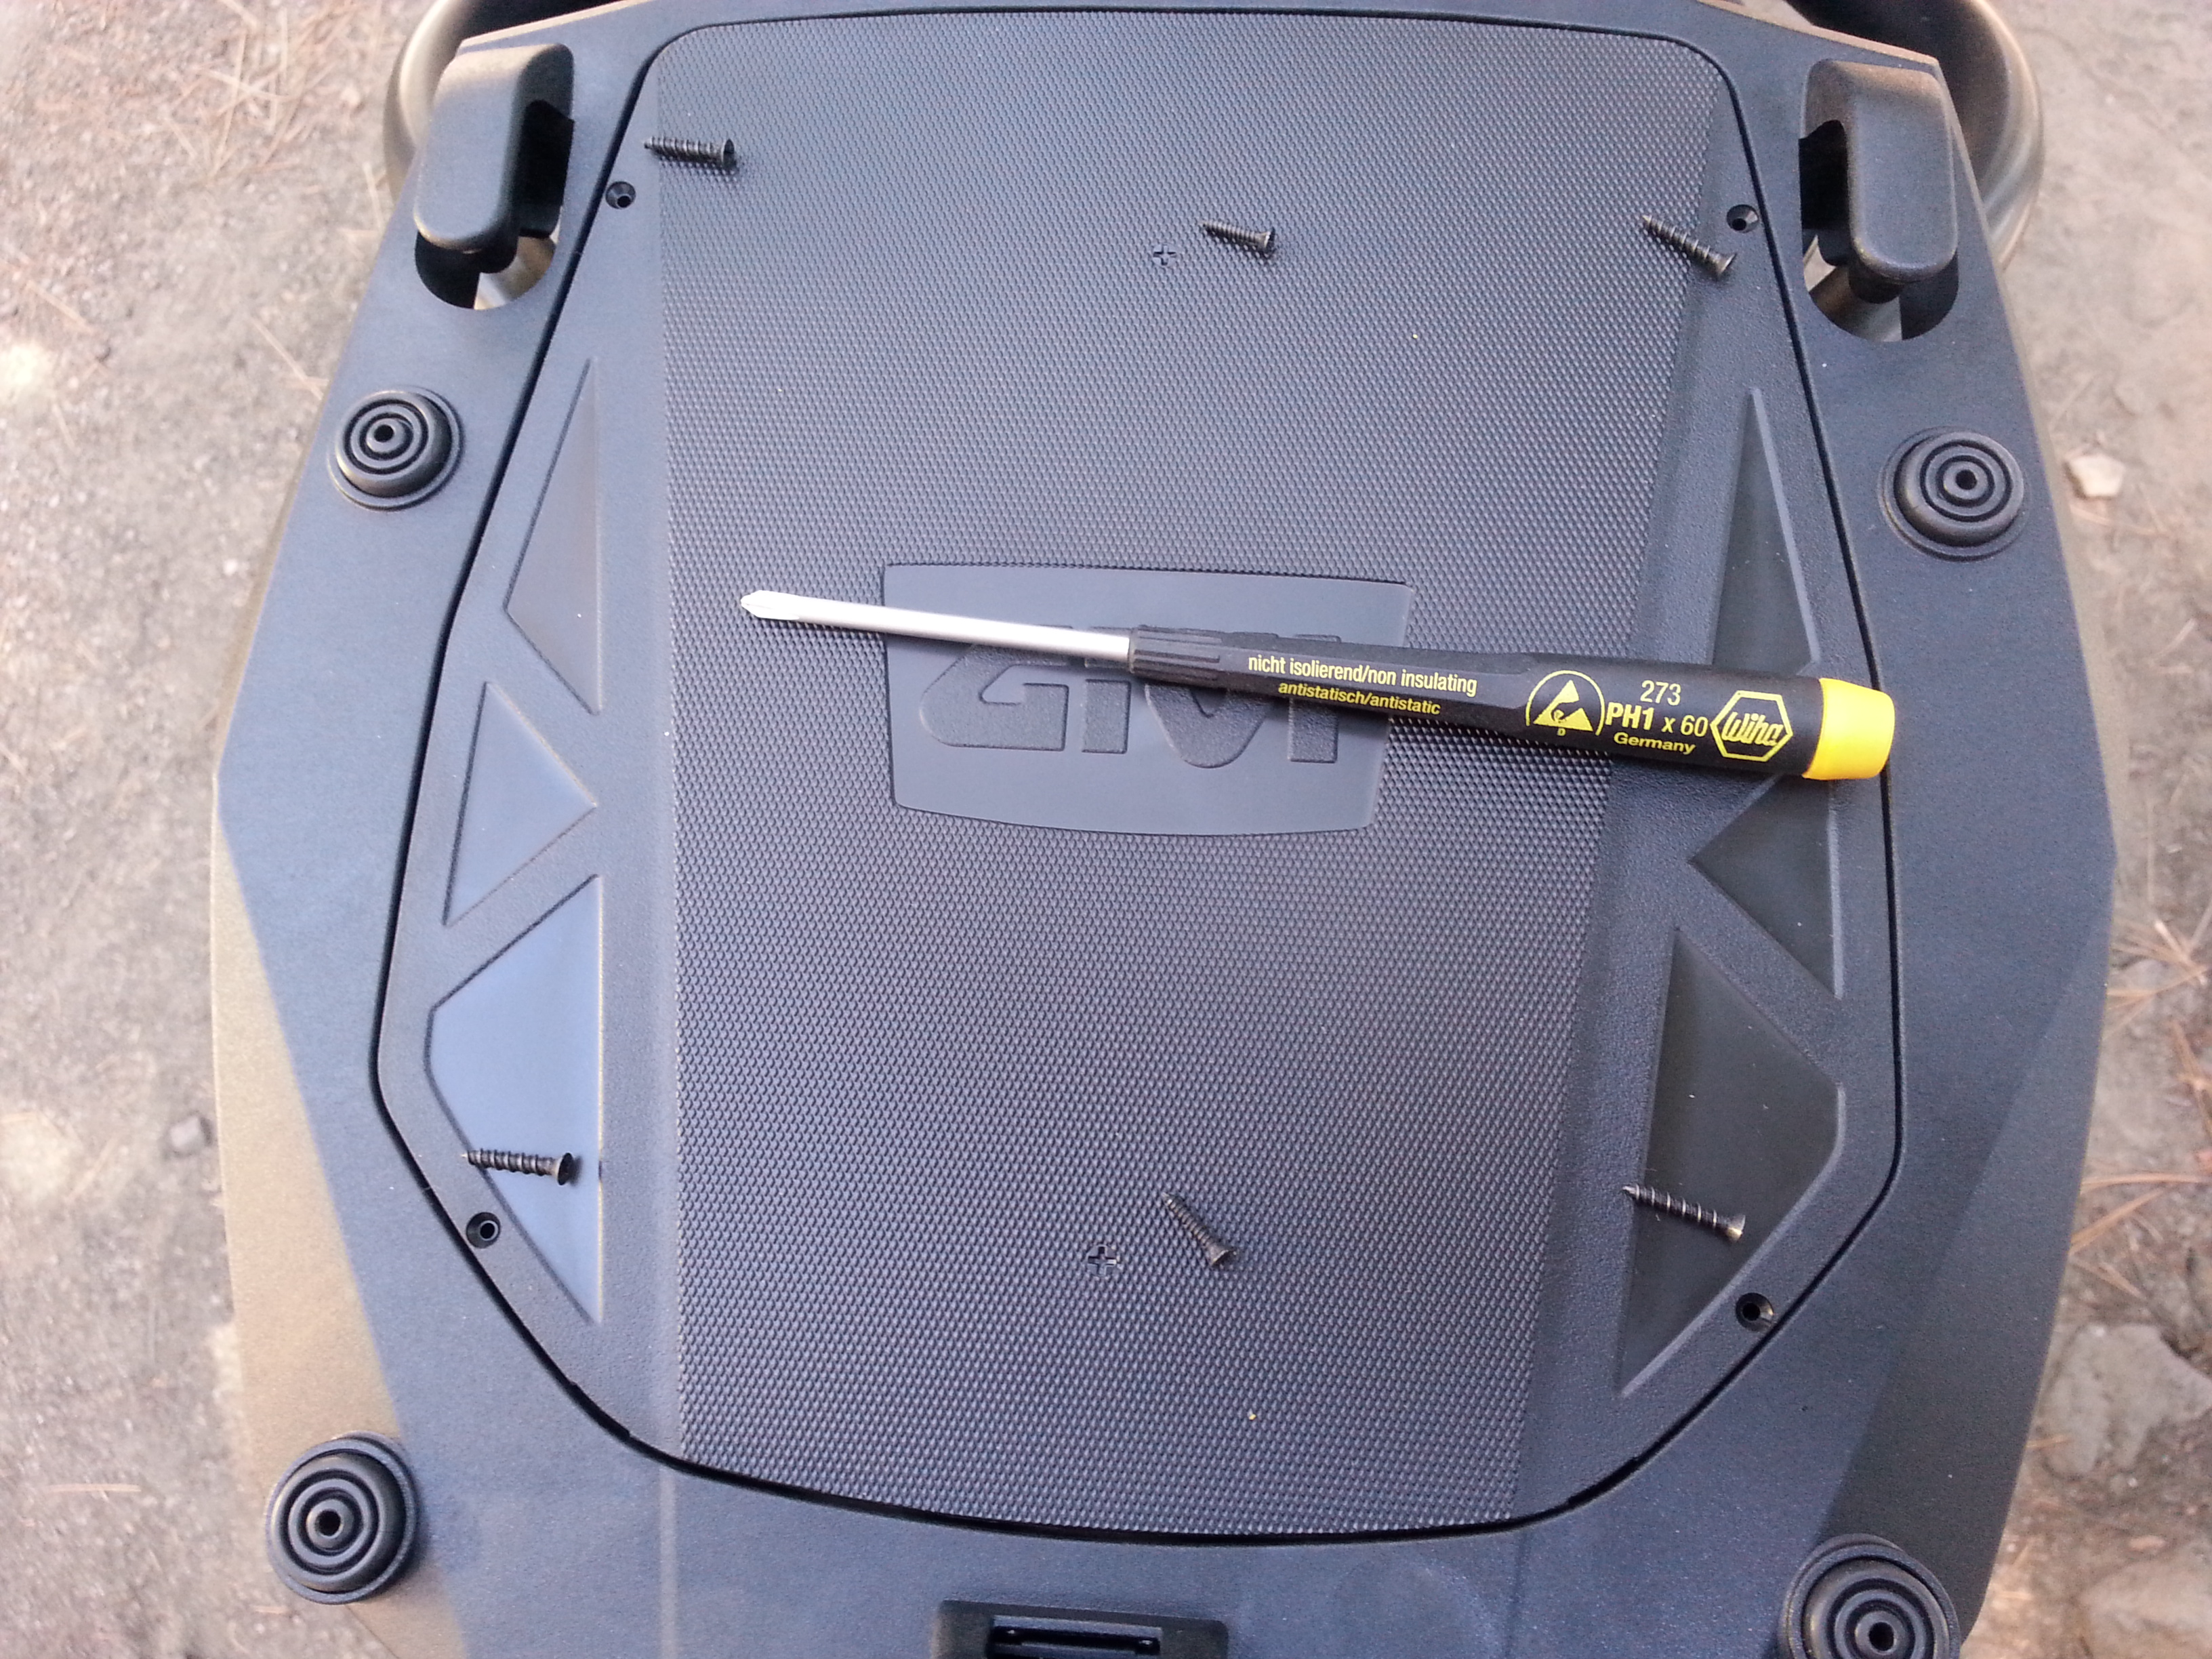
- Philips Head (PH1) screwdriver for fastening the cover.
- Blue Loctite threadlocker to keep the fasteners tight in all weather.
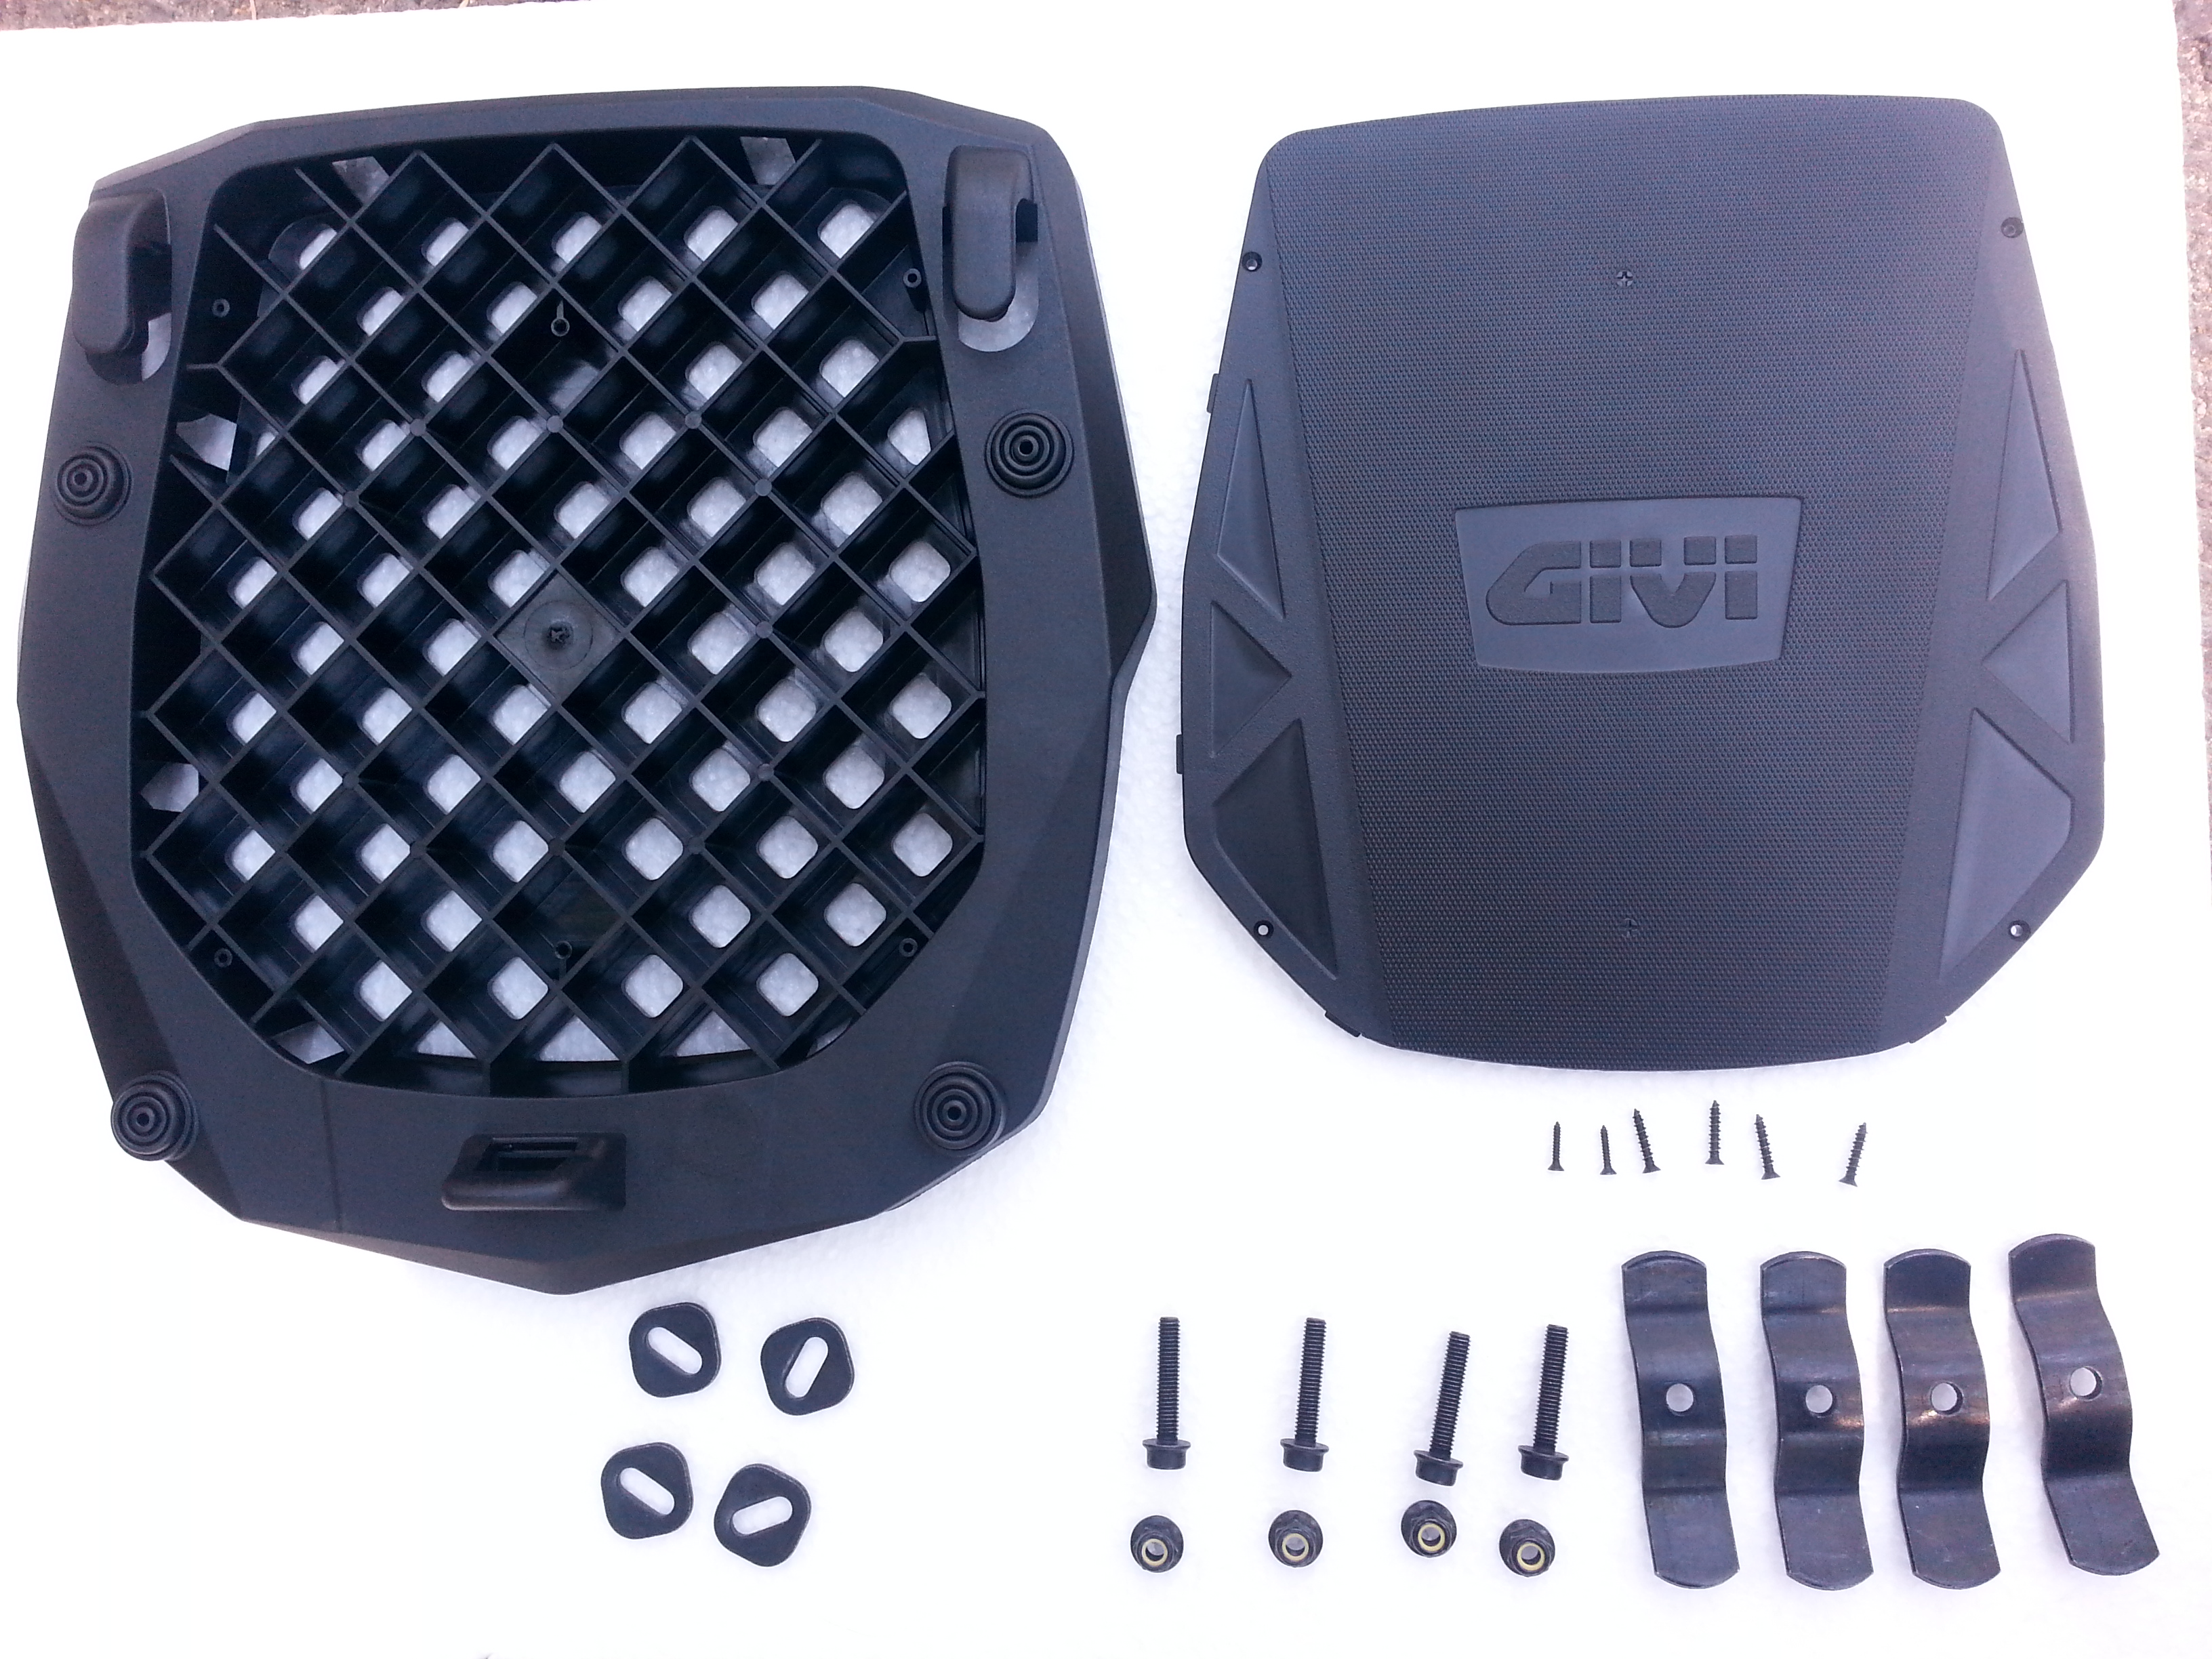
- 1 adapter plate
- 1 thin cover for the adapter plate
- 4 5mm Allen head socket bolts.
- 4 10mm hex nylon locknuts.
- 4 square slotted washers.
- 4 universal clamp brackets.
- The clamps are not needed for the Zero OEM top rack, just the square washers.
- 6 Philips head (PH1) screws for the cover
- 2 of these are smaller and only fasten the center of the cover
- Steps
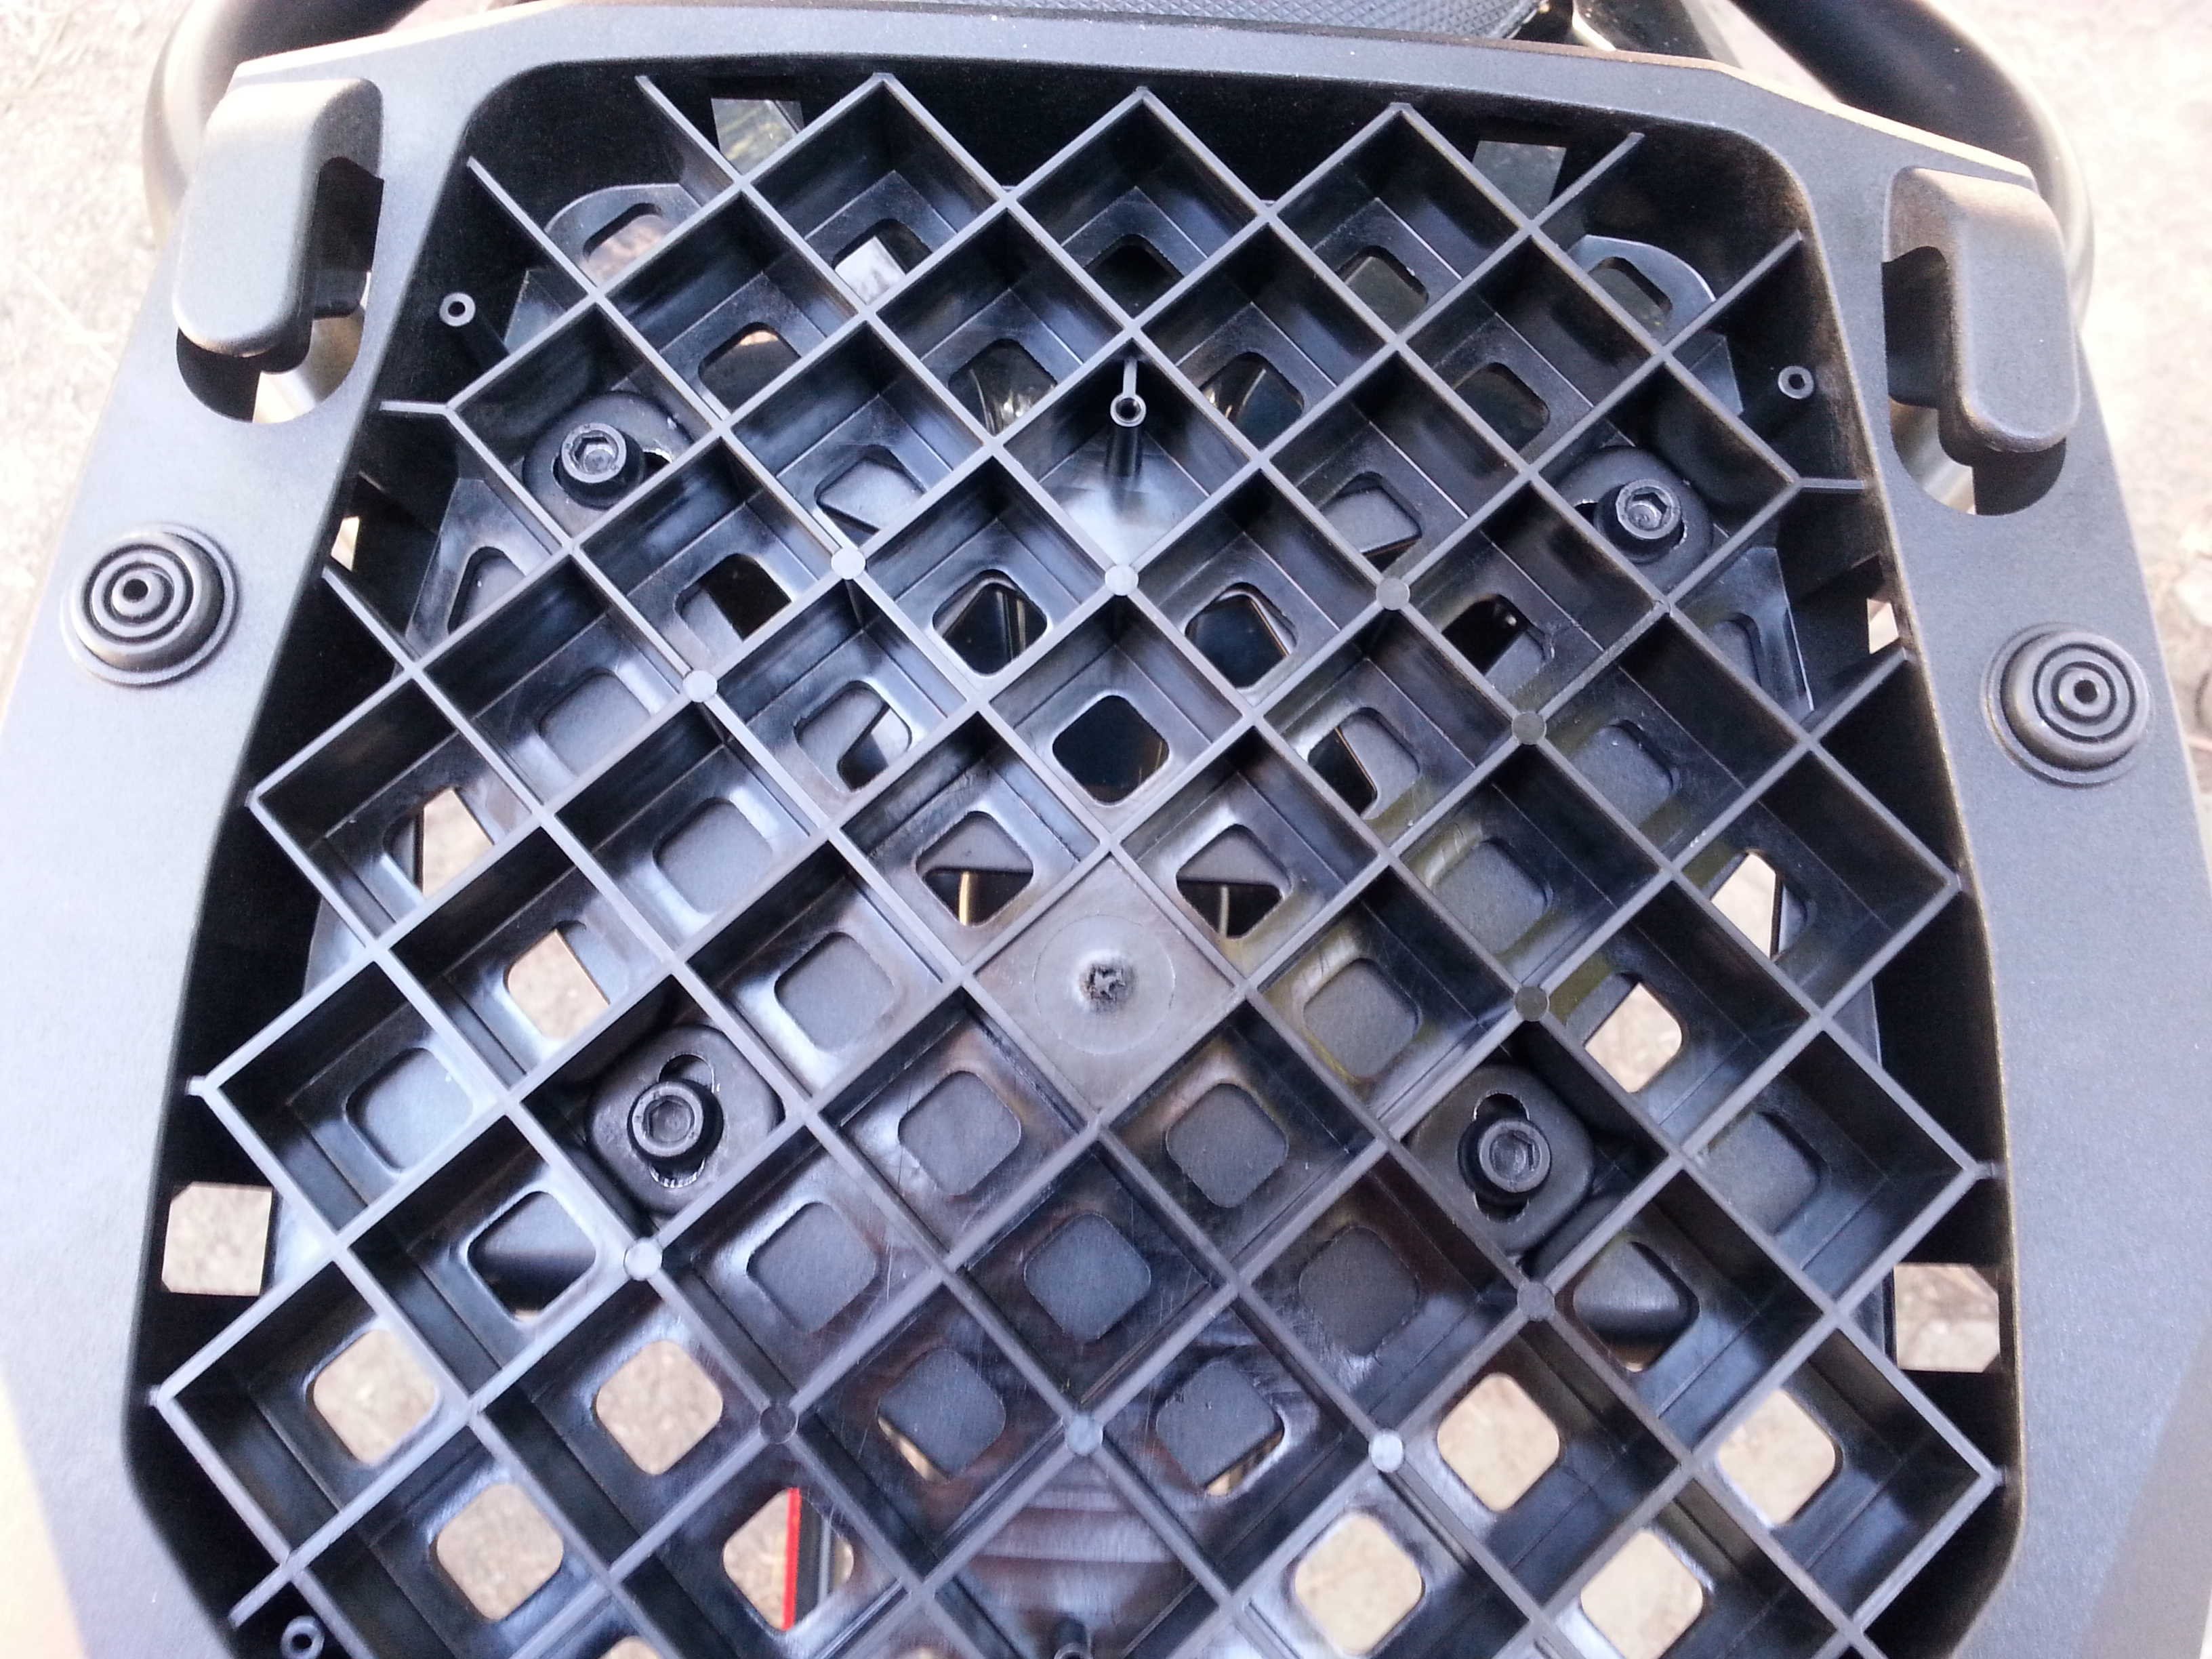
- Place the square washers as indicated to match the Zero top rack plate holes.
-
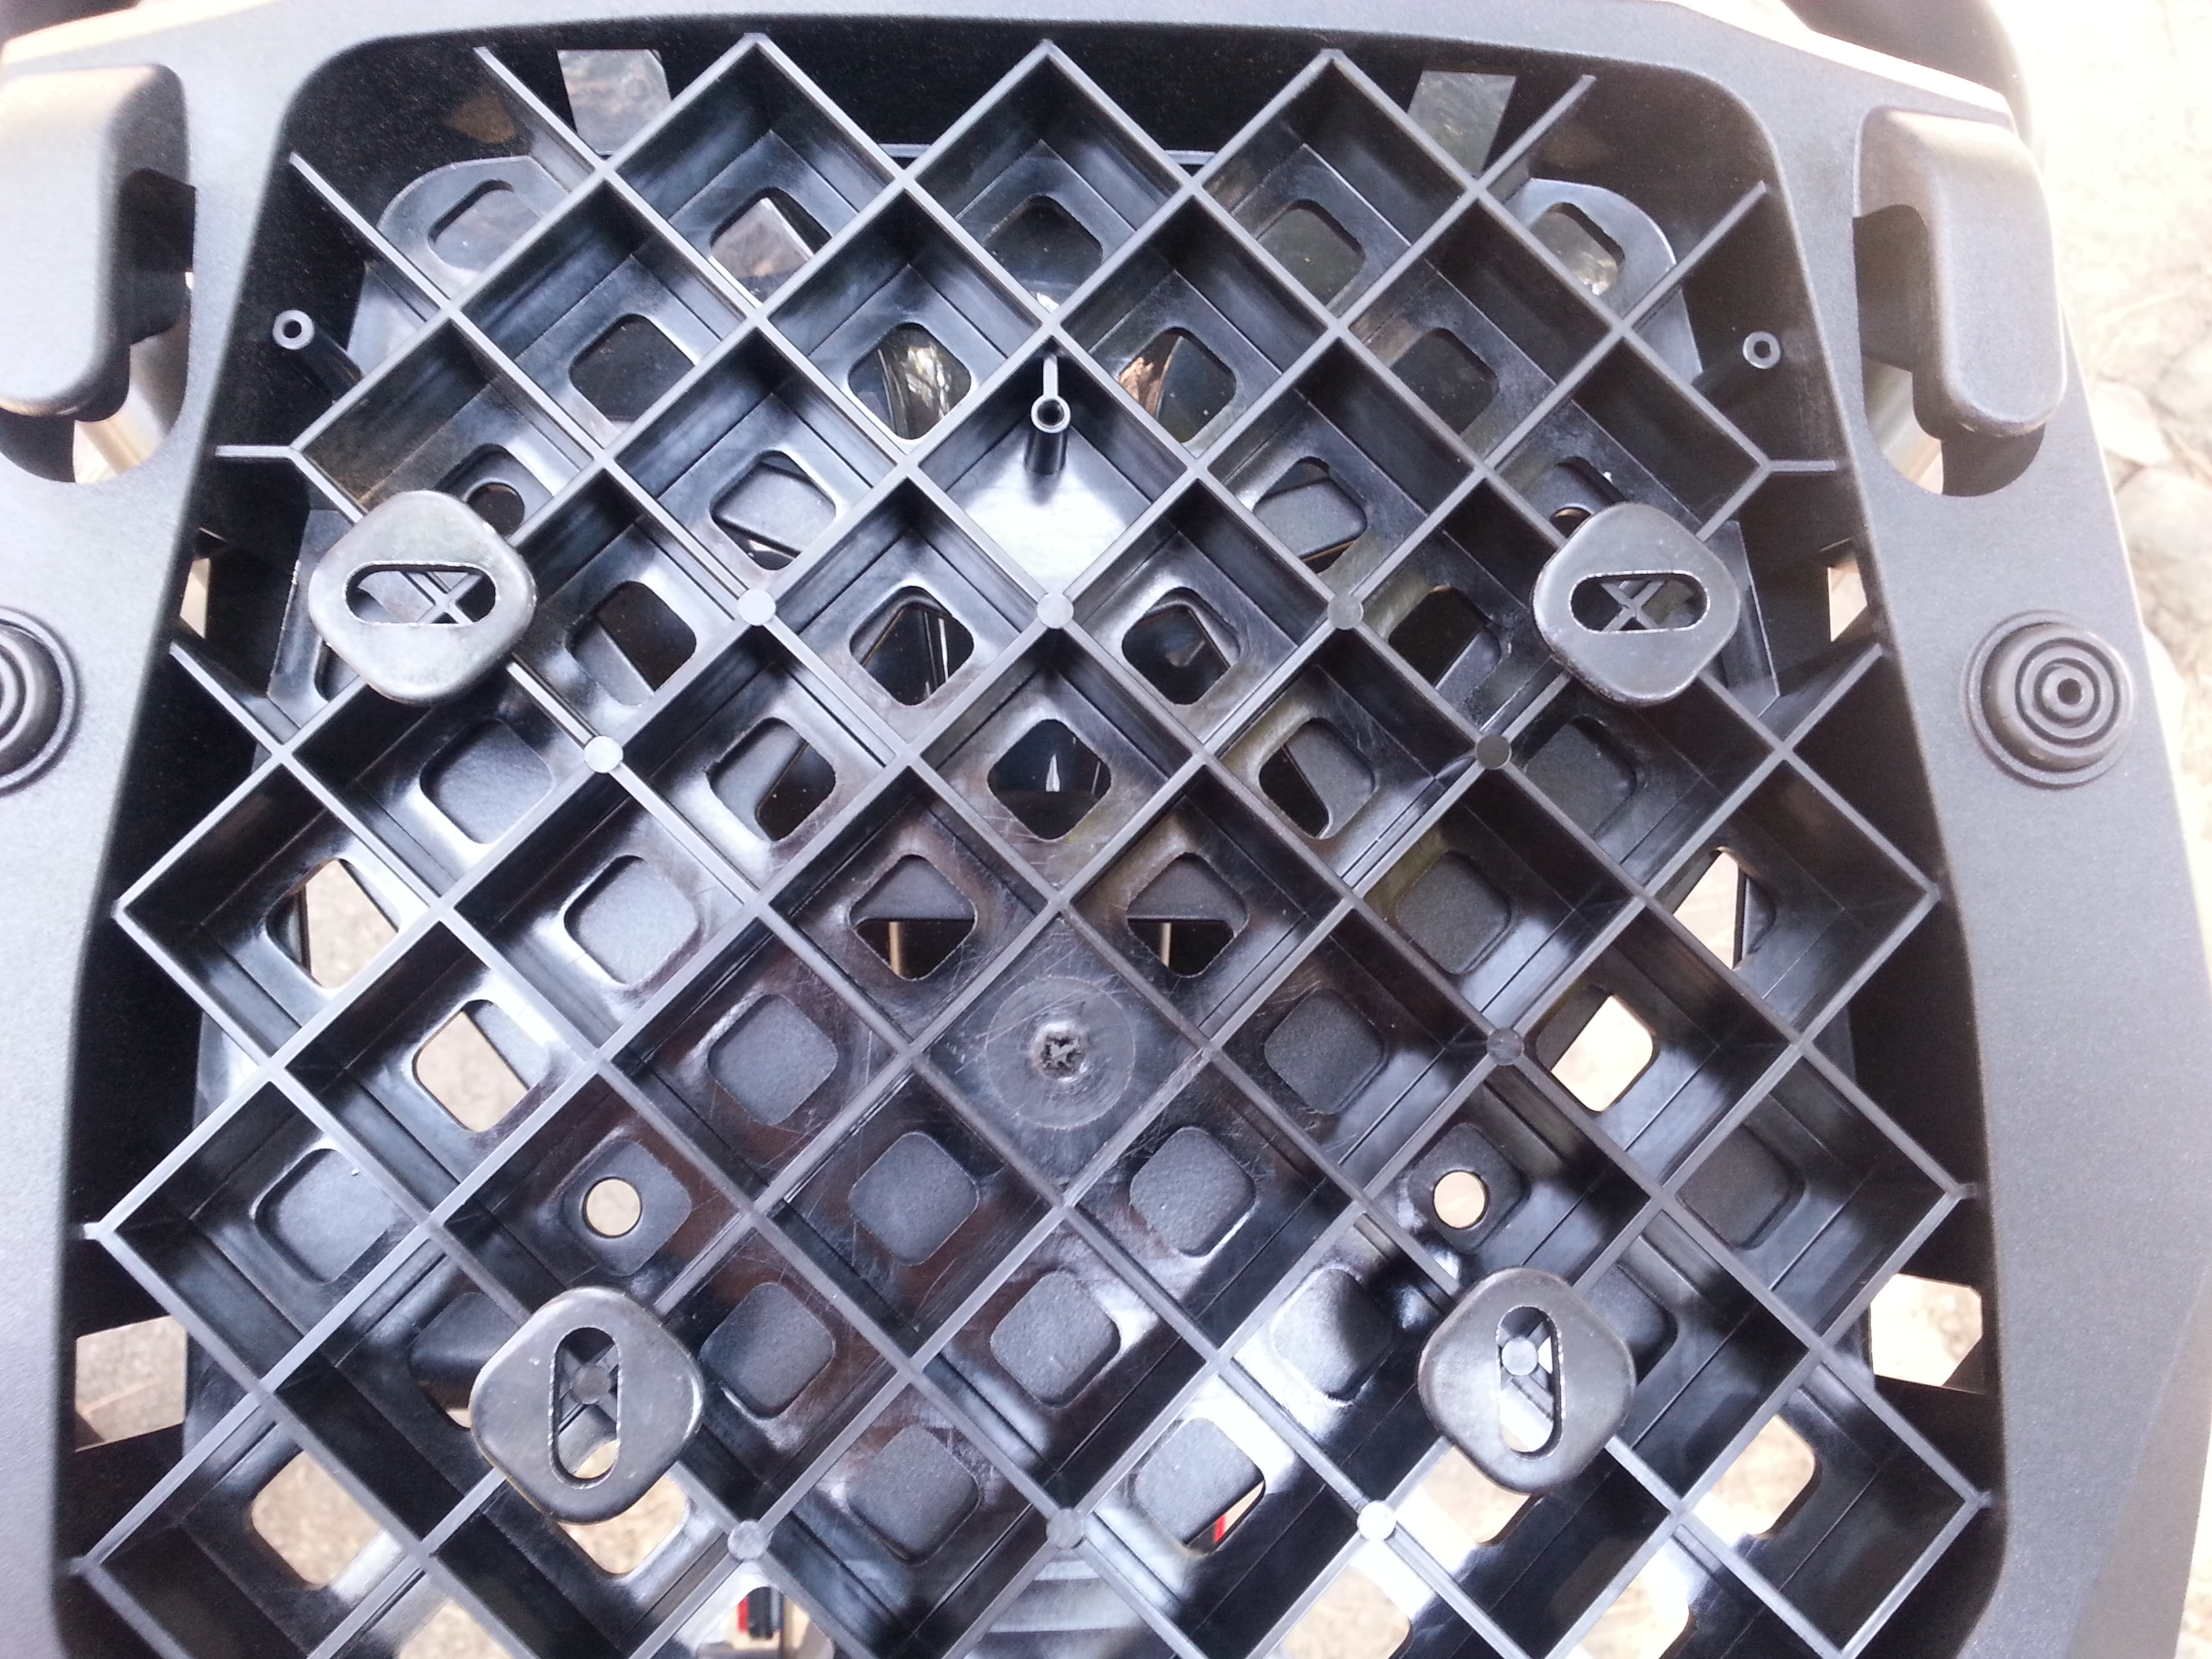
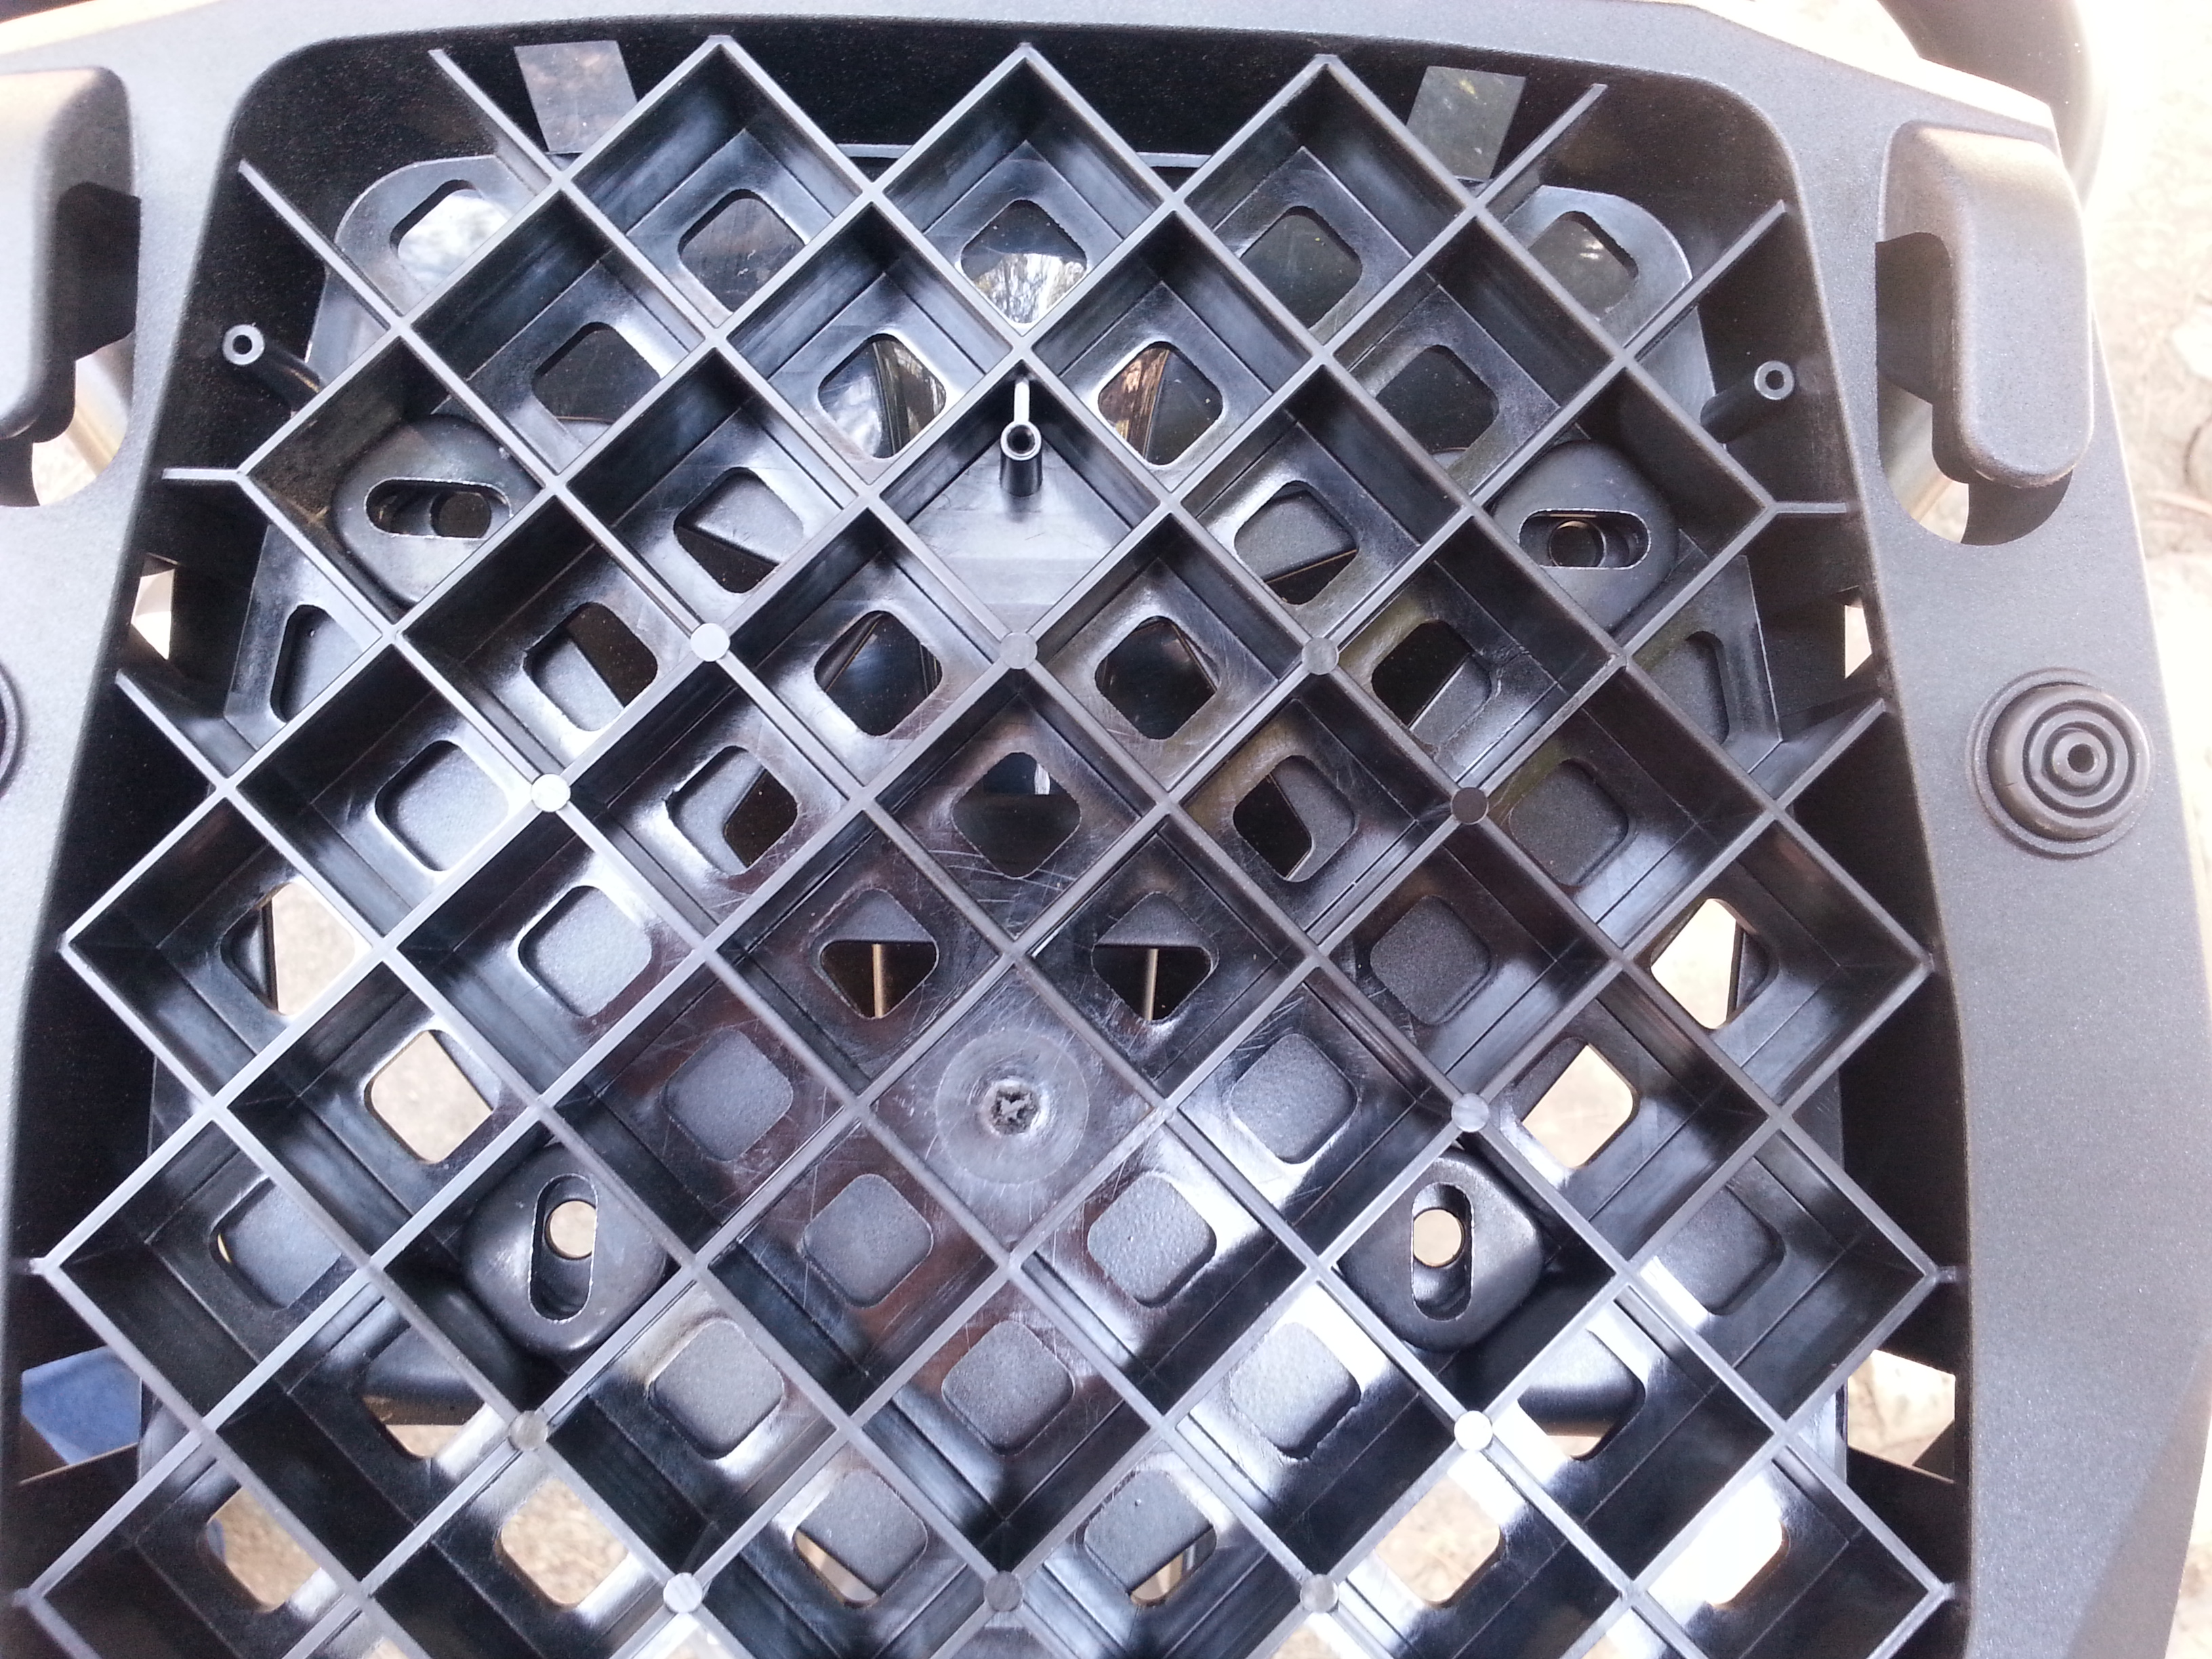
- The square washers can be placed one slot forward or back to position the adapter on the plate.
- A forward position can impede a passenger but provides an easier load on the rack in case that is a priority.
- Rotate two of the square washers so that the slots alternate direction.
- This firmly secures the adapter in the lateral and forward-to-back directions.
-
- Install the bolts through the washer slots into the top plate.
- Fasten the cover plate with the four corner PH1 screws.
- Fasten the central two much smaller PH1 screws.
- The smaller screws seem to be free spinning and the threads do not engage when installed.
- A work-around is to stuff some plastic bag material or other filler into the plastic column underneath in the mounting plate where each fastener should attach to.
- This seems like an oversight by Givi and it is not mentioned anywhere in the instruction sheet.
