OEM Handguards
From Unofficial Zero Manual
- Details
- Zero provides versions of Cycra handguards customized to fit around the Zero brake lever geometry.
- The brake lever customization is why the part numbers vary from 2013-2014 models and 2015+ models - the front brake system and reservoir differ.
- Fitment for DS/DSR/FX/FXR are identical. S/SR fitment is likely.
- Cycra equivalent parts:
- Cycra Black Anodized CRM Bar Set with Plastic Bumpers (requires bending for right side)
- Cycra Black Anodized Handguard CRM Clamp Set Oversize 1-1/8 Bars
- Cycra Bar Ends
- Cycra Black Handguard Shields (multiple colors available)
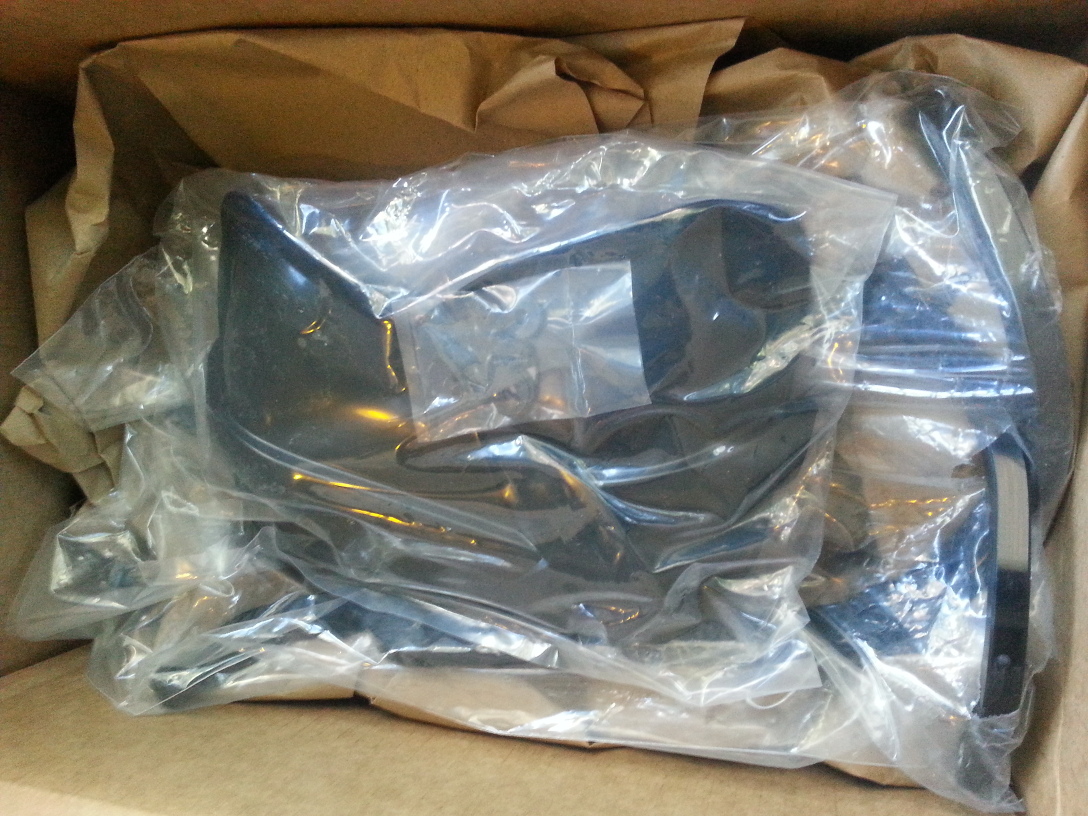
- Inventory
-


- Cap Screw Corrosion
- Both Cycra and Zero's customized handguard kits come with socket cap bolts that corrode too easily.
- Replace them with equivalent stainless socket cap screws for better weather resistance.
- Example replacements: M5X25 Socket Head Cap Screw FT Stainless Steel A2 DIN 912
- Installation
- MY2016 DSR used for photos.
- See also Zero FX Handguard Installation
- Tools
- PH2 bit, 6mm hex bit, 13mm socket, 4mm hex bit, channel locks pliers (optional).
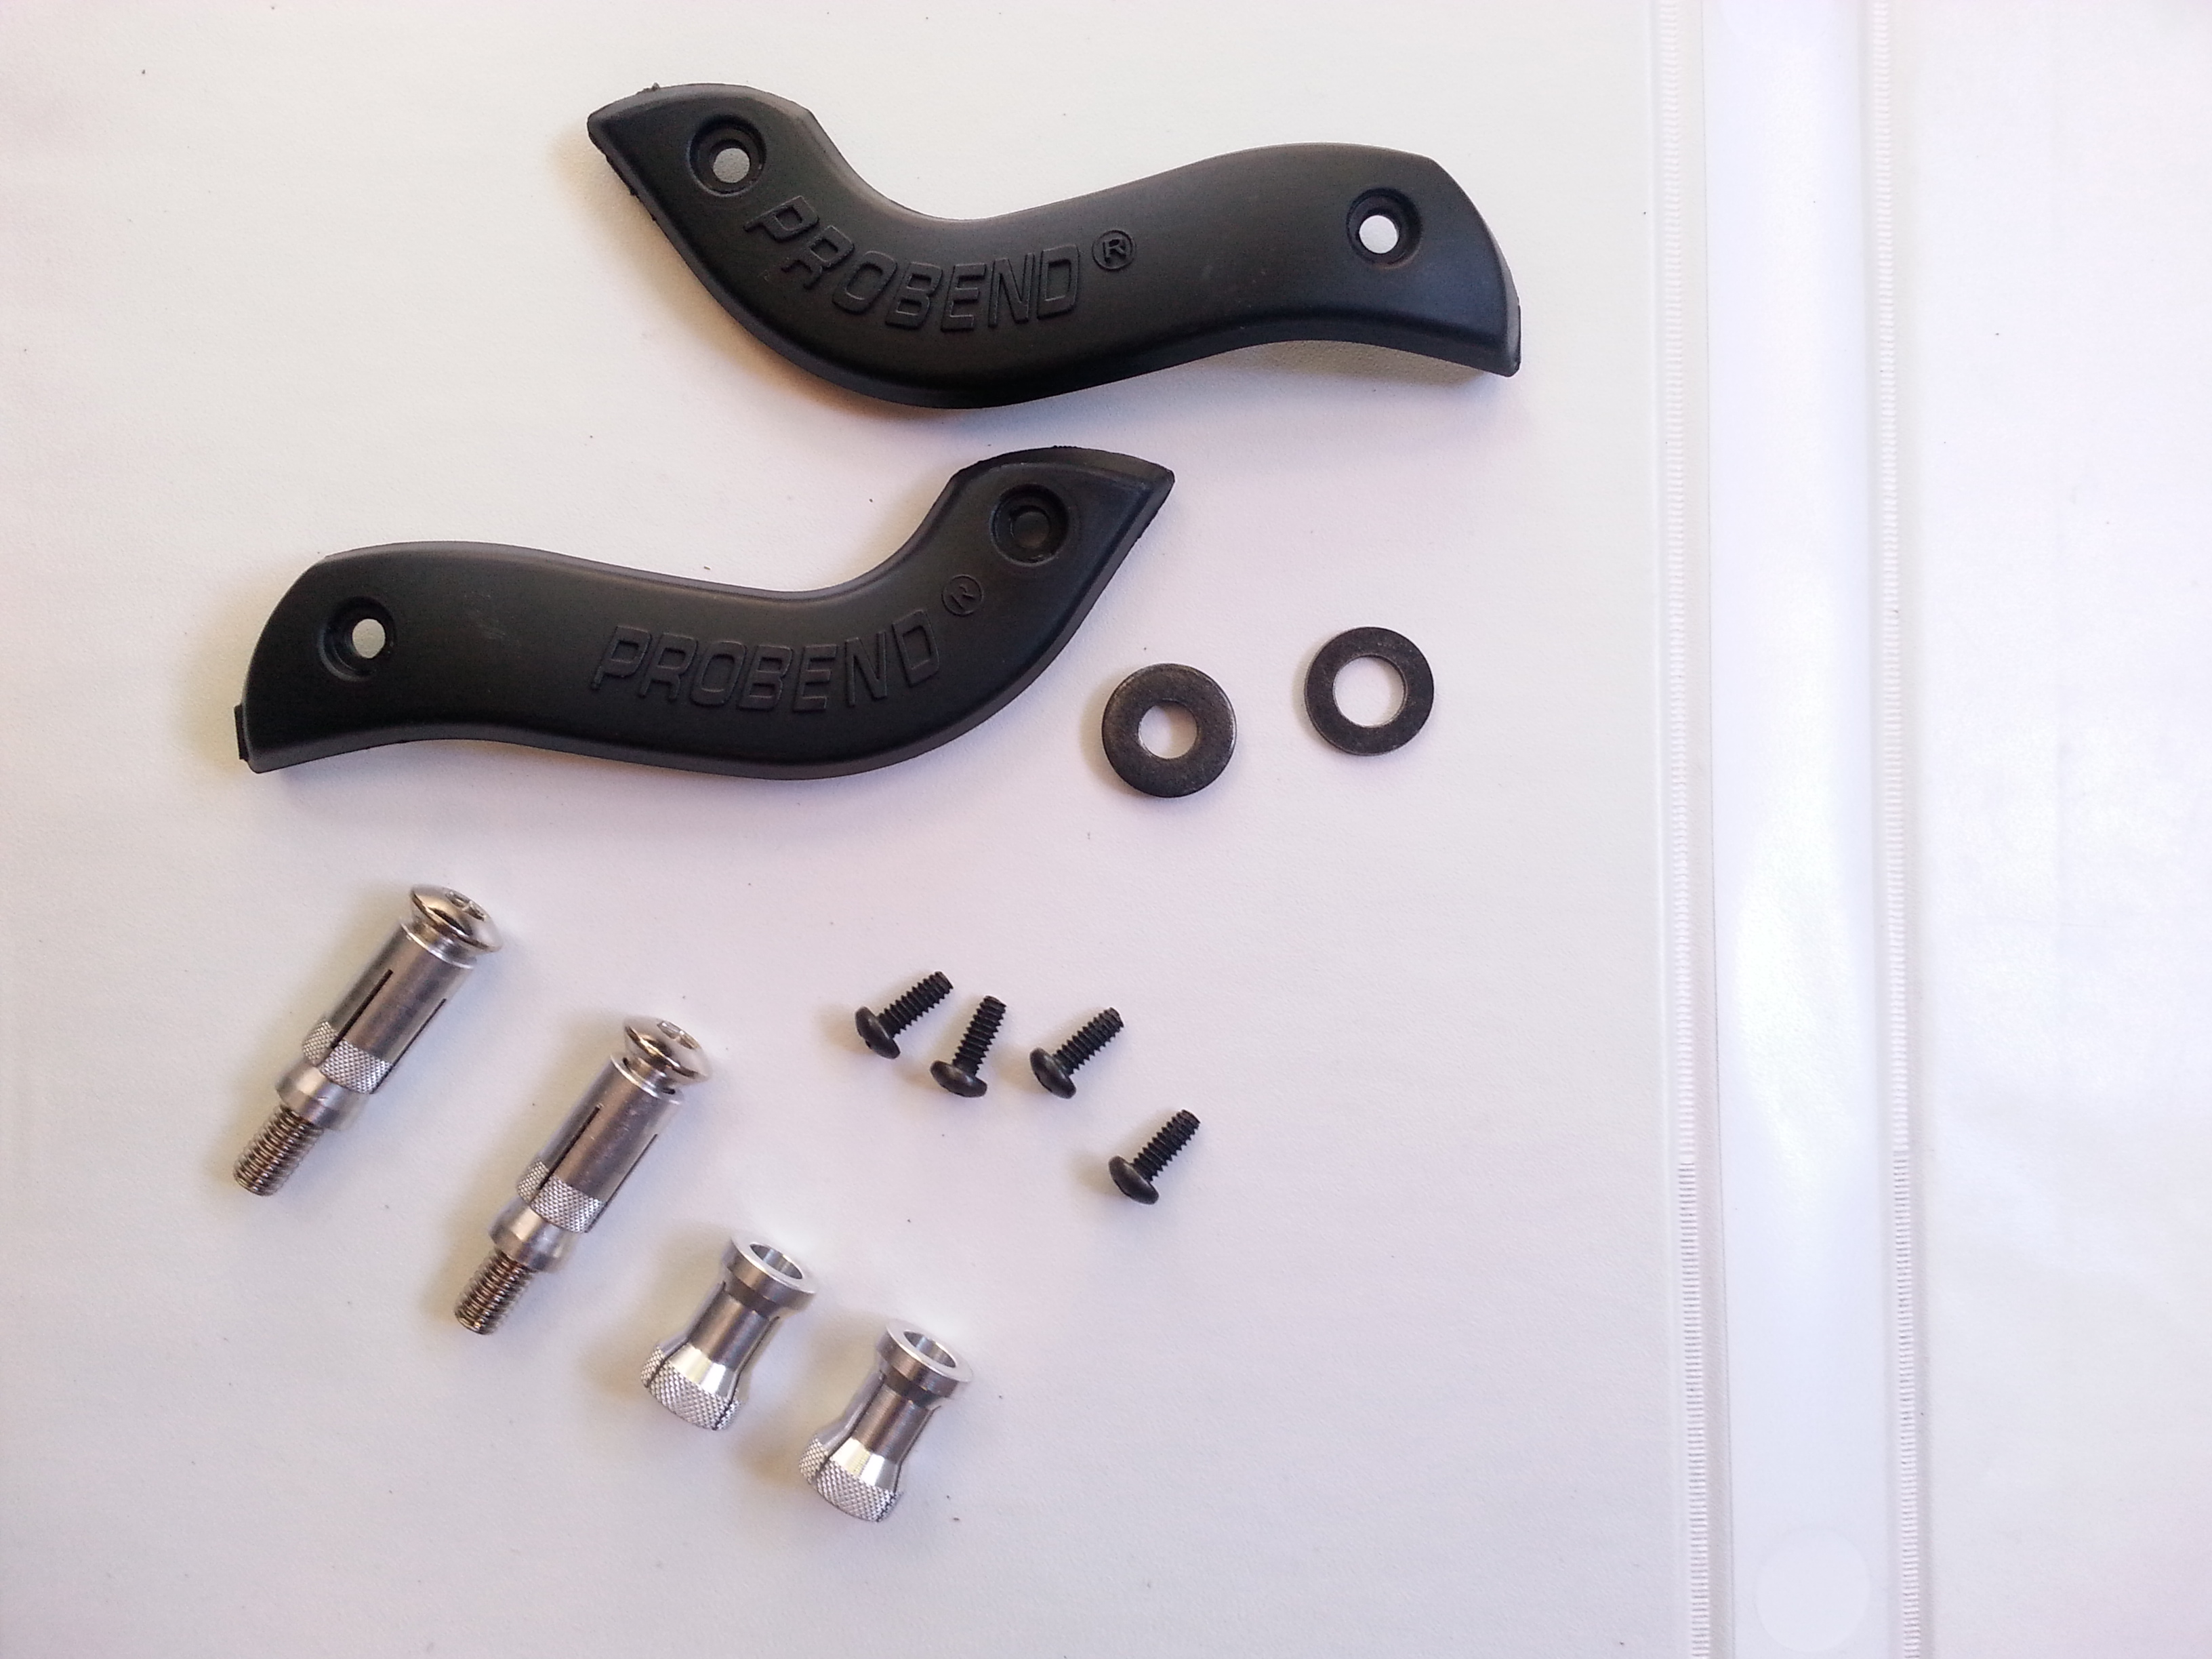
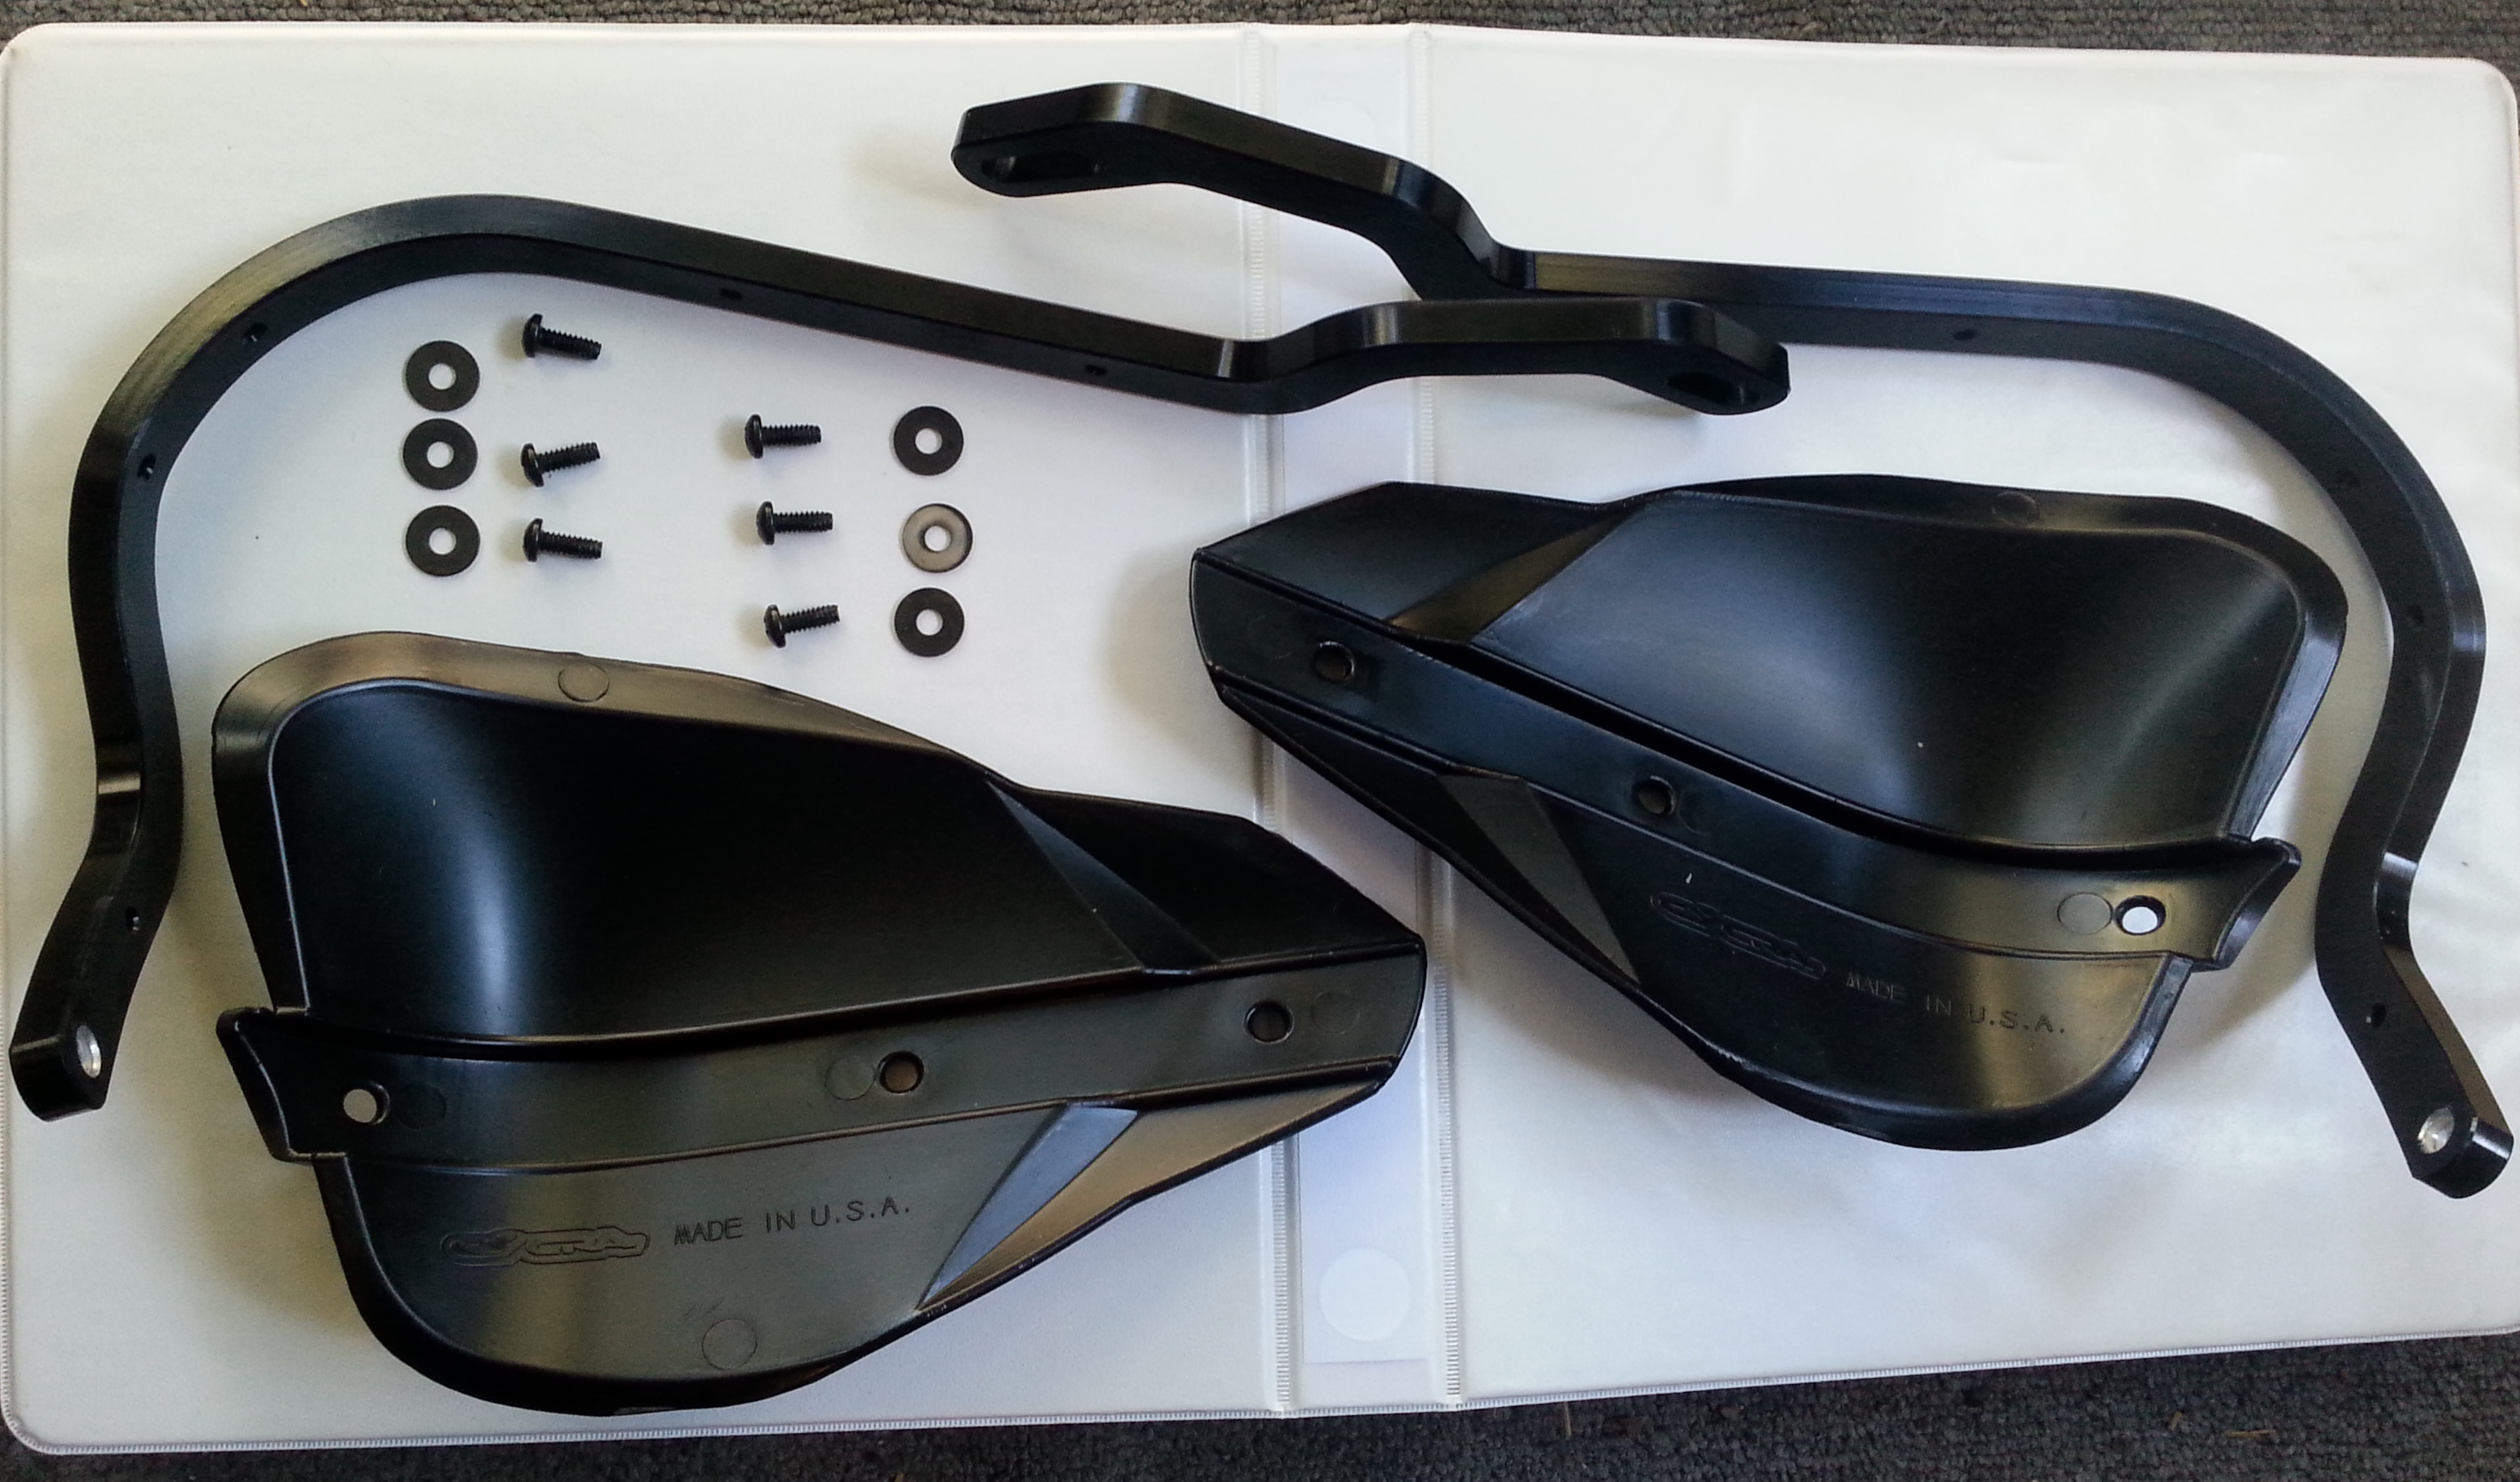
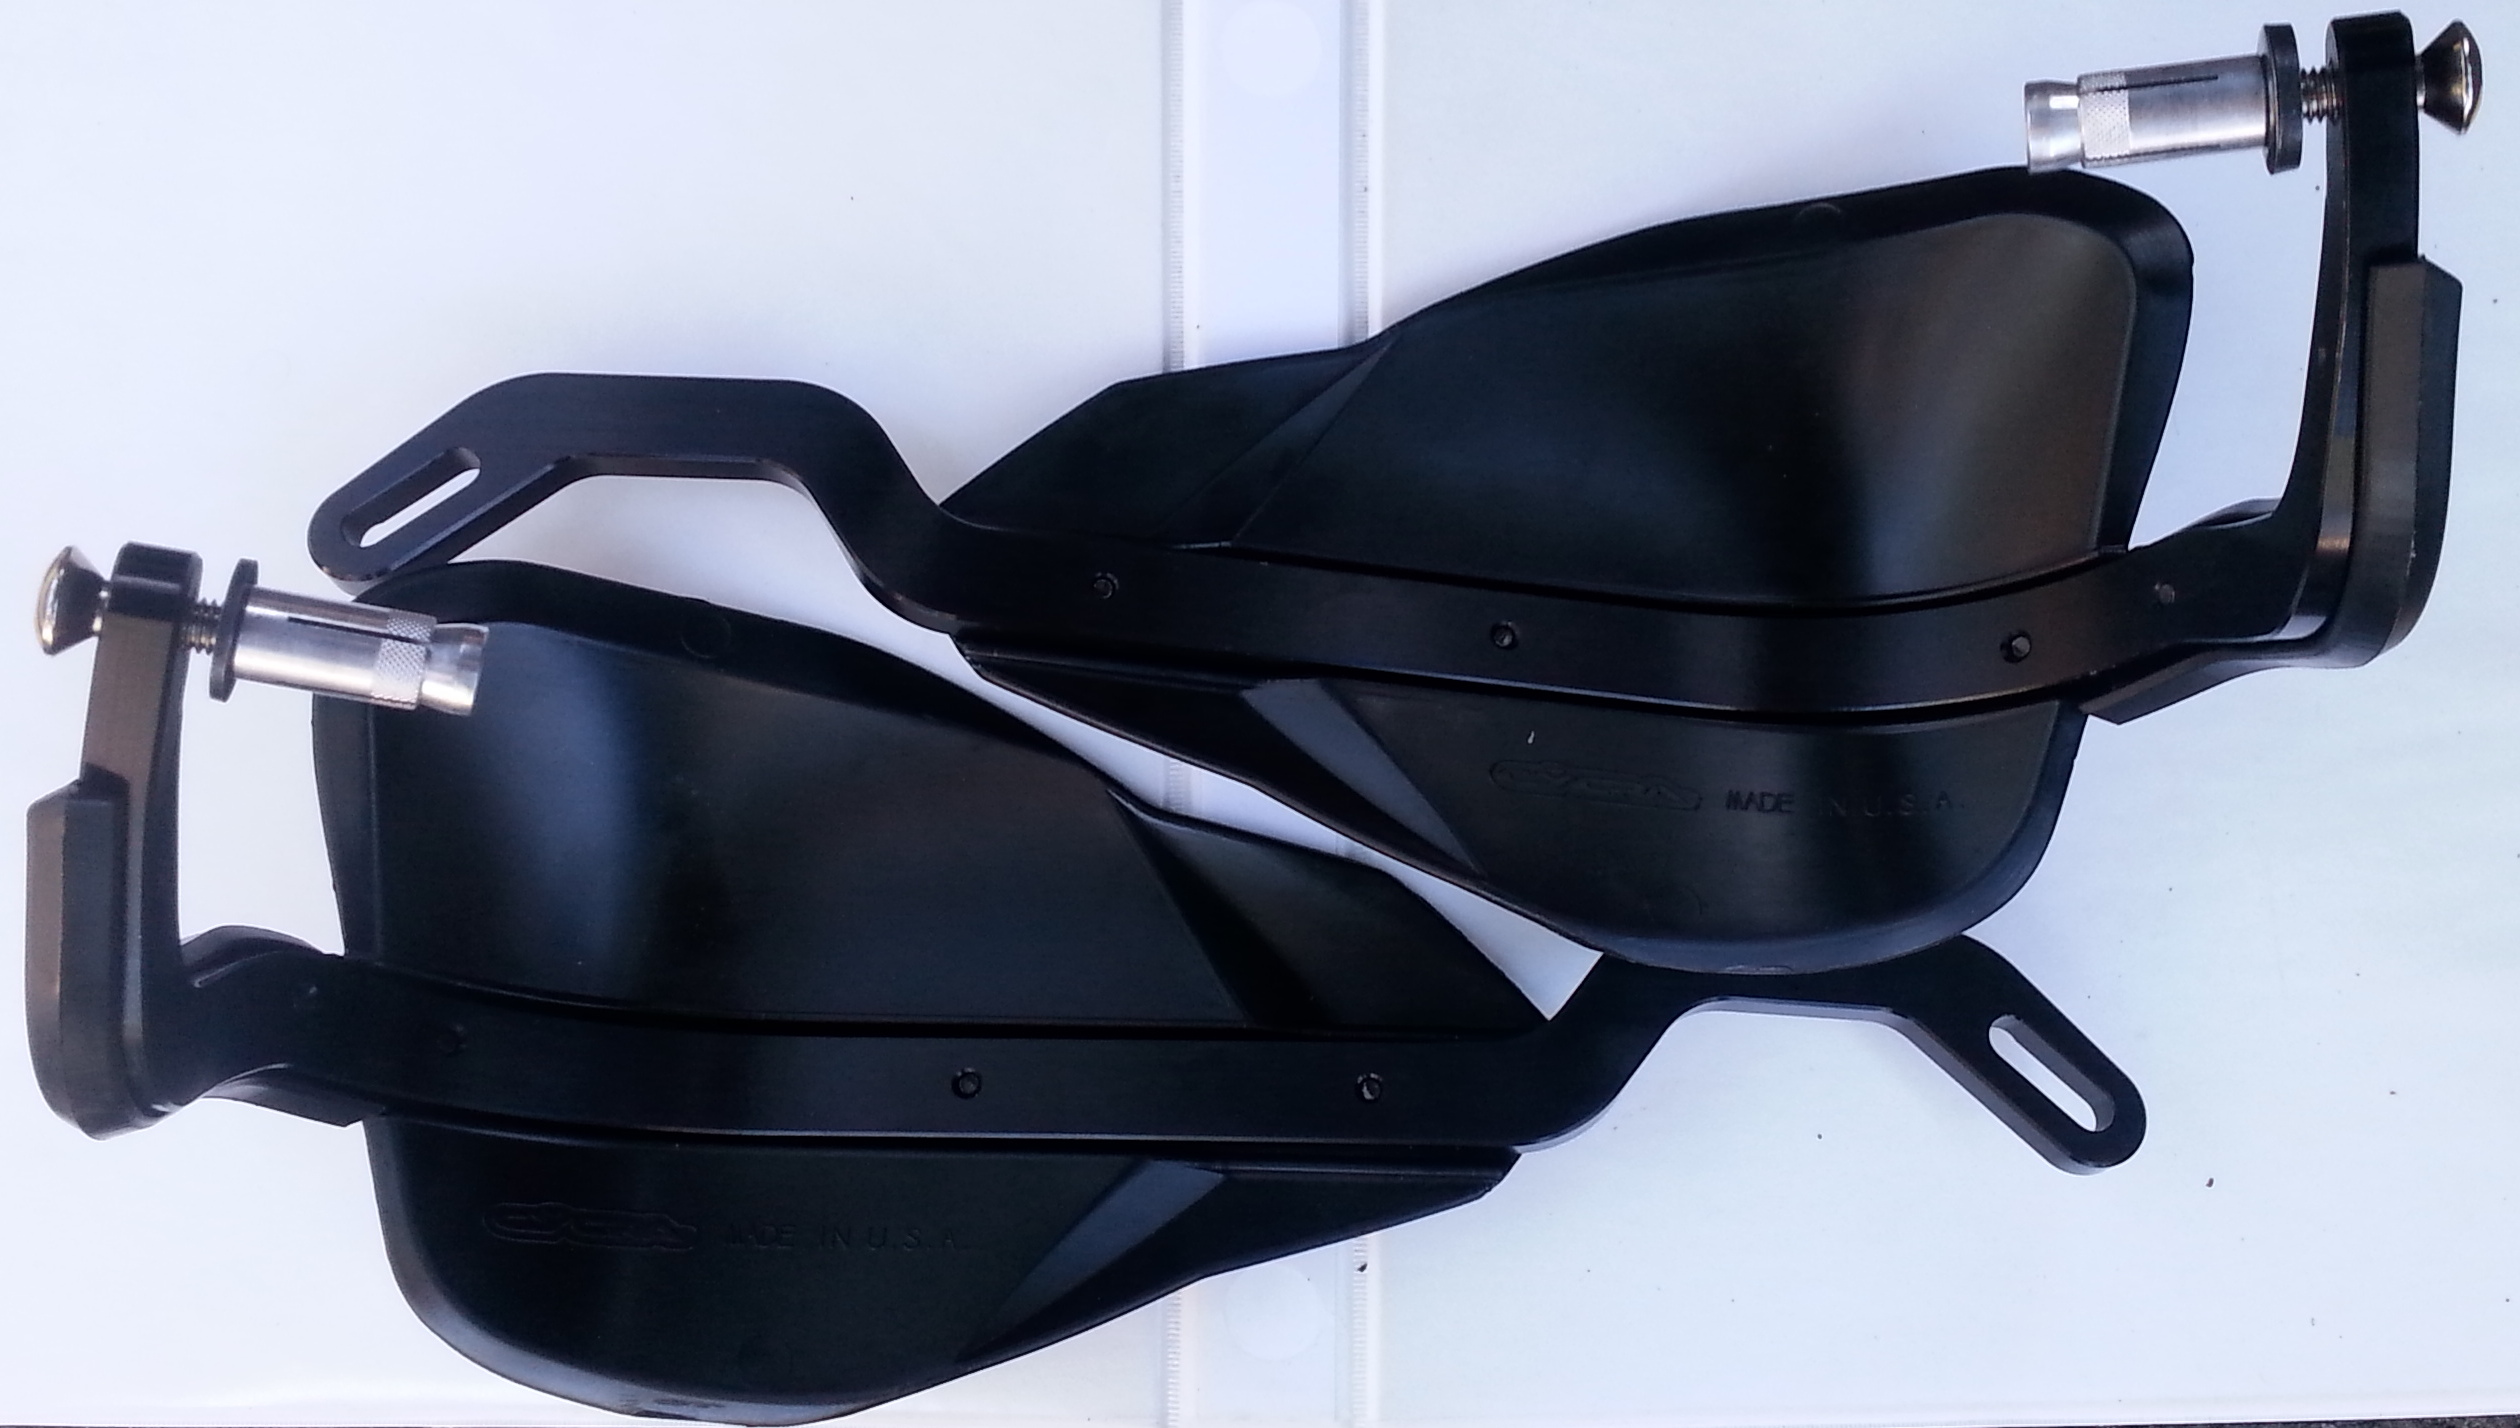
- Contents
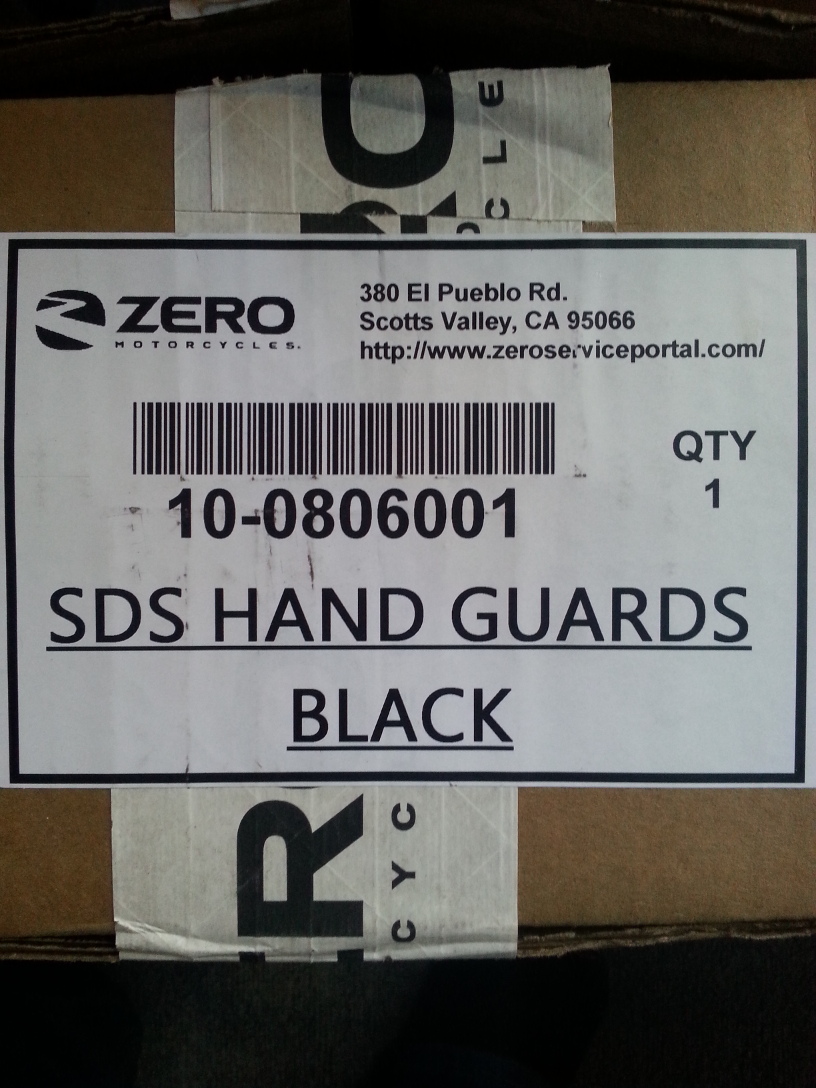
- (Ref kit 10-0806001 SDS HAND GUARDS BLACK)
- Smaller left/right plastics, Self-tapping PH2 fasteners approx 12mm length (4 qty), thick metal washer, thin metal washer, handlebar mounting inserts (2 qty), alternative inserts for larger I.D handlebar tube (2 qty).
-
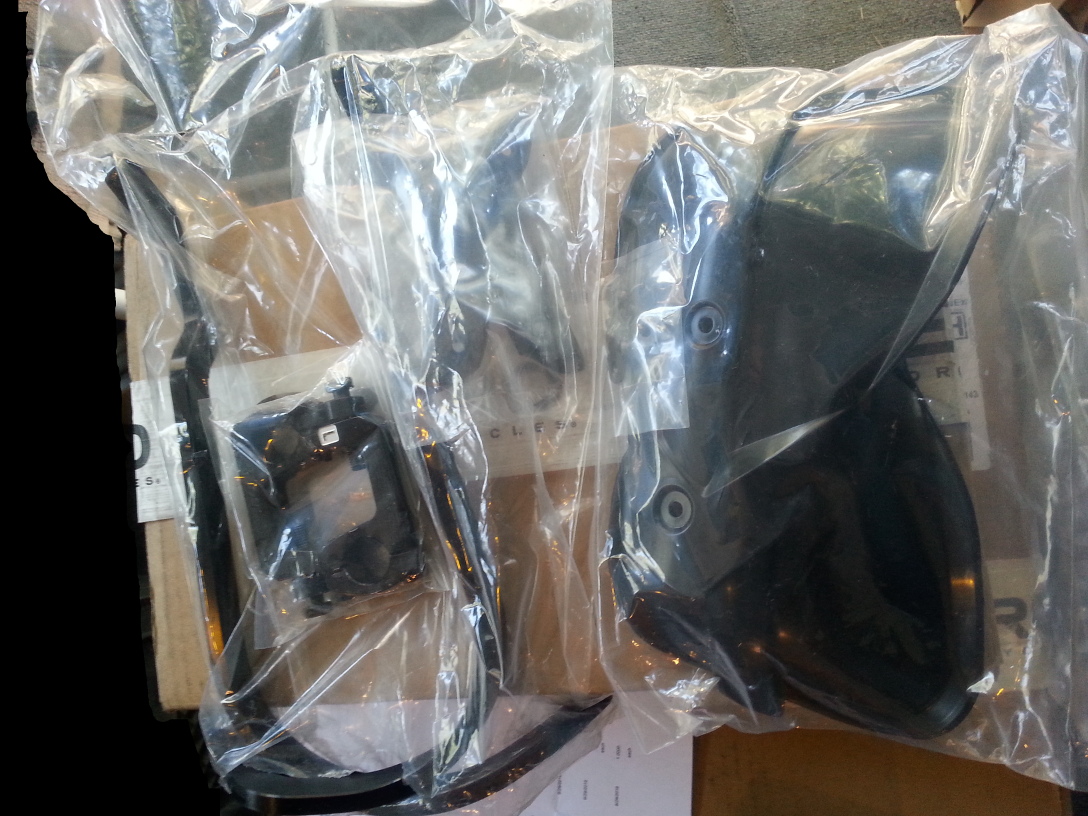
- Larger left/right plastics, mounting brackets, metal washers (6 qty), self-tapping PH2 fasteners approx 12mm length (6 qty).
-
- Handlebar left/right mounting clamps
-
- Steps


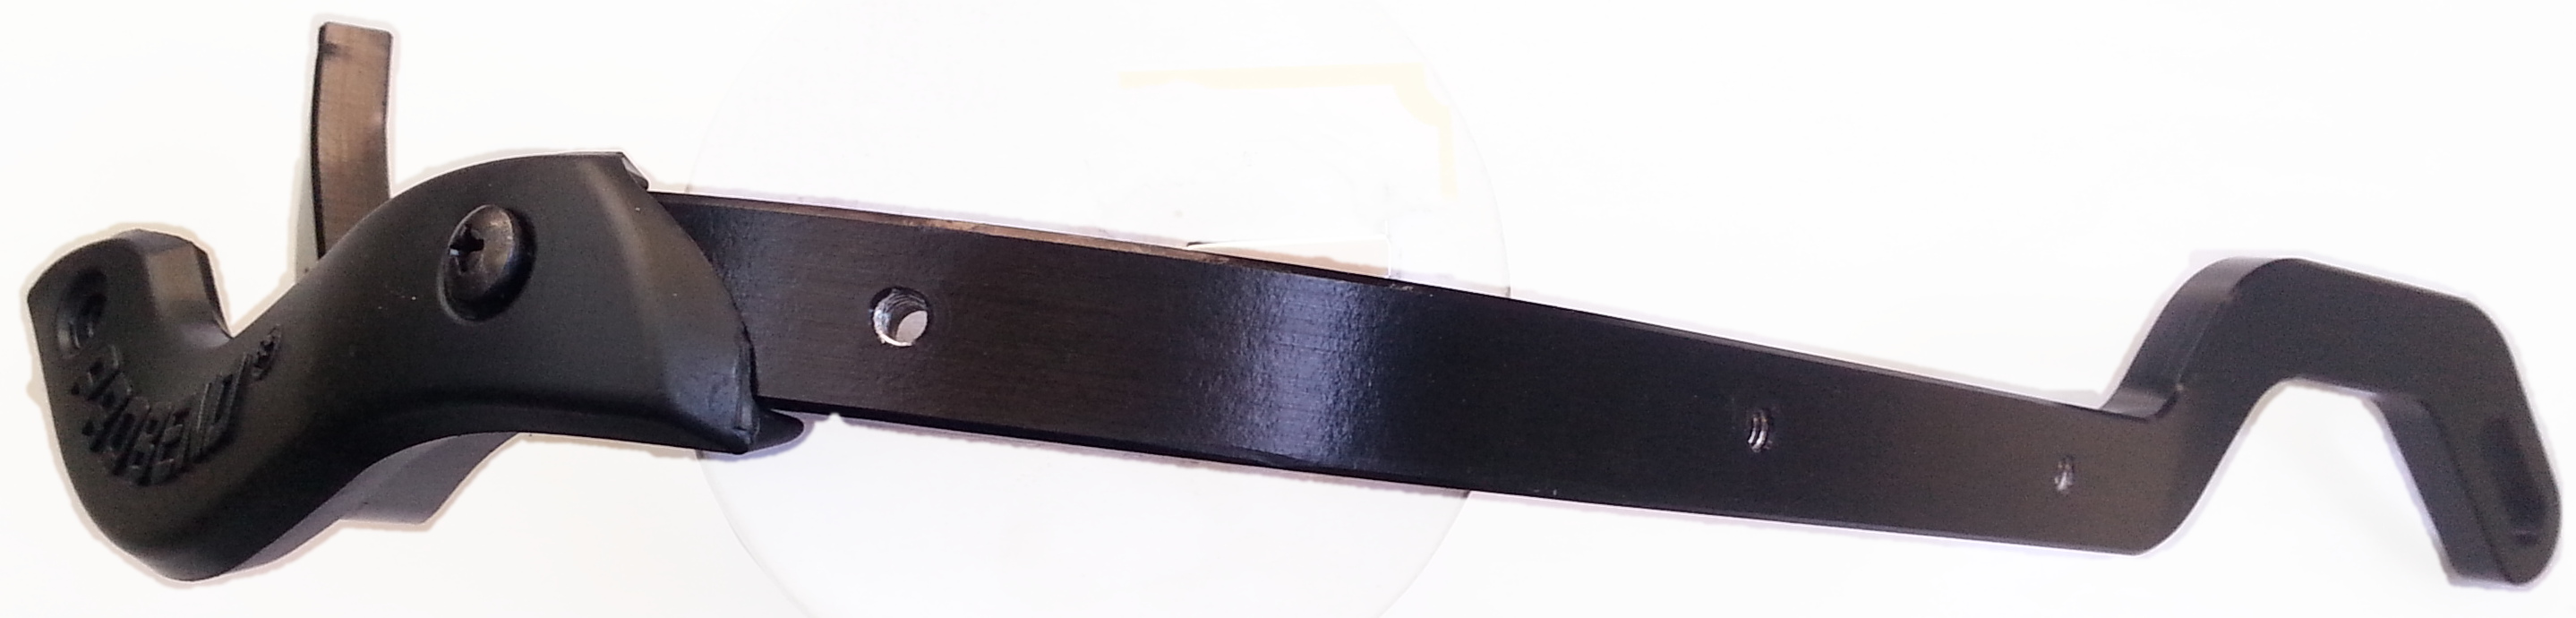
- For left and right assemblies each, align the plastic end cover with matching bracket.
- Affix with self-tapping PH2 (approx 12mm length) fasteners
- Use moderate pressure and be sure to drive the screw straight into the bracket.
- This can be tricky because the plastics do not conform exactly to the metal bracket.
-
- Note: It seems easier to start with the inside corner fastener first and then working outside to the end of the bracket.
- For each of the six PH2 self-tapping screws, insert one screw through washer then plastic hand guard and into hole on aluminum bracket.
-
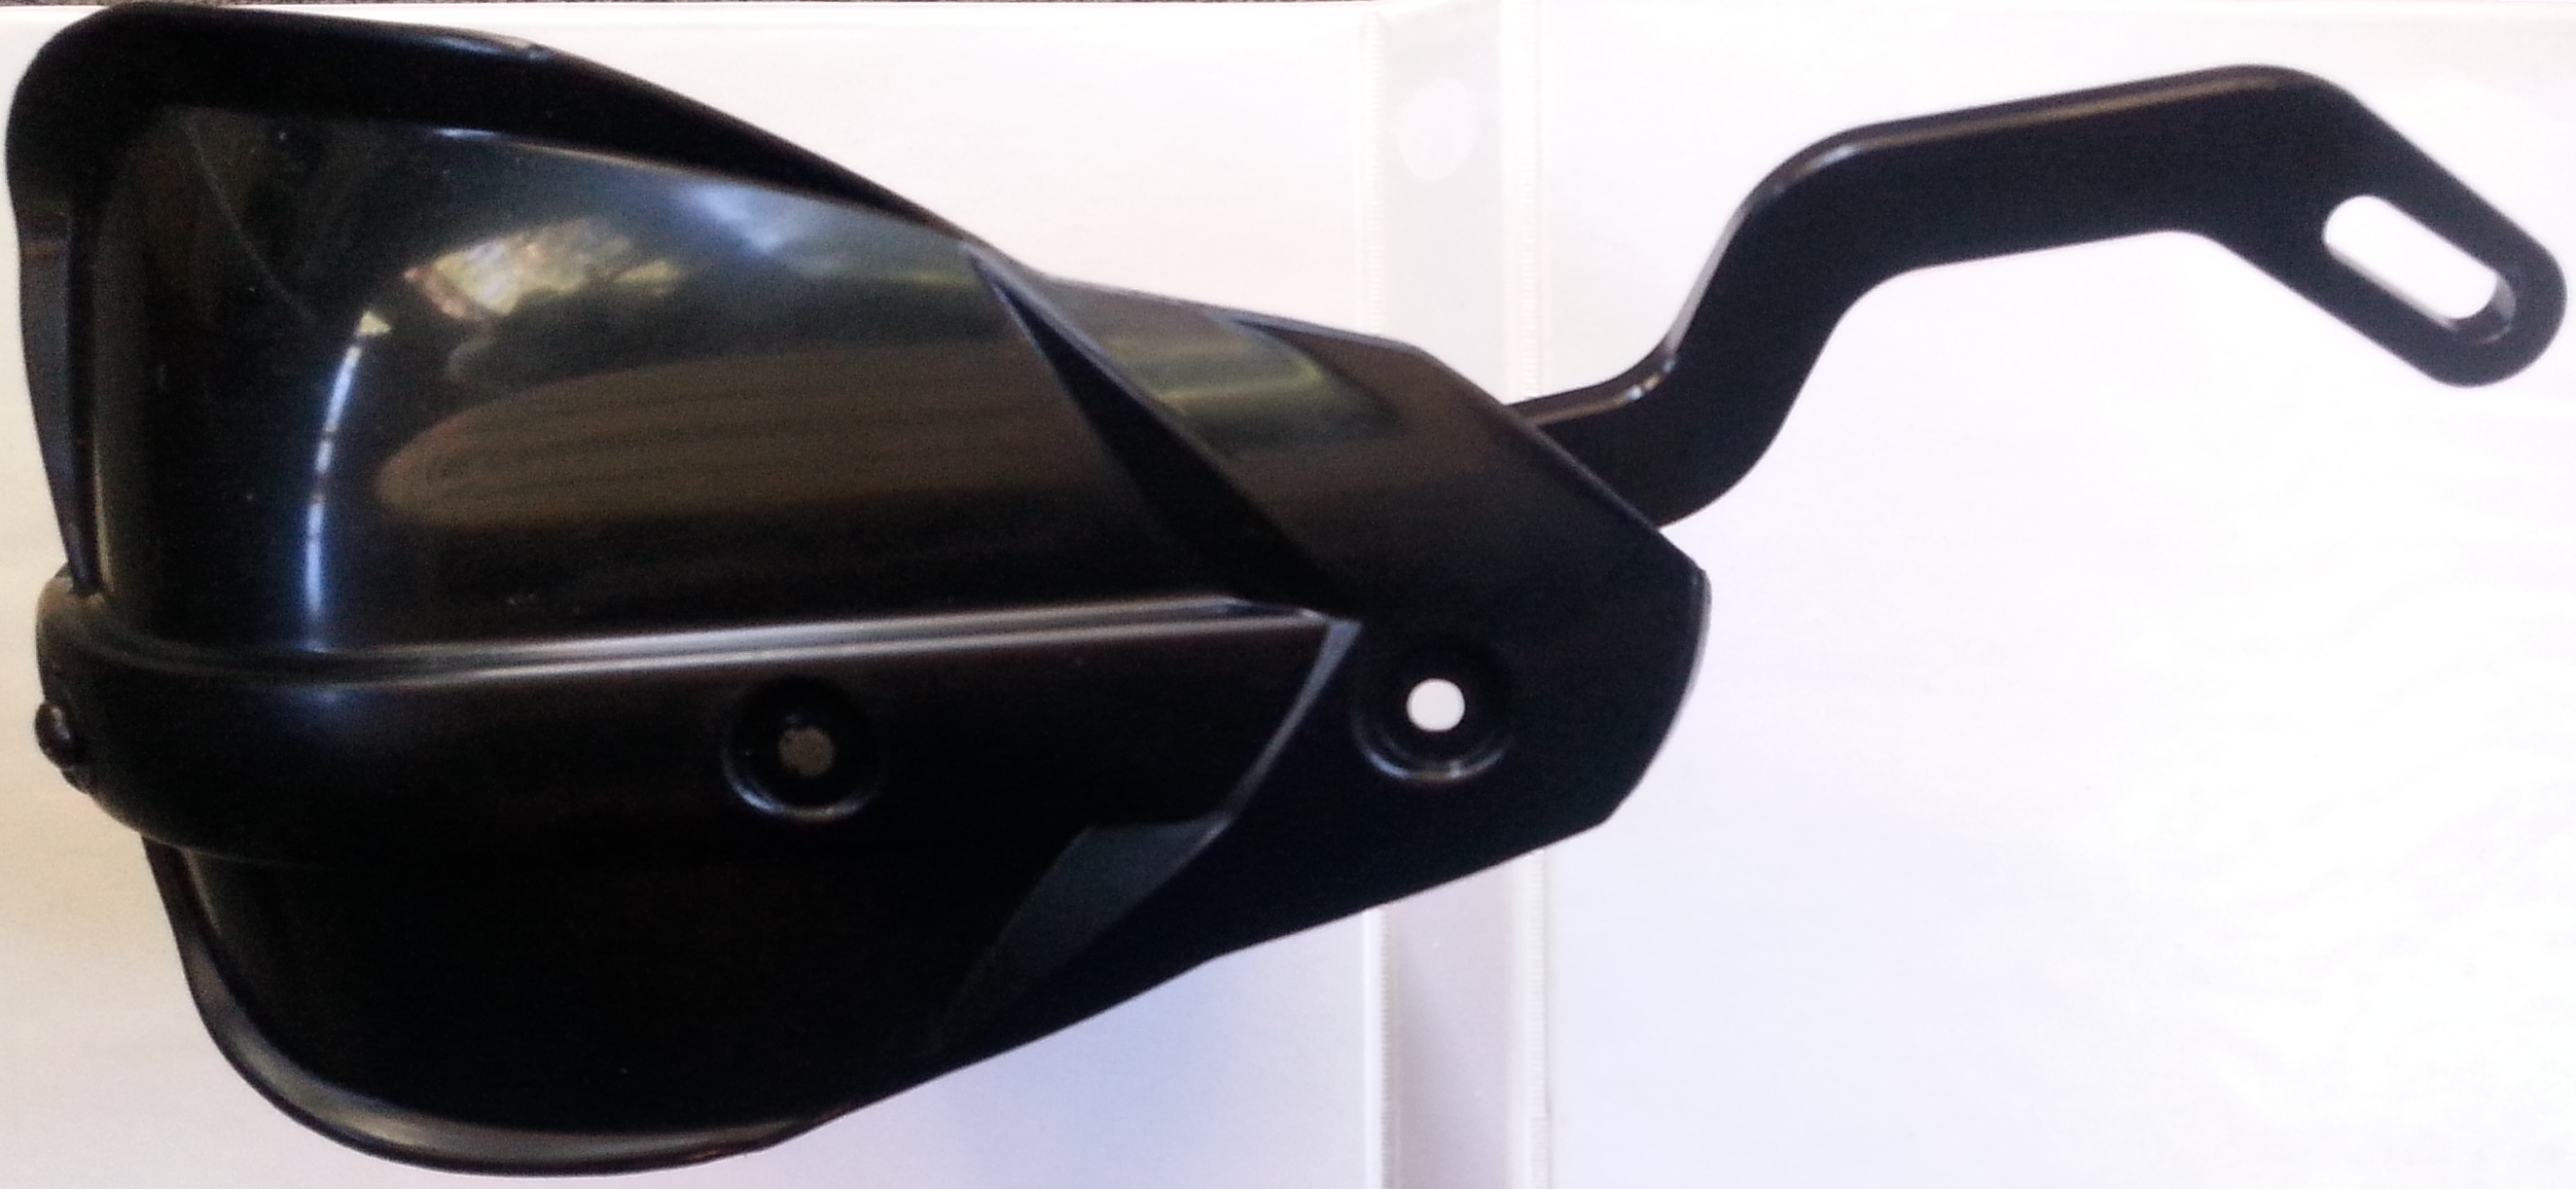
- Note: Again it seems easier to start with the fastener on the inside corner first, and then follow with the two fasteners on the straight run towards the end of the bracket.
-
- Remove 6mm hex bit bolts from handlebar mounting insert hardware as shipped.
- Insert bolt into end of assembled guard bracket, then a washer (thick for throttle / right side and thin for non-throttle / left side), an appropriate expansion insert for the diameter of your handlebar tube, and a cone nut.
- Do not tighten too much, but be sure this is snug fitting so that friction allows the 6mm bolt to be tightened without supporting the pieces that will be free-standing in the tube.
- If this is too lose, you would insert the assembly into the tube and not be able to tighten.
- If it is too tight, the cone nut will expand the mounting insert and it won't fit into the tube.
-
- Note: The washers look to have a bit of a cone shape. Best guess is to point the narrower end towards the head of the bolt.
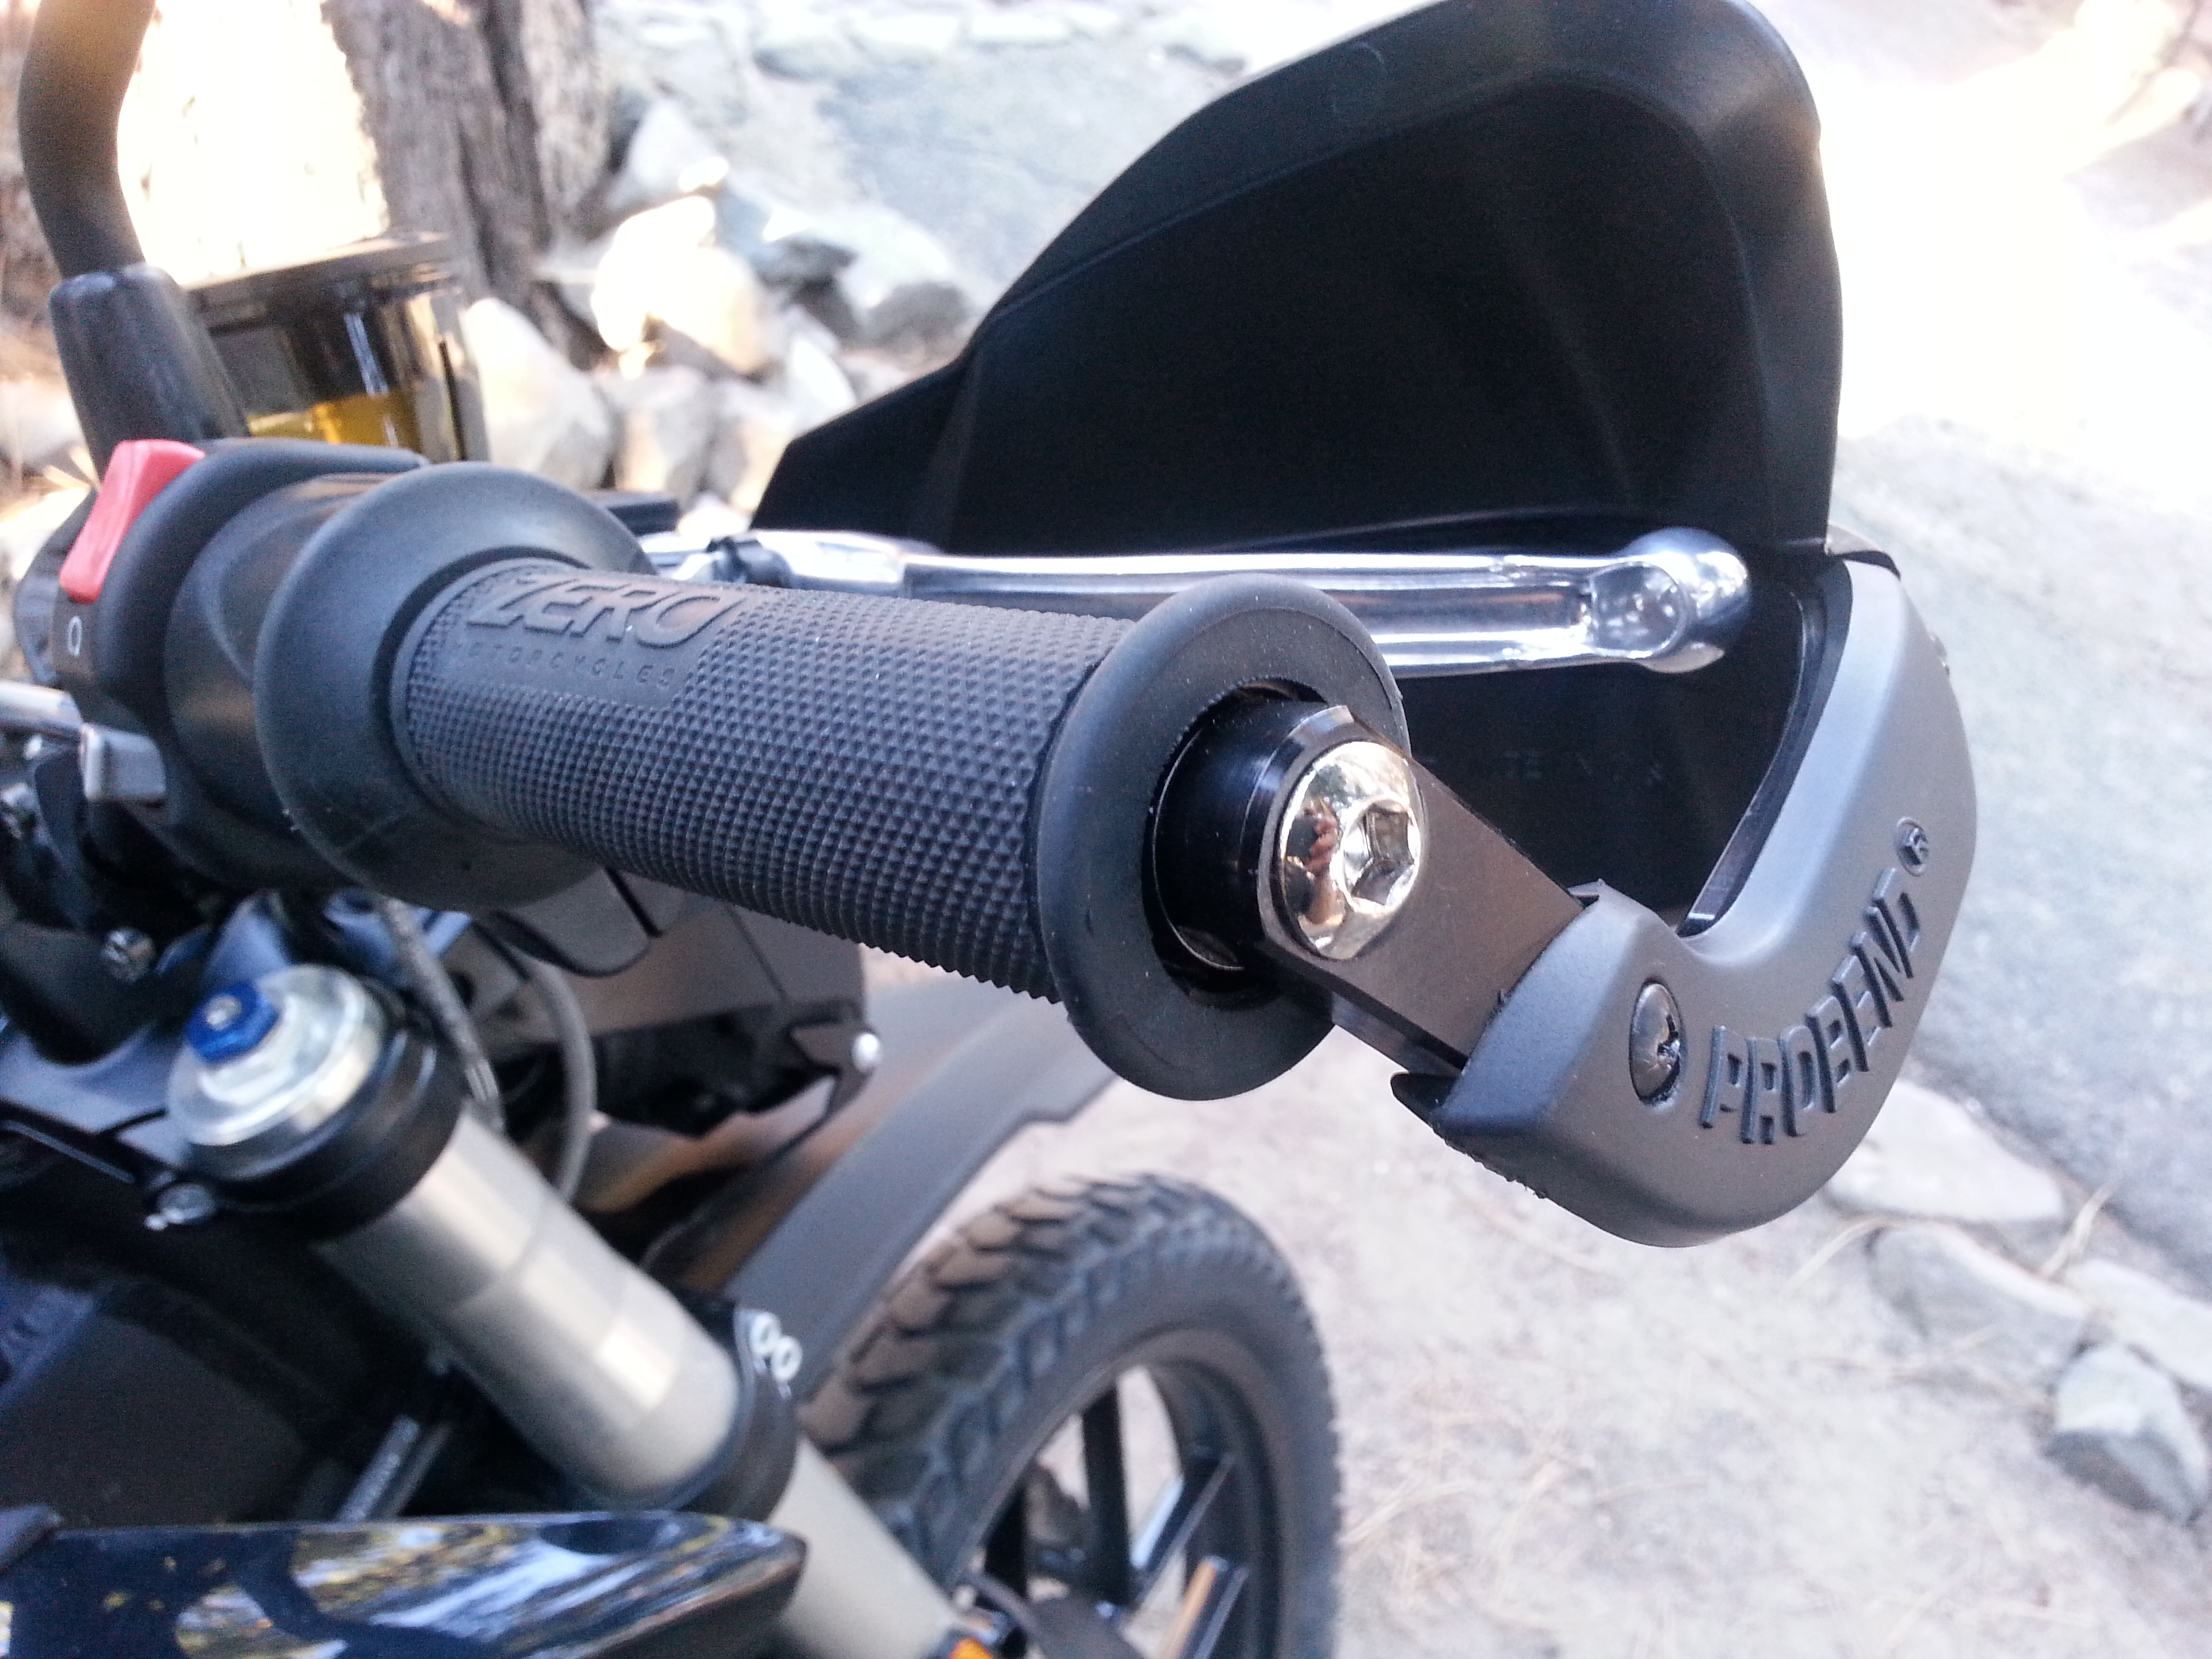
- Using a channel locks pliers or maybe just pull with your hands, remove plastic plugs from handlebar ends.
-
- Insert the appropriate handlebar guard assembly that has been prepared.
-
- While holding the handlebar guard assembly true and flush with the end of the handlebar, tighten the 6mm hex bit bolt until the assembly is secure.
- This took a bit of wrenching and not sure about torque specifications so be careful there;
- tighten until the assembly doesn't wiggle around too much and is positioned where you want the outside end of it to be for the install.
-
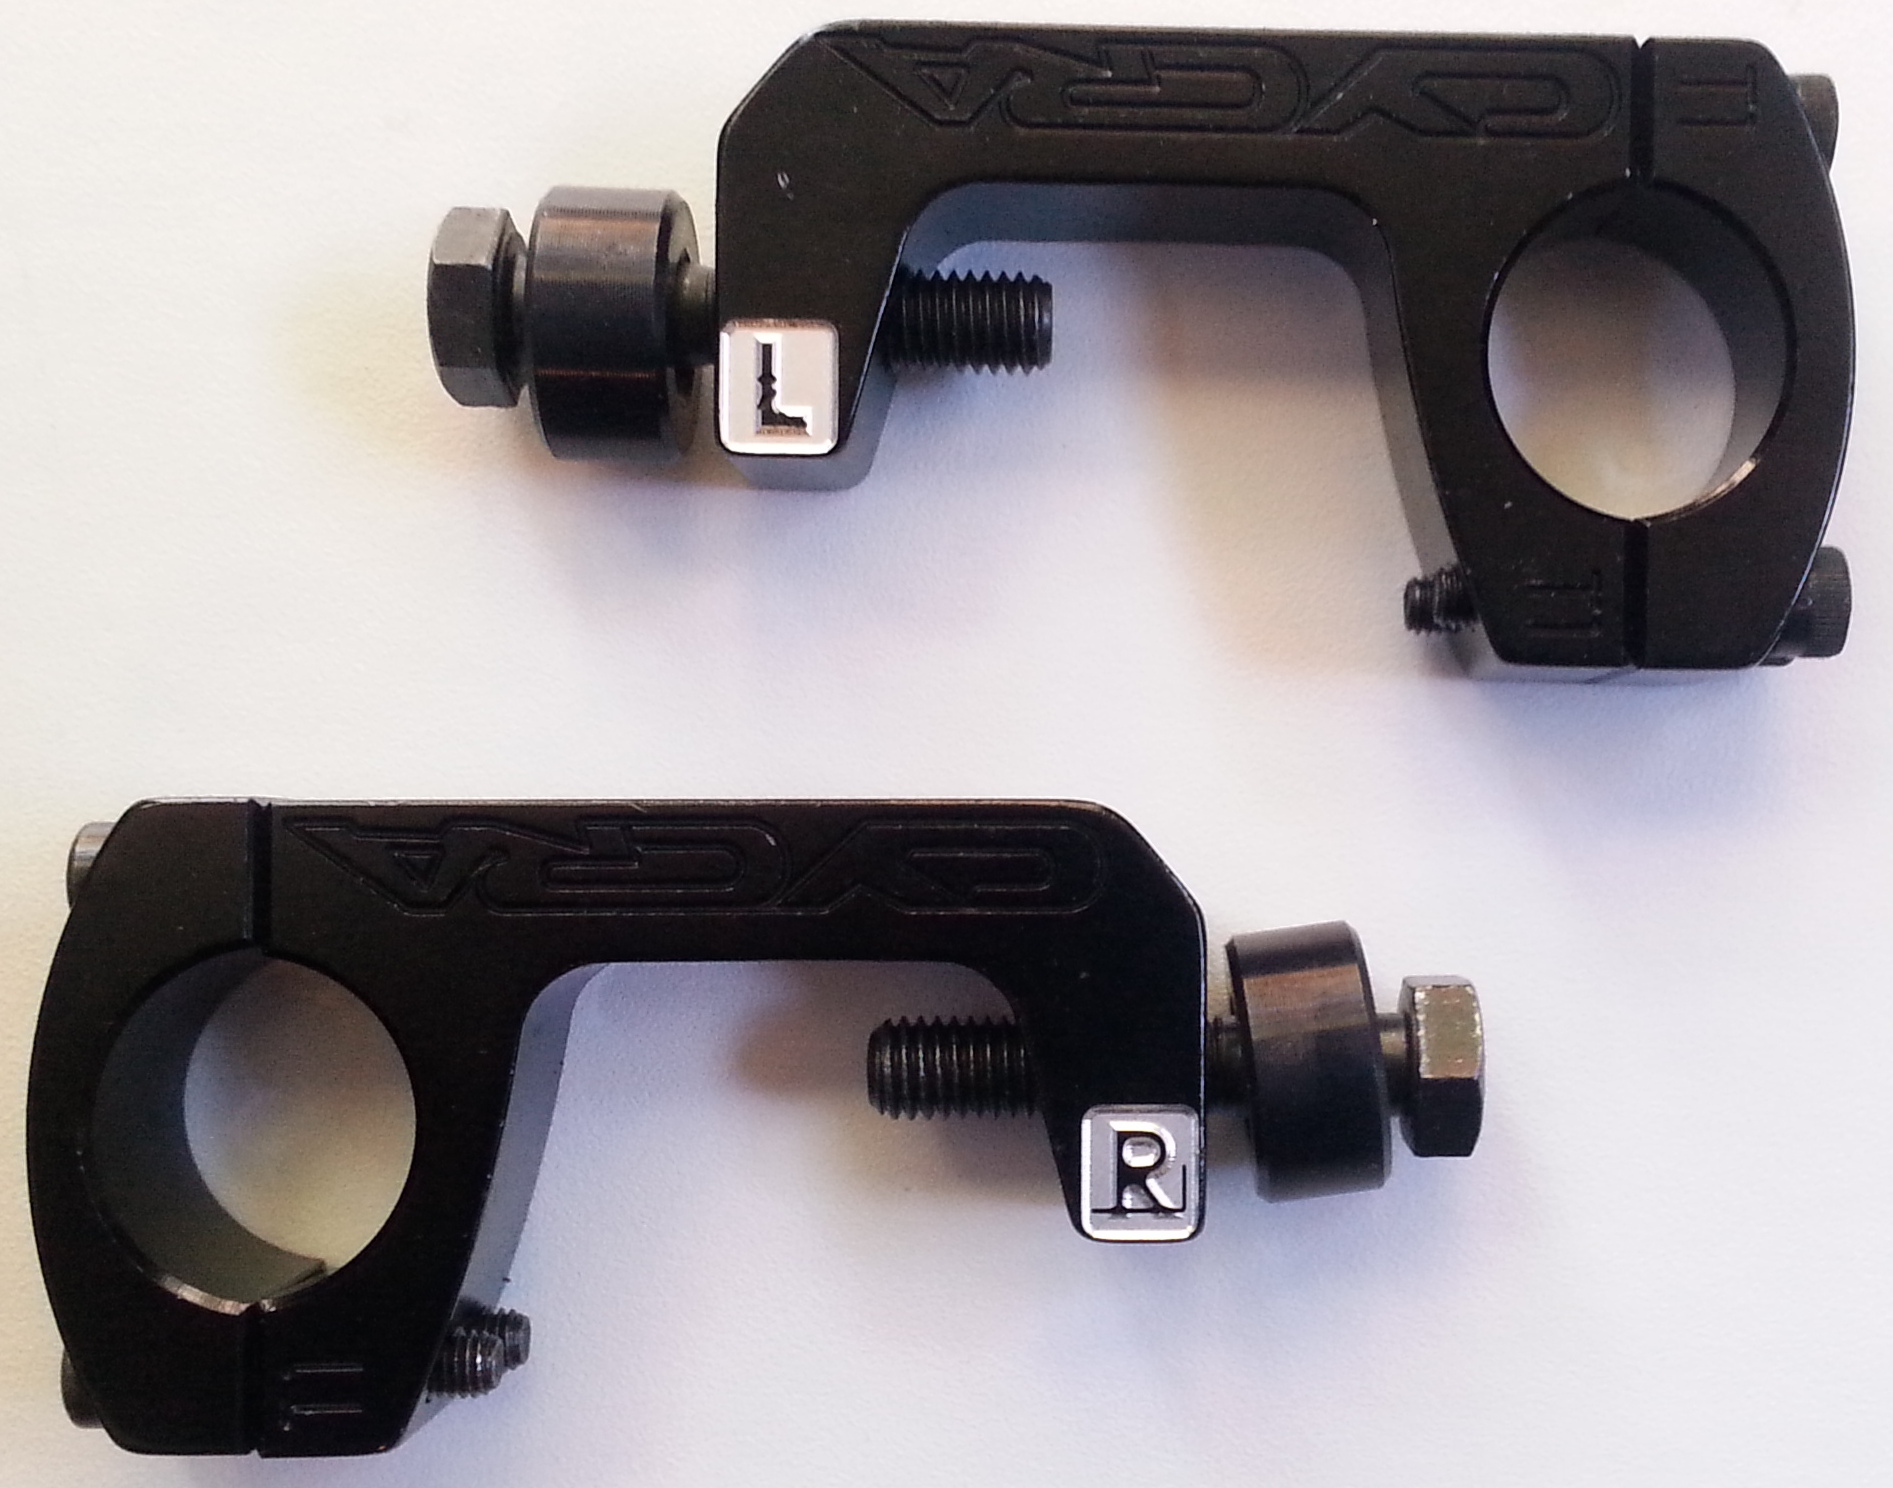
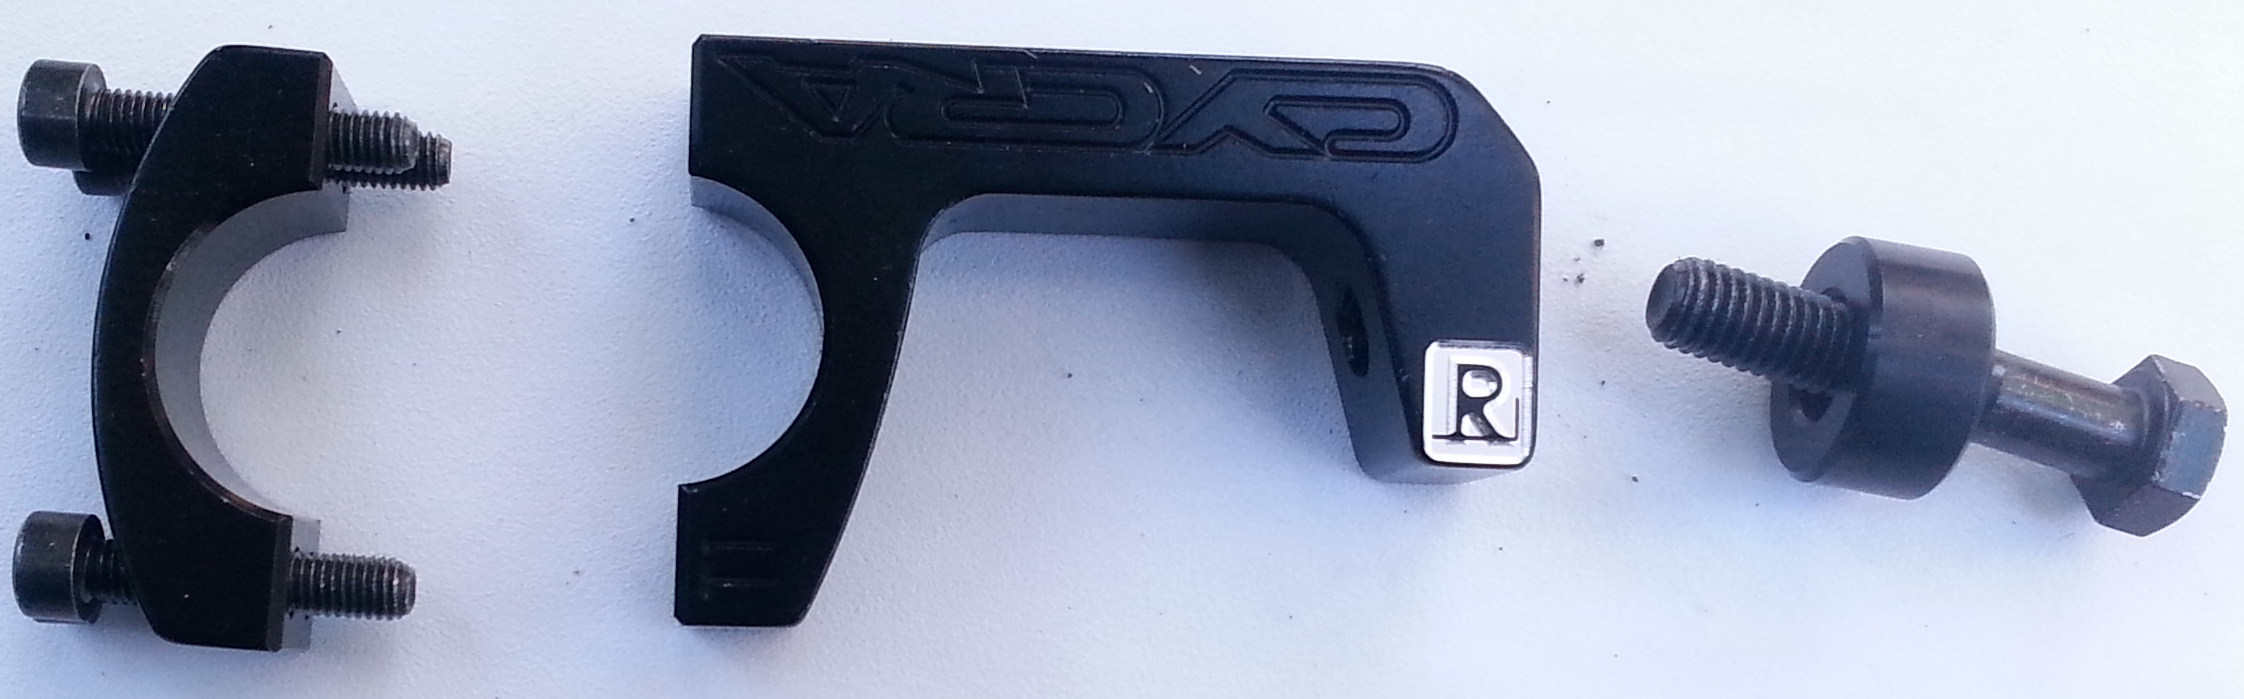
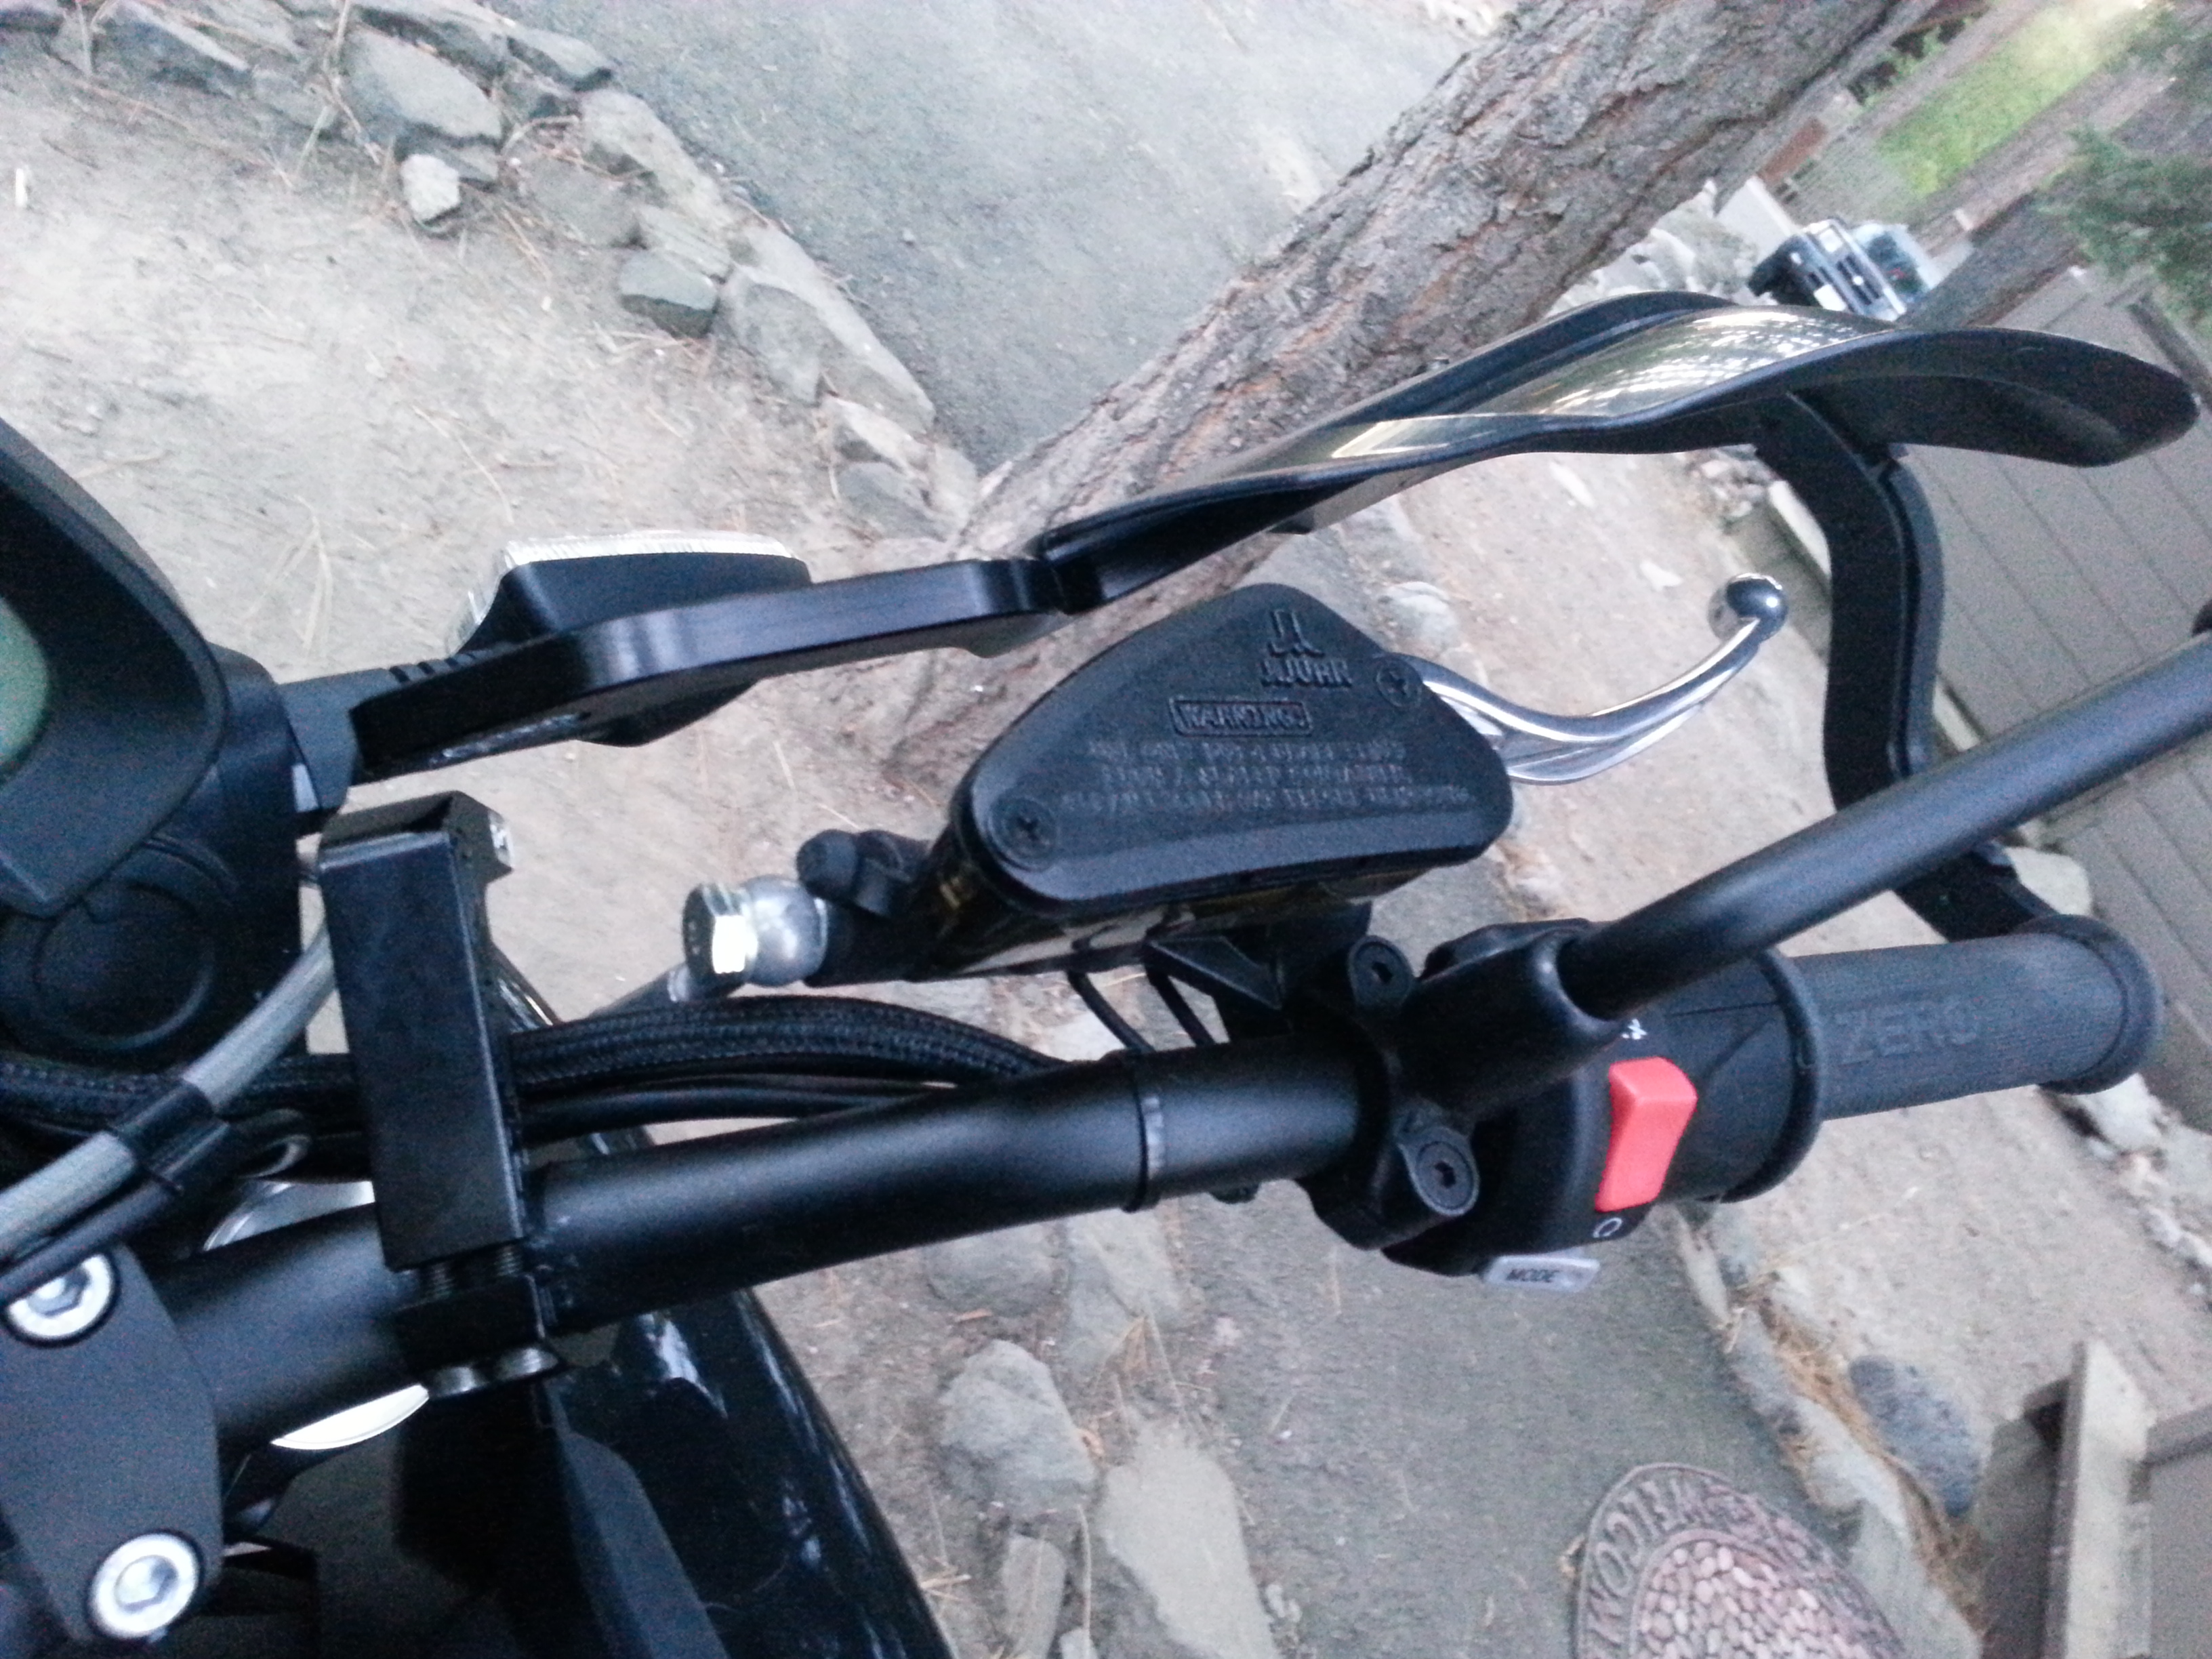
- Lay out the handlebar clamp assembly: 4mm hex bit bolts (4 qty) in tapered cap end bracket, tapered bracket clamp, bushing, 13mm hex socket bolt. R is right side and L is left side.
- The manufacturer imprint should read upside-down (this is obvious when you notice the taper of the clamp and how the Zero handlebars are a wider diameter at the fork clamps and tapering down to a smaller diameter outward towards the handlebar grips).
- Set aside the bushing and 13mm hex socket bolt for the final step.
-
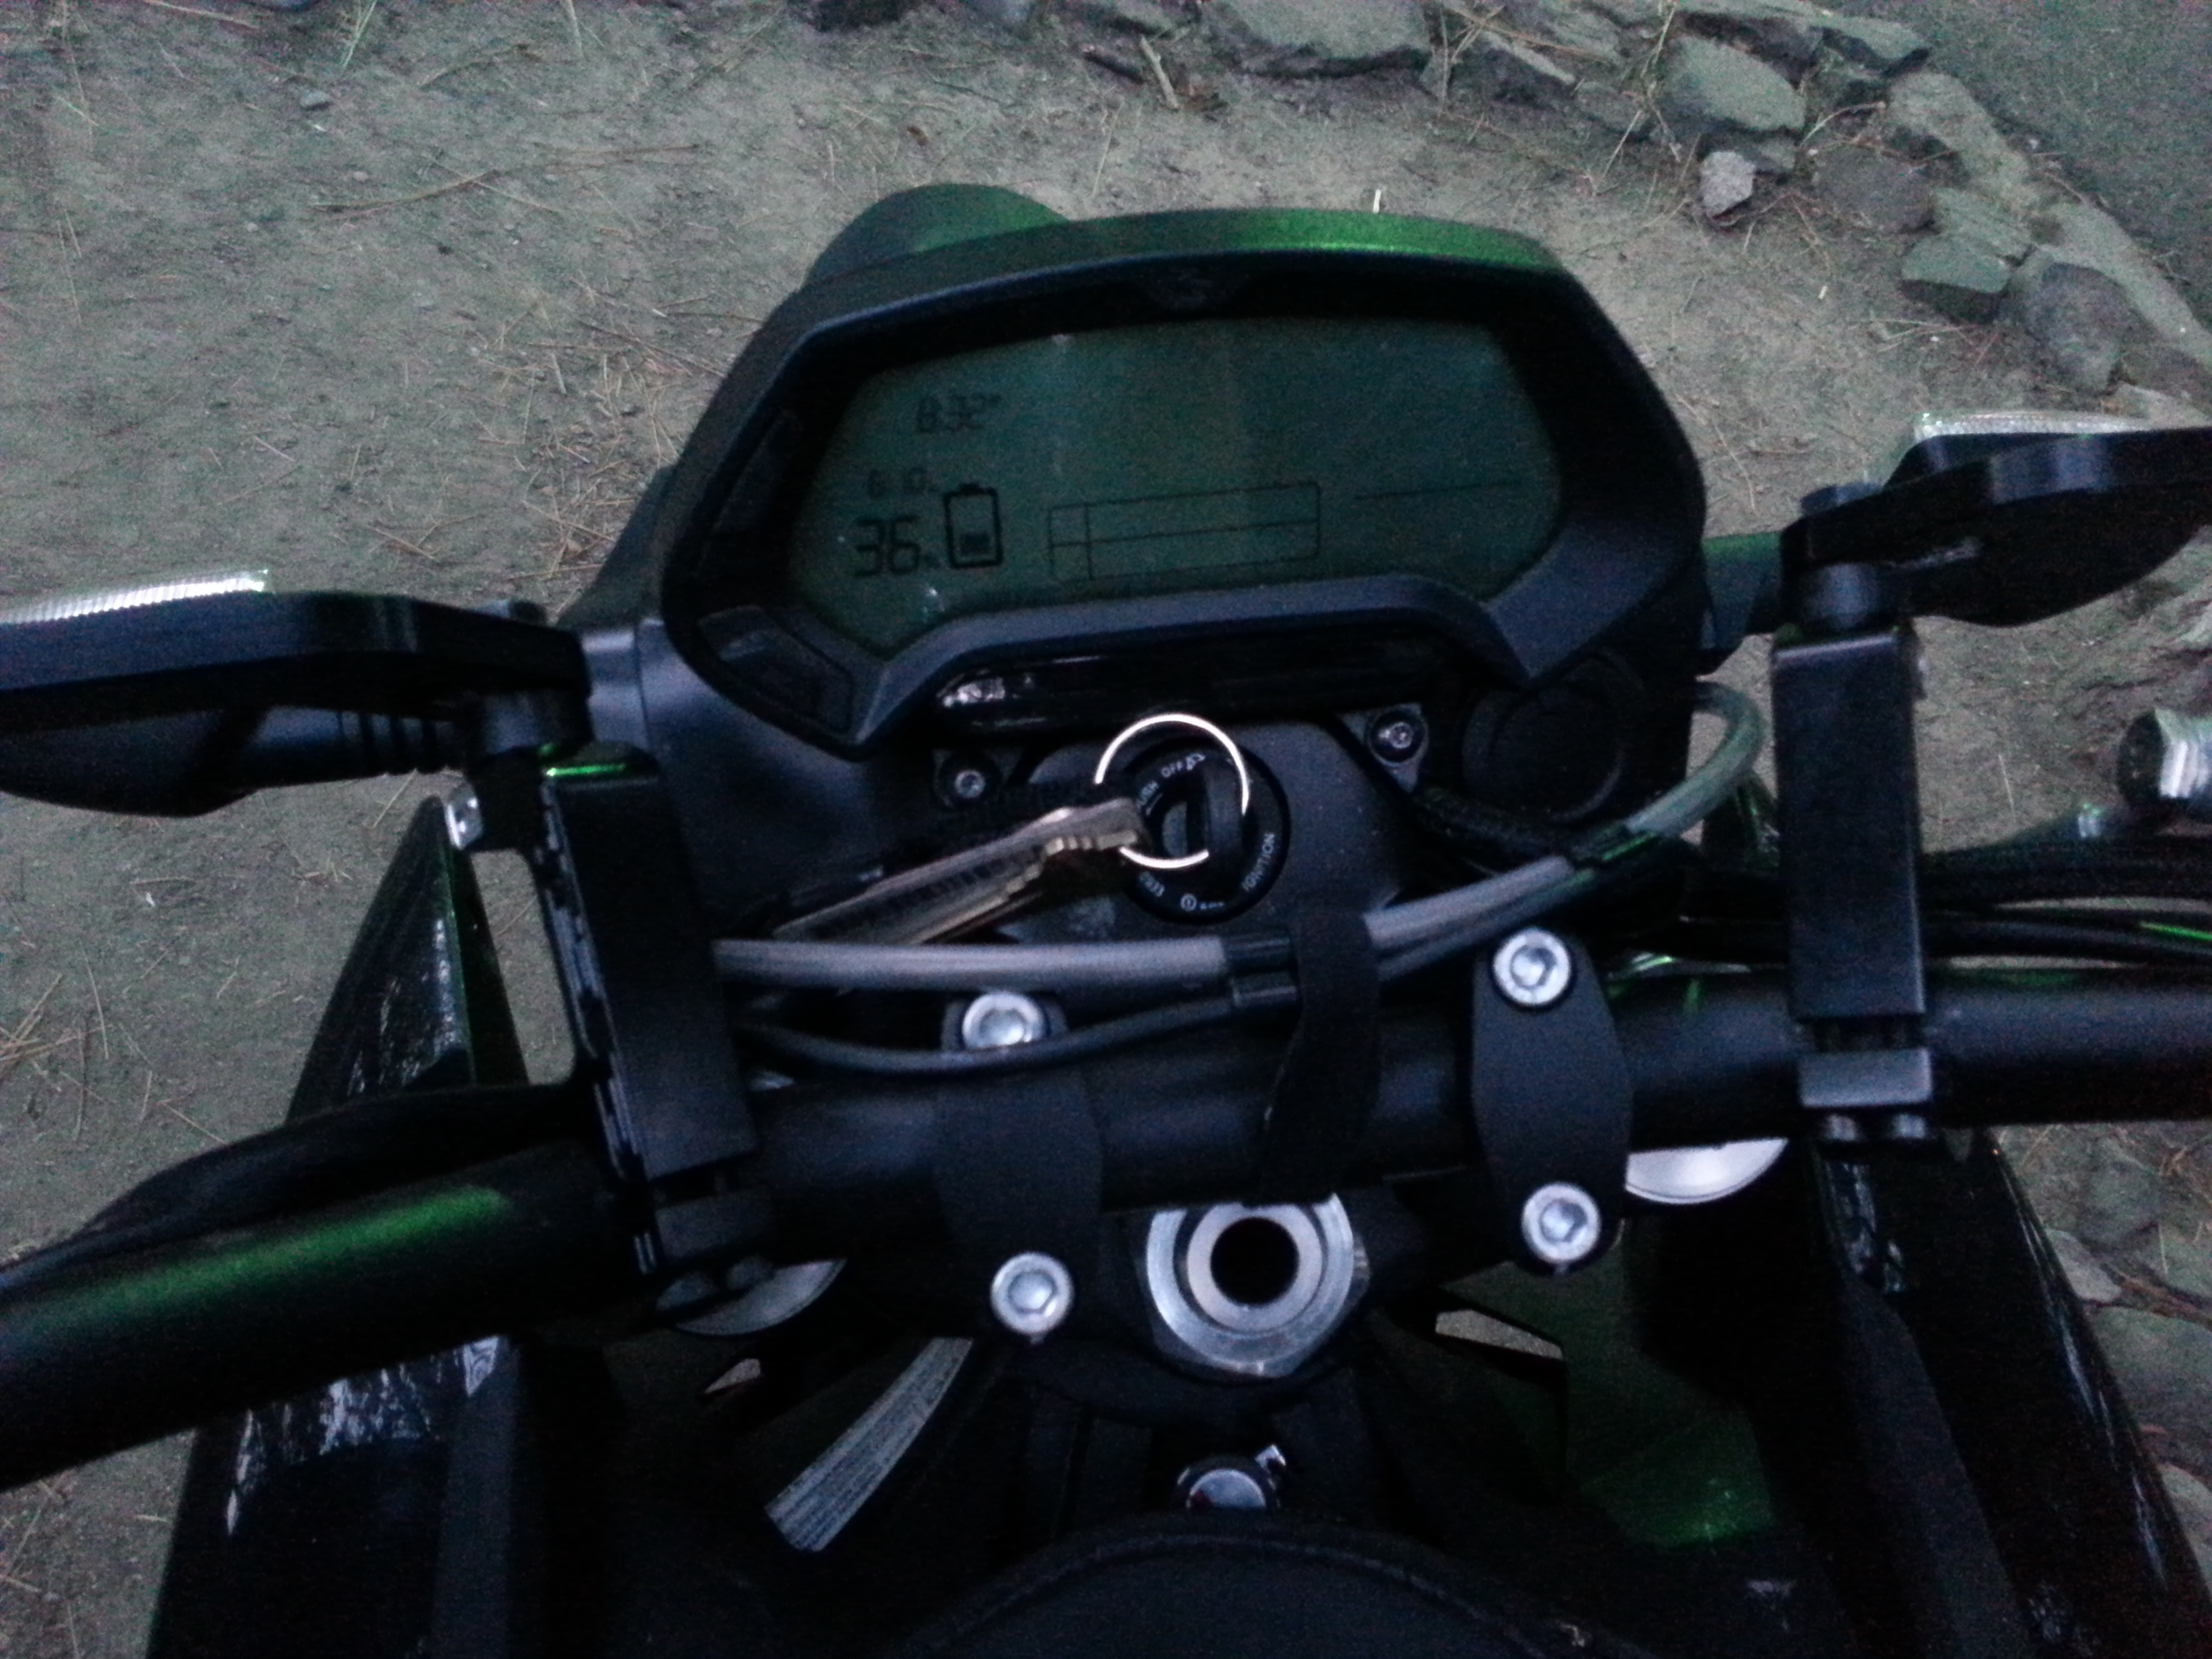
- Install the handlebar clamp bracket to the handlebar tube and tighten the 4mm hex bit bolts.
- Use a 16mm socket for reference of the gap between the fork handlebar clamps and the handlebar guard clamps.
- Don't worry about trying to make the open threaded end line up with the slot in the handlebar assembly, the assembly will be bent into place to meet the clamp later.
- Try to install the clamp so it is at a reasonable angle (for this install it kind of points towards the middle of the height of the dashboard display).
- Error creating thumbnail: /bin/bash: /usr/local/bin/convert: No such file or directory
Error code: 127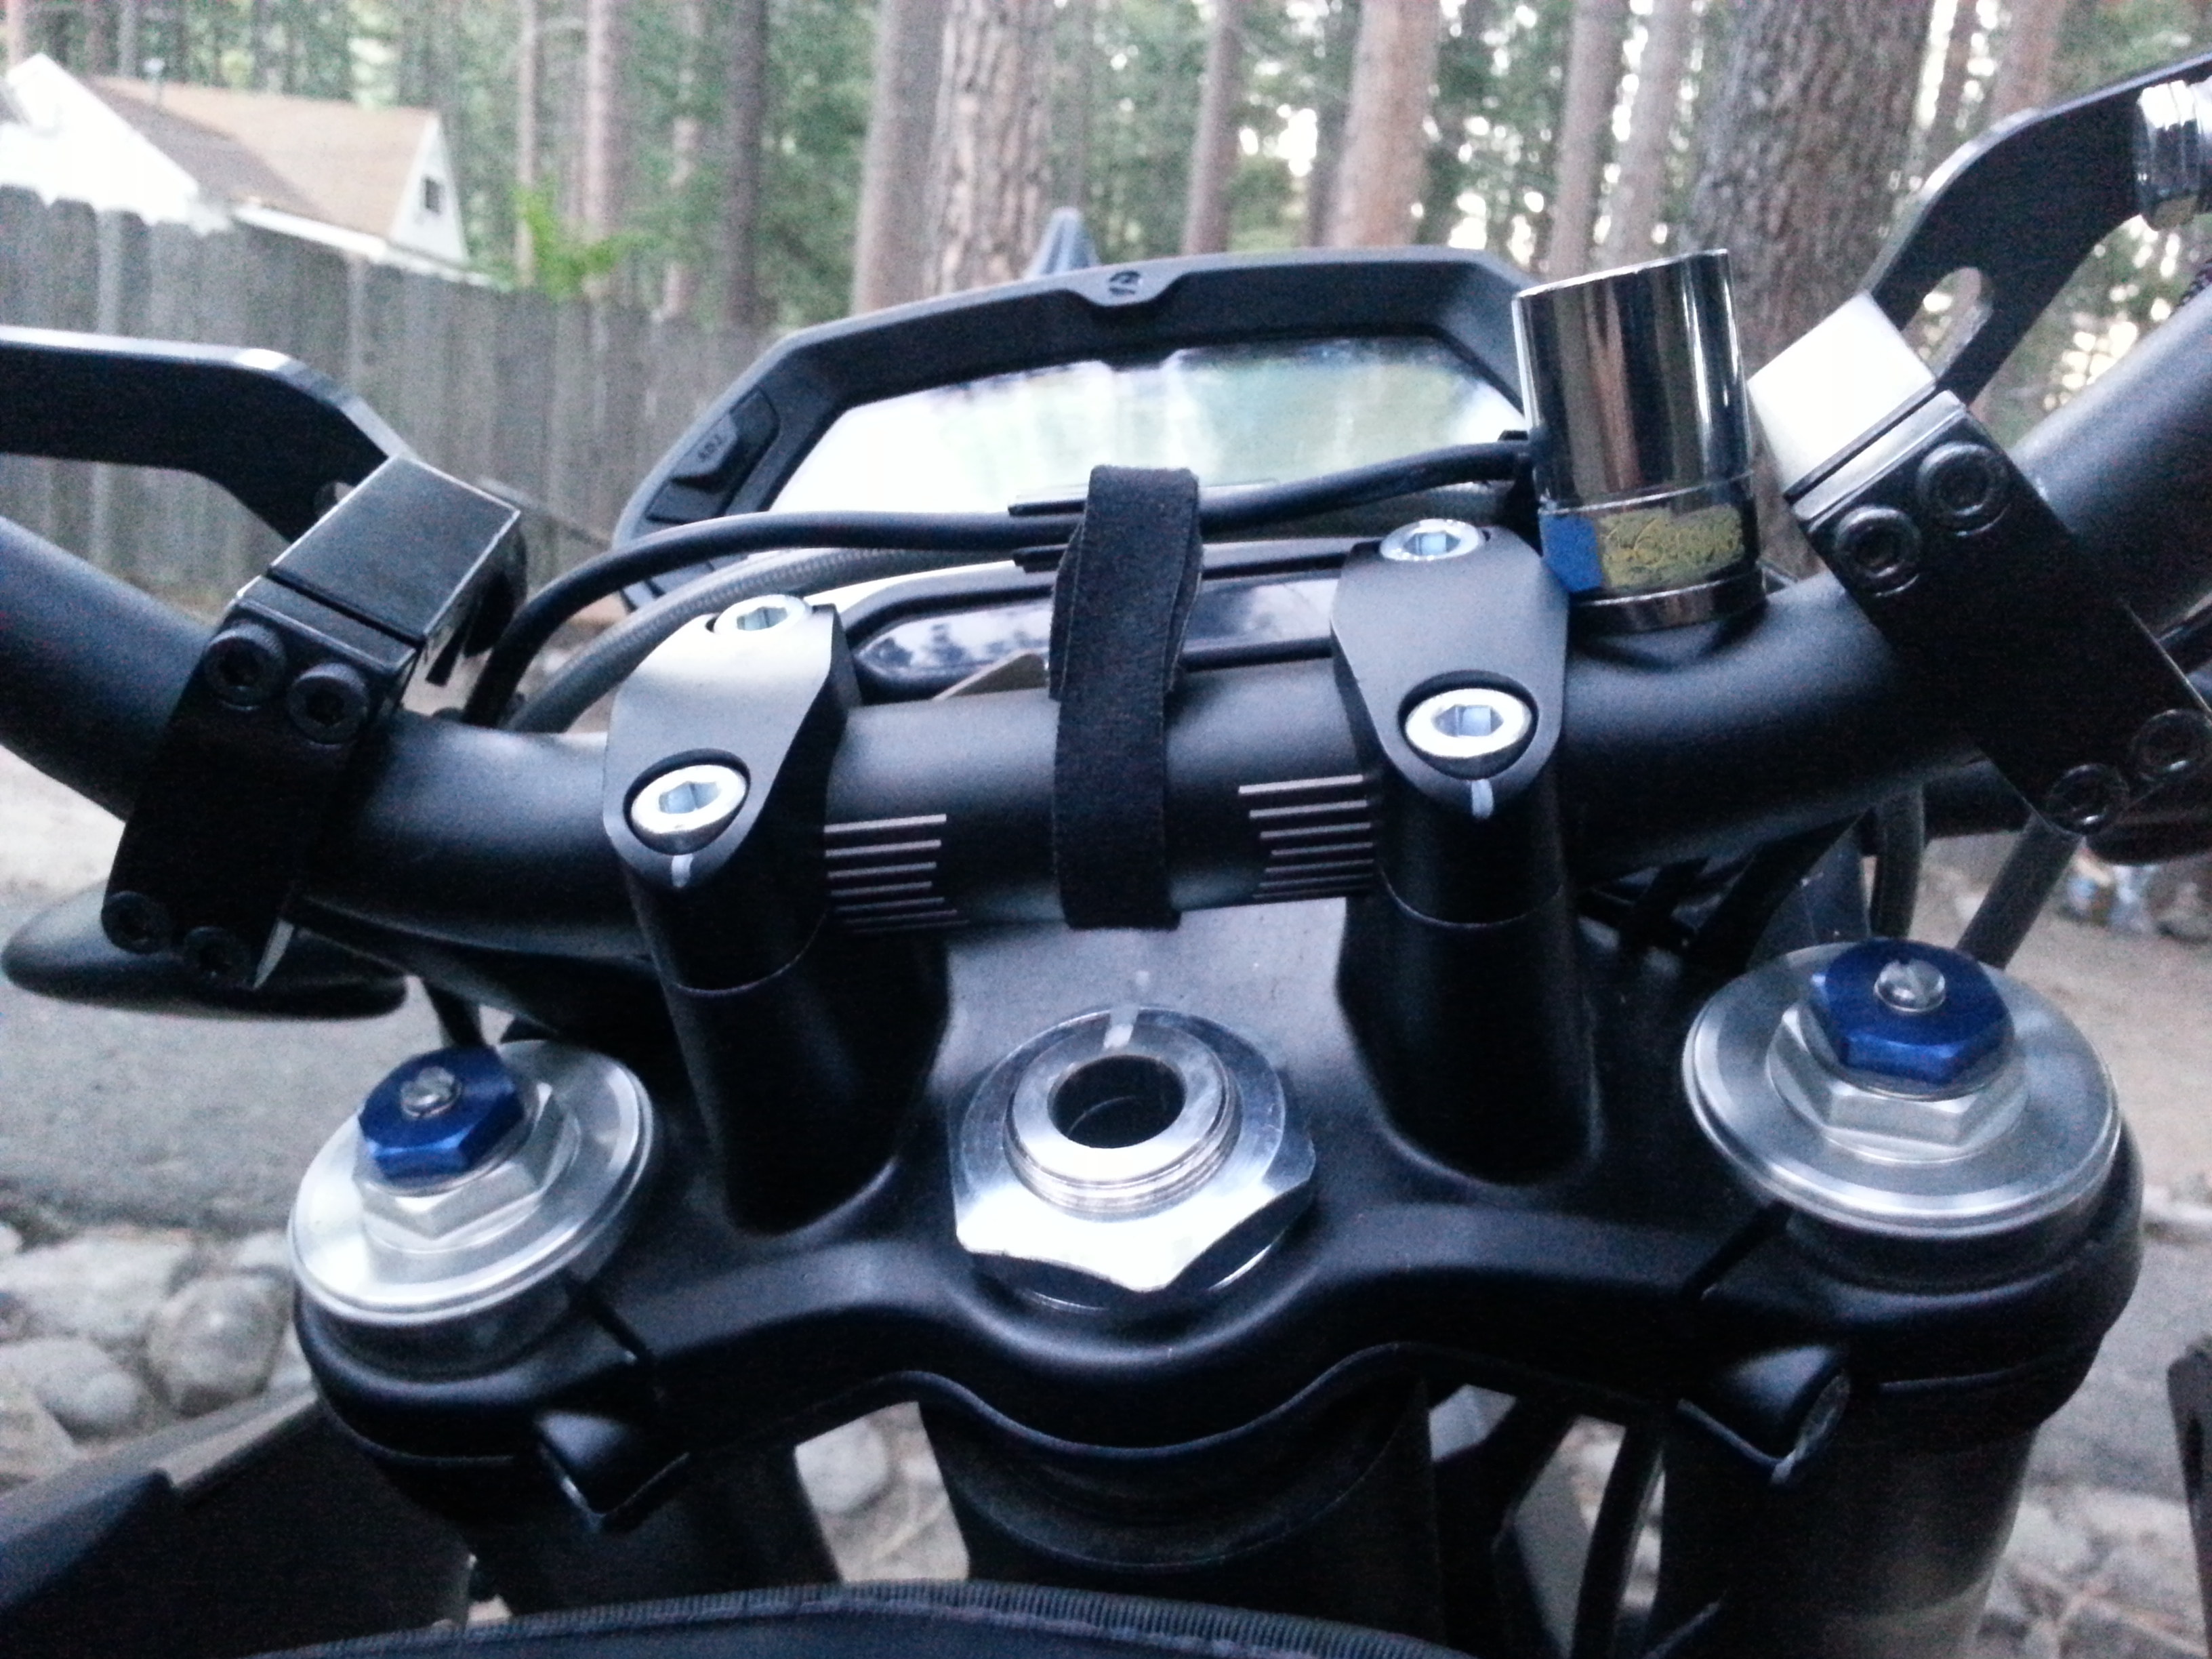
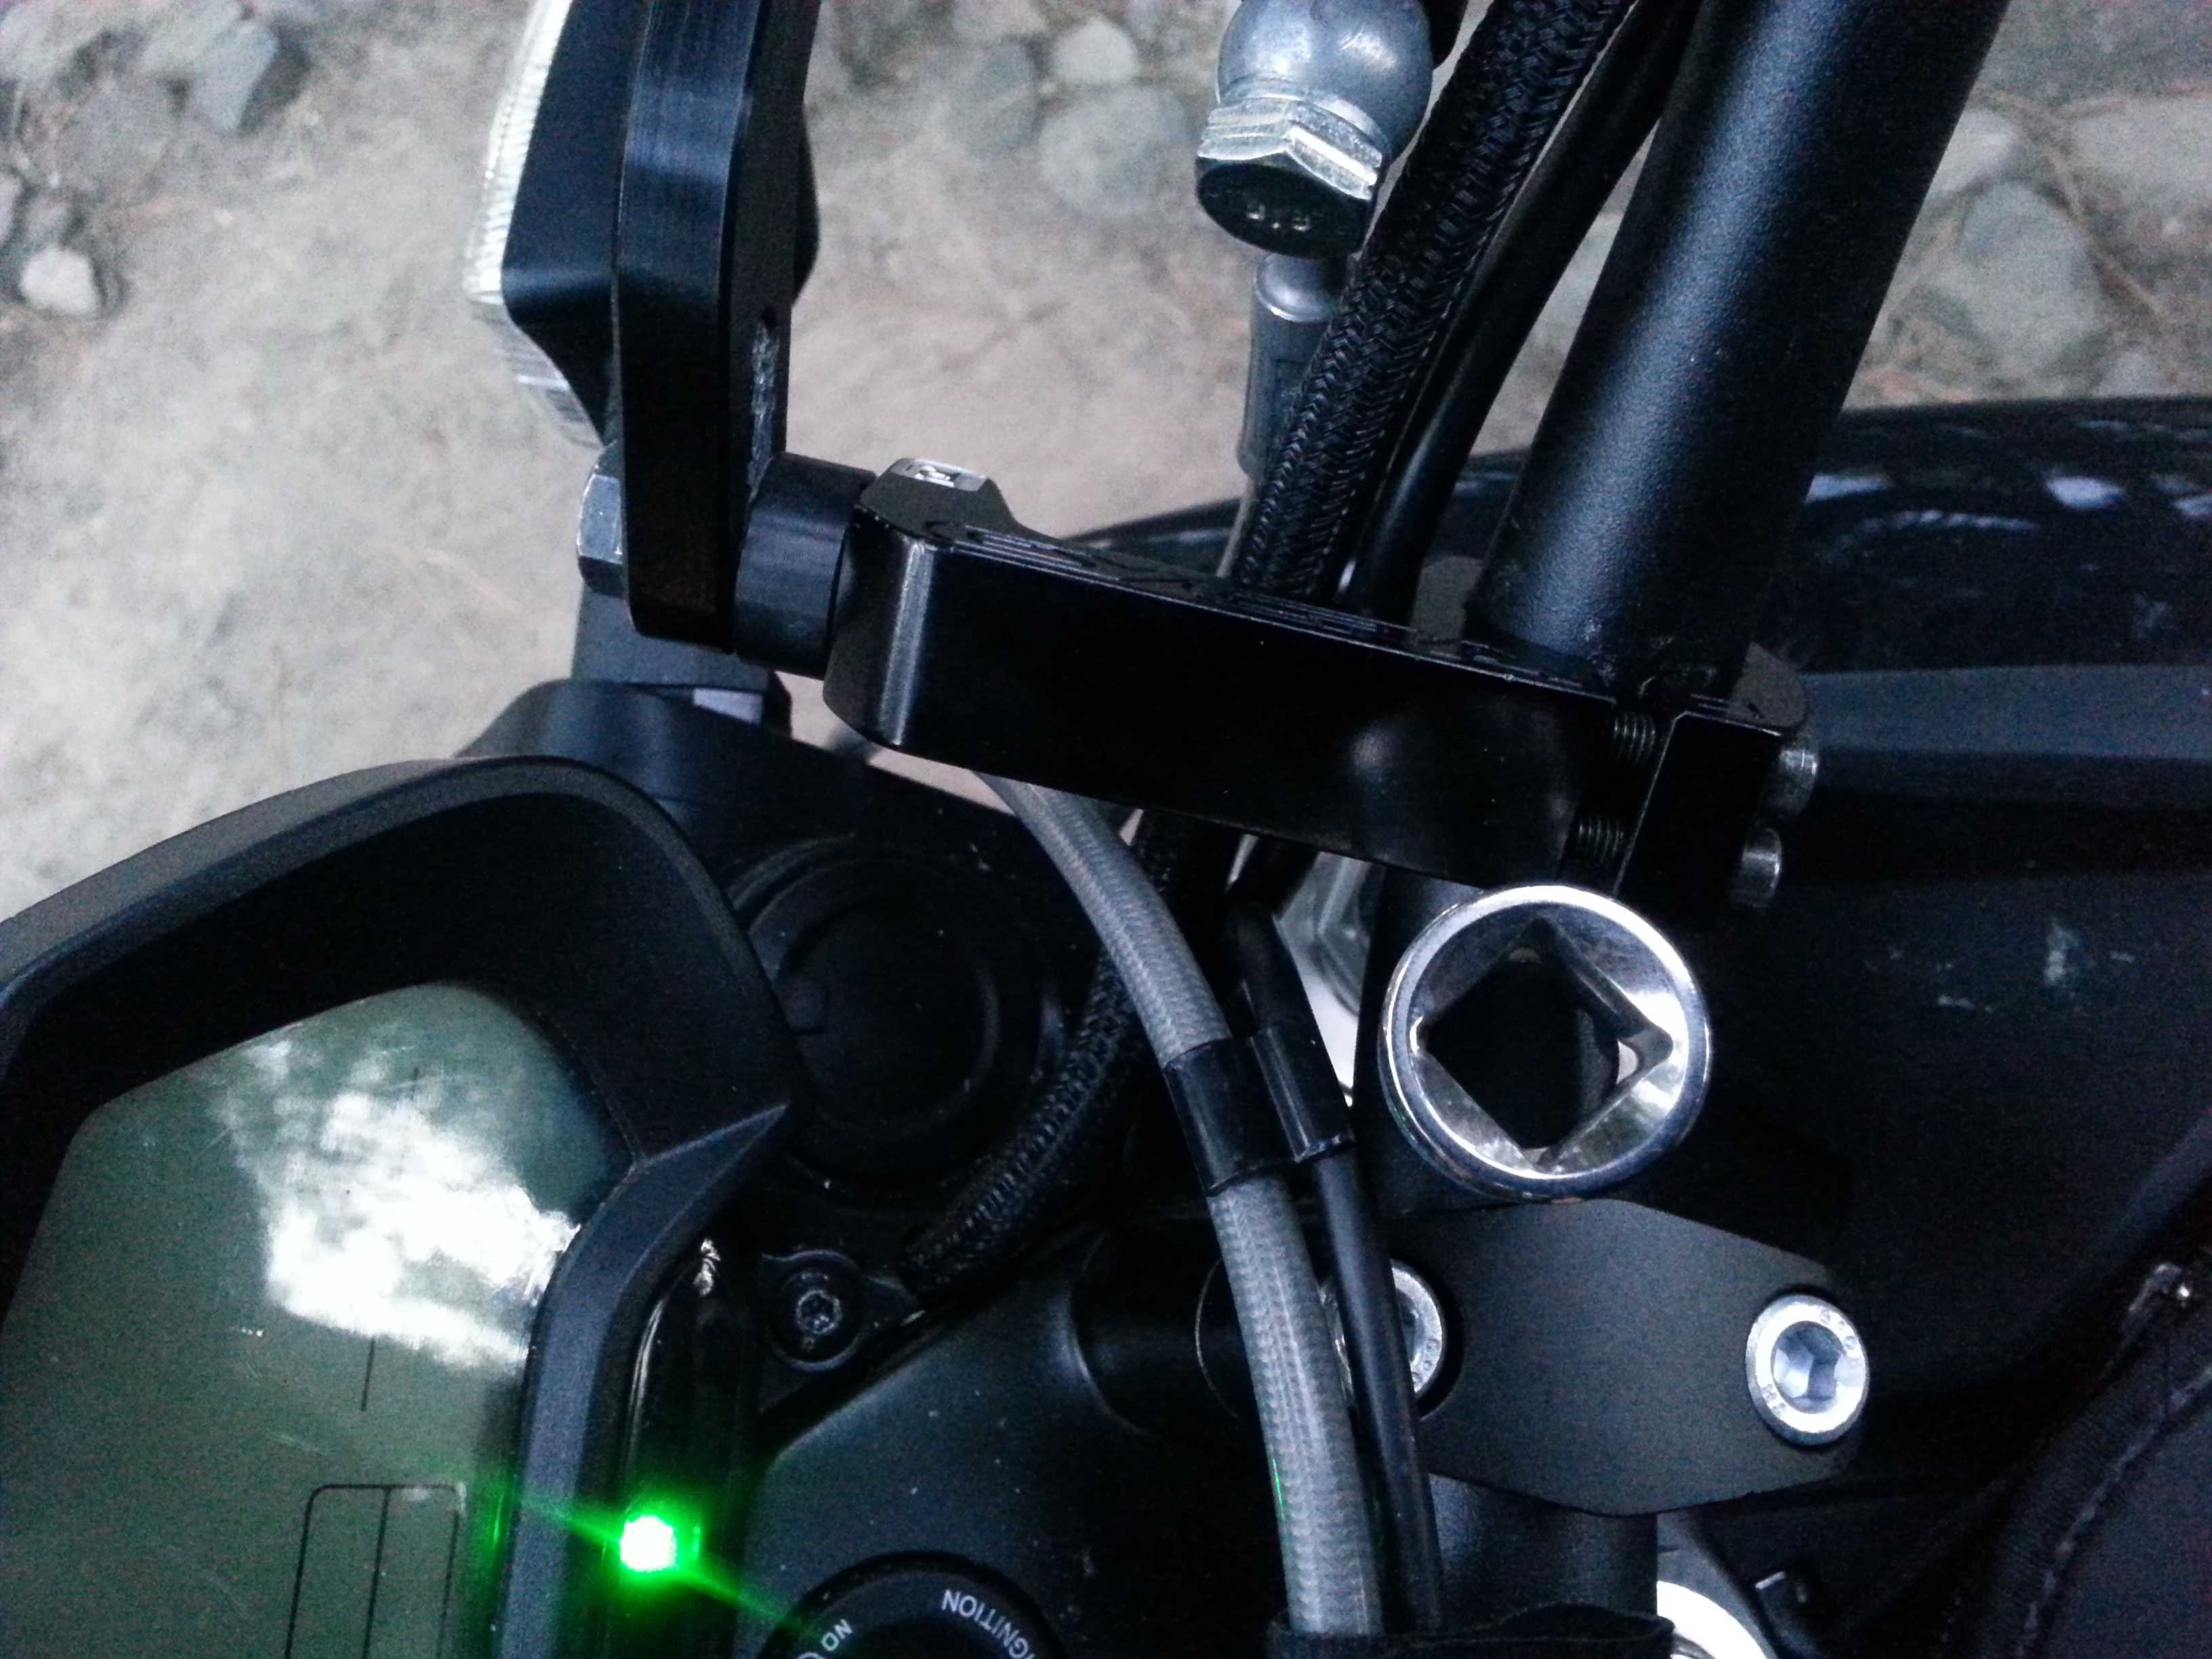
- Grab that bushing and 13mm hex socket bolt from earlier.
- Install the bolt through slot in the handlebar guard assembly, then the bushing, and bend the whole contraption into place so you can get threaded into the clamp bracket.
- Note: To avoid cross-threading the clamp bracket, take your time and use your hands to get it started.
- Note: For this install, it was attempted with the bushing to the inside and to the outside of the two metal brackets versus the head of the bolt; Bushing sandwiched between the two metal brackets seems to be the best but you may want to throw a washer on the head of the bolt and perhaps some Loctite on the threads. (Needs to be verified against the original instructions if anyone has these?)
-
- Done! Tighten everything again to your liking.


- Left-over parts
- Plastic handlebar caps, alternative handlebar inserts.