OEM Touring Screen Install
From Unofficial Zero Manual
This installs the OEM Touring Windscreen on any Zero model.
- Notes
- Used a MY2016 DSR
- OEM Screens are from MRA; most MRA screens for naked bikes have the same hardware type, so these instructions apply to the commuter screen as well, aside from the spoiler.
- Tools (common to many MRA mounts' hardware)
- 6mm Allen key wrench for the handlebar clamp bolts and replacements.
- 3mm Allen key wrench for the screen mounts.
- (Optional) flat blade screwdriver to set spoiler adjustment tension/firmness.
- Contents of kit (TOURING SCREEN 10-08058 $250 usd)
-
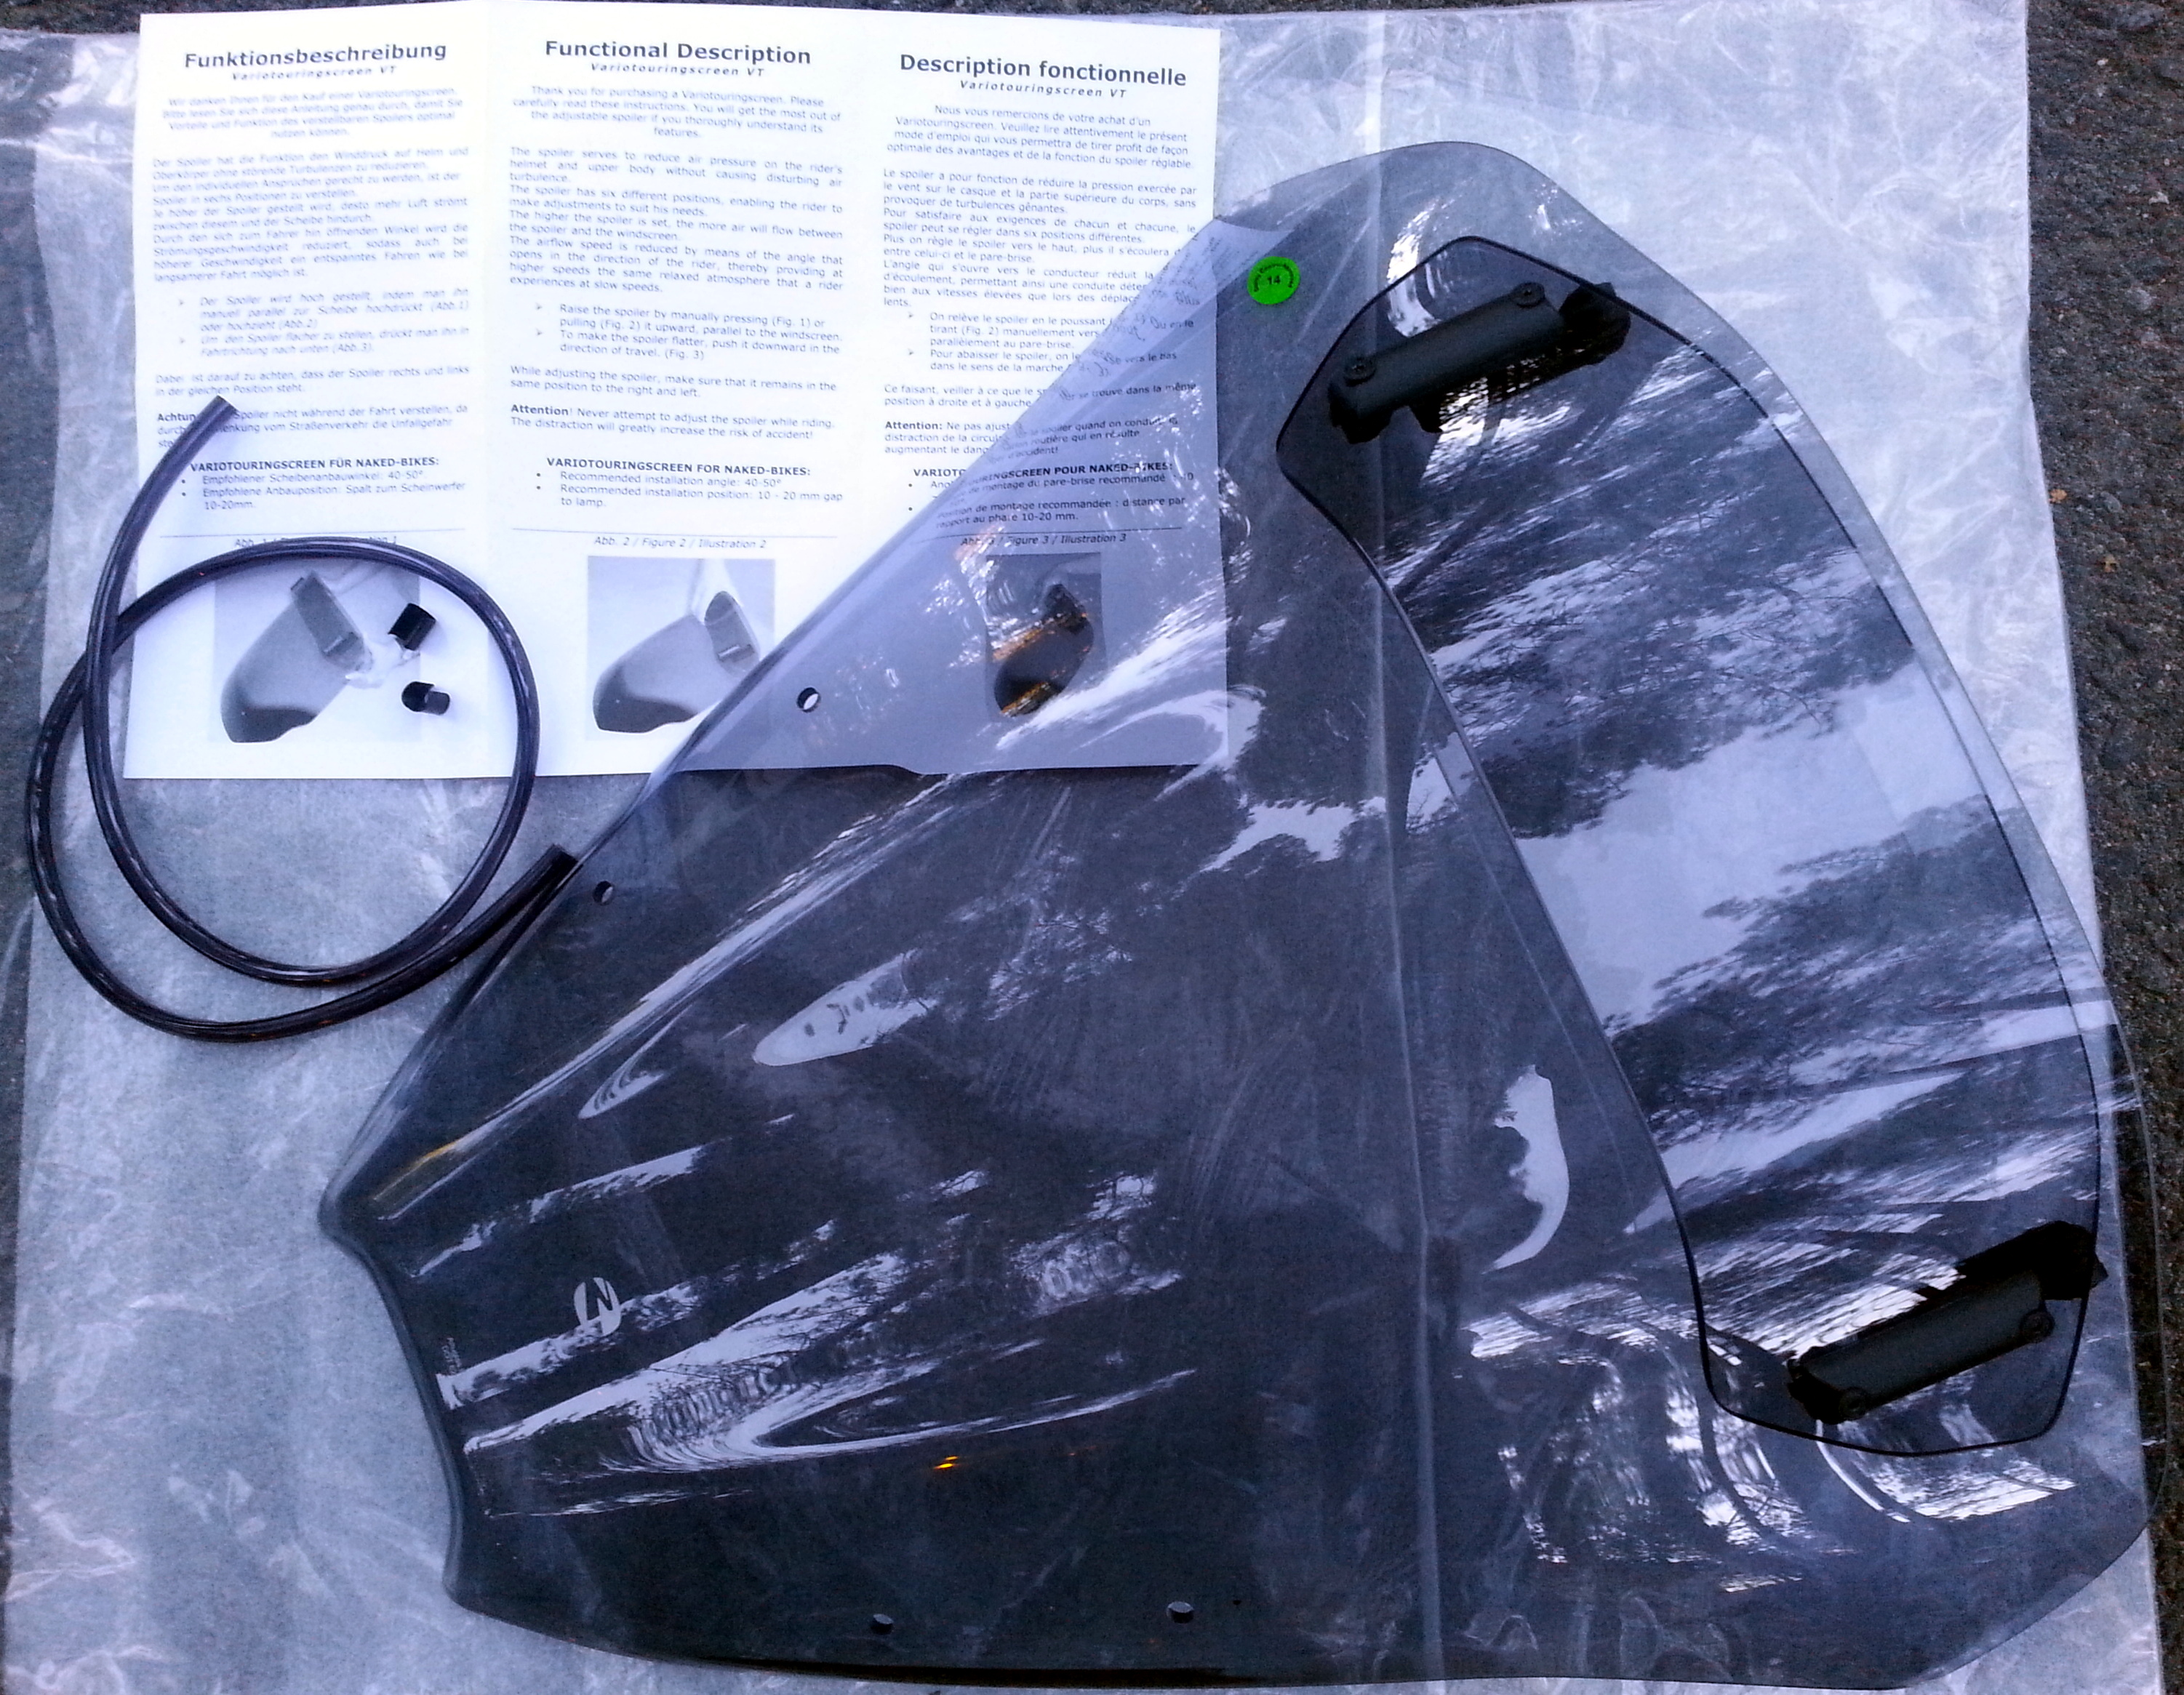
- Windscreen assembly, plastic edge piping trim and two metal clips.
-
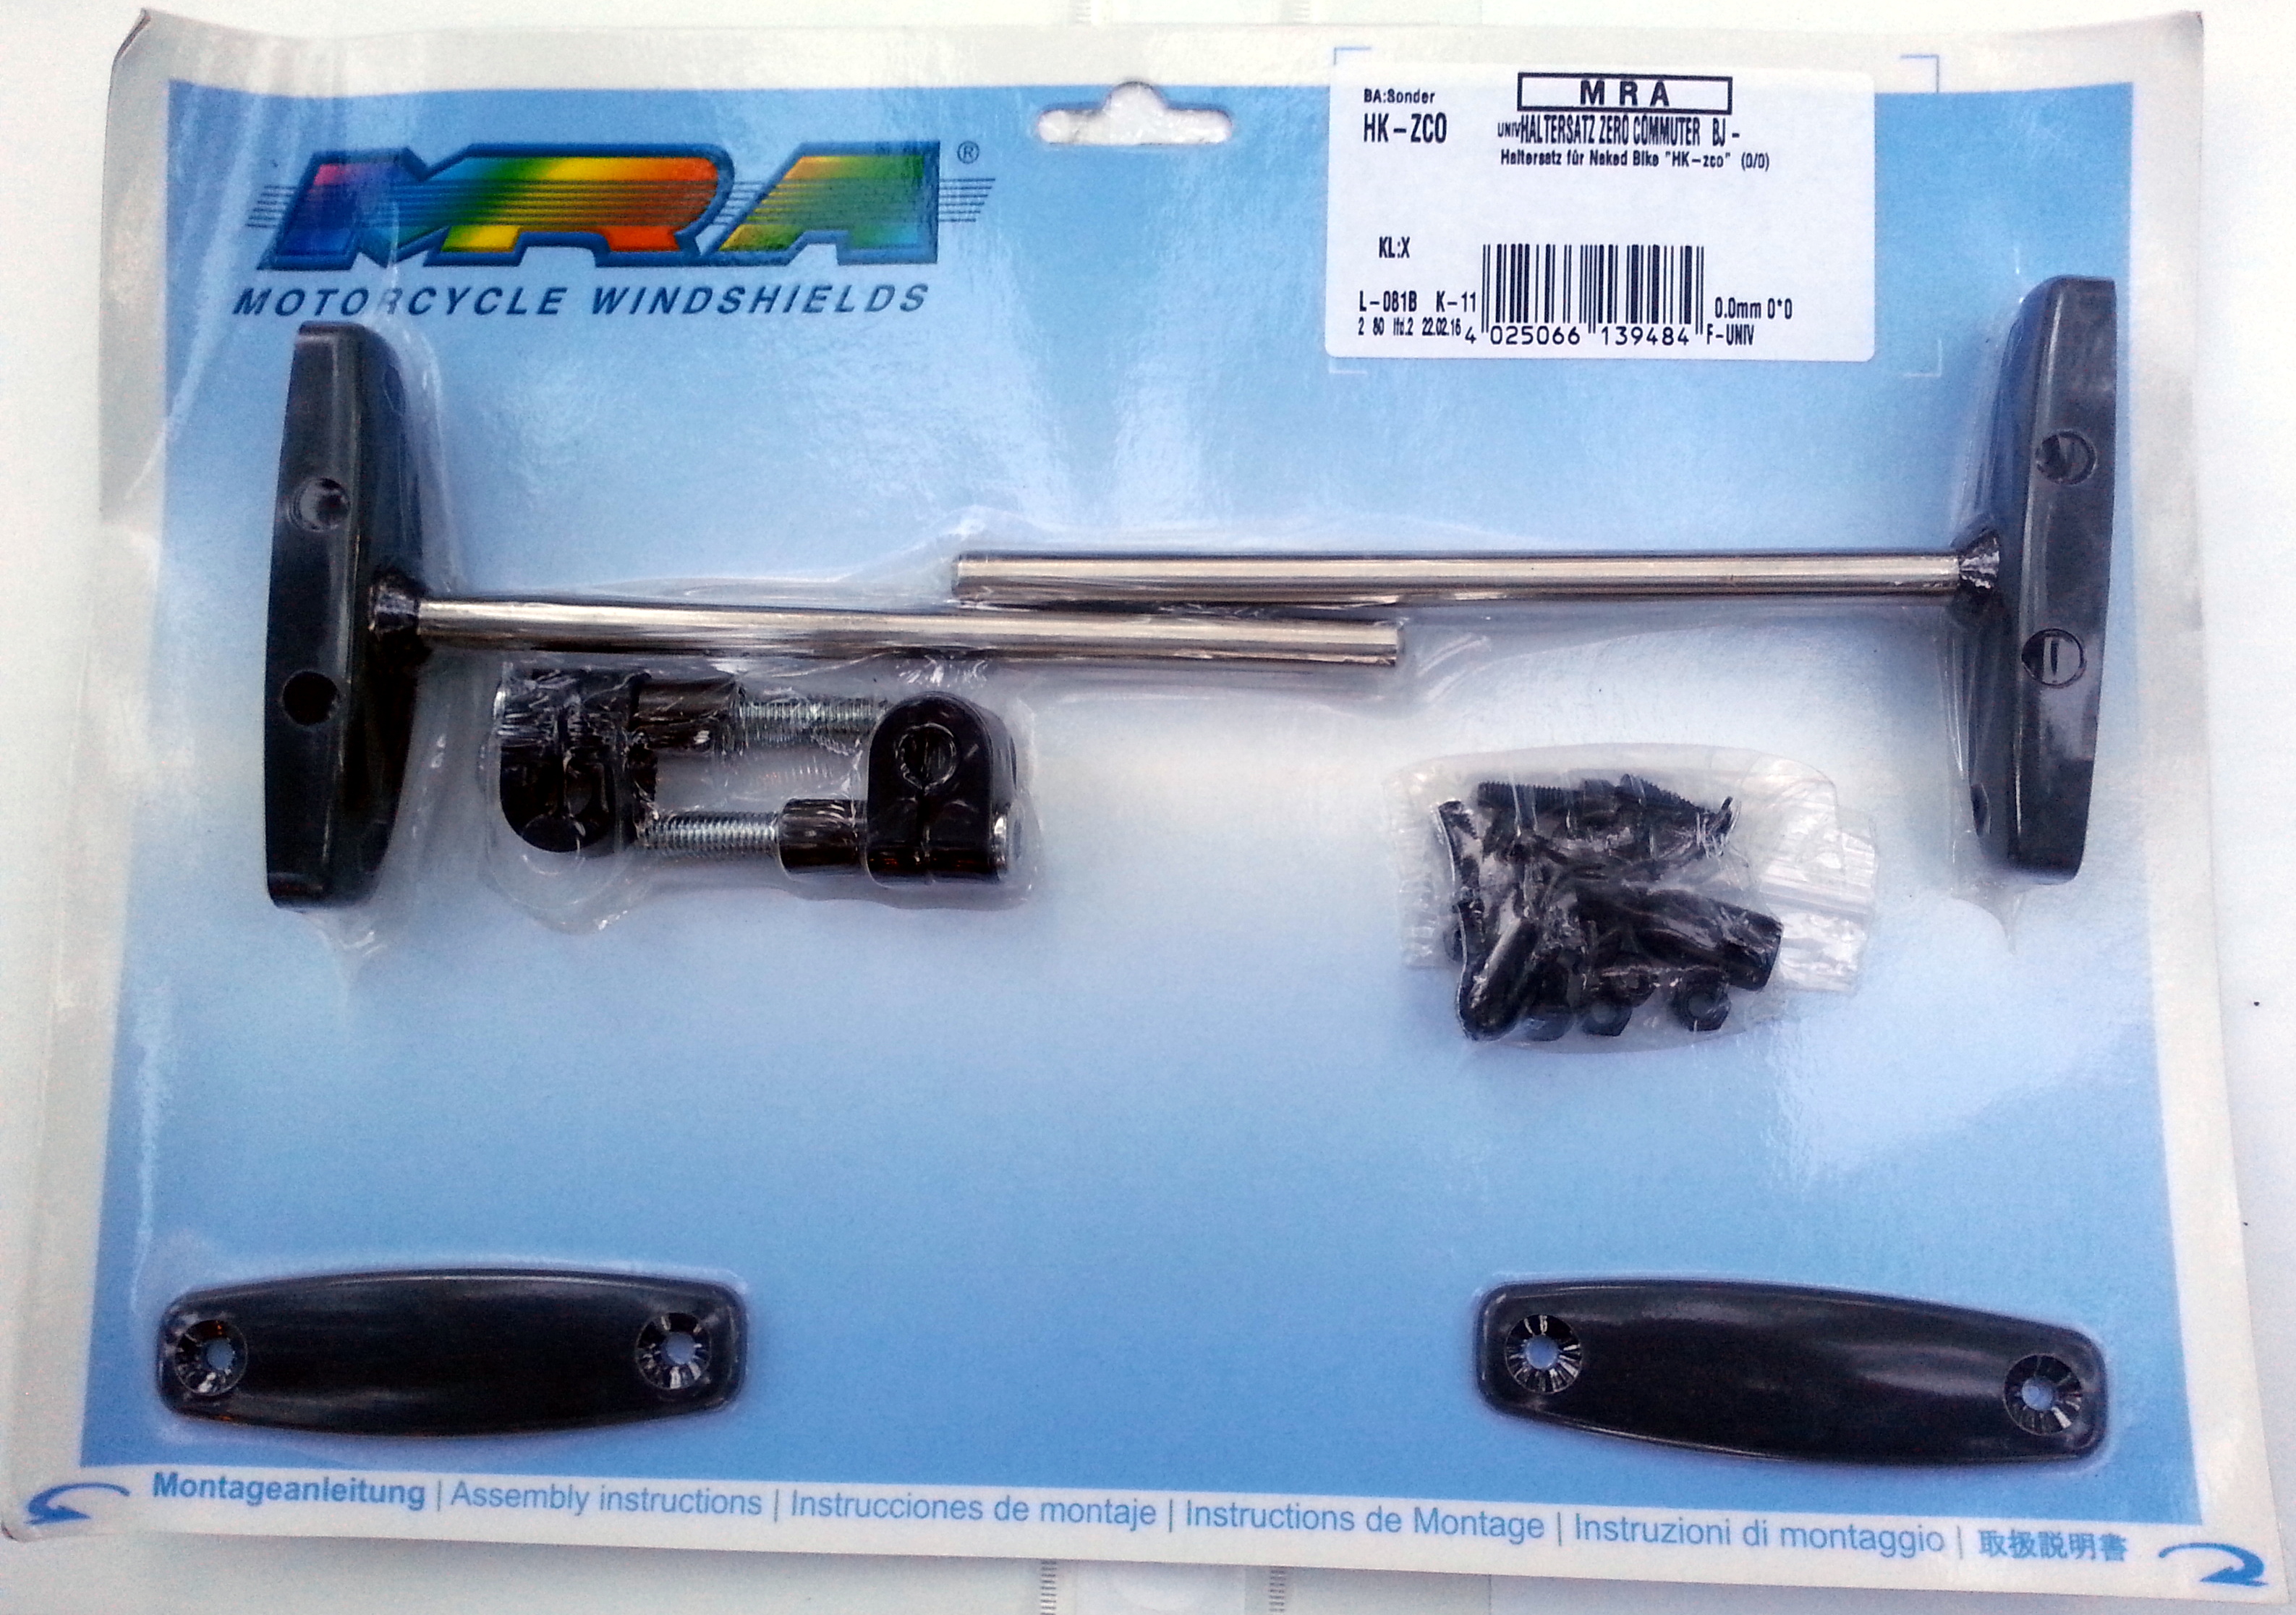
- A lot of these things are shrink wrapped to a card.


- Steps
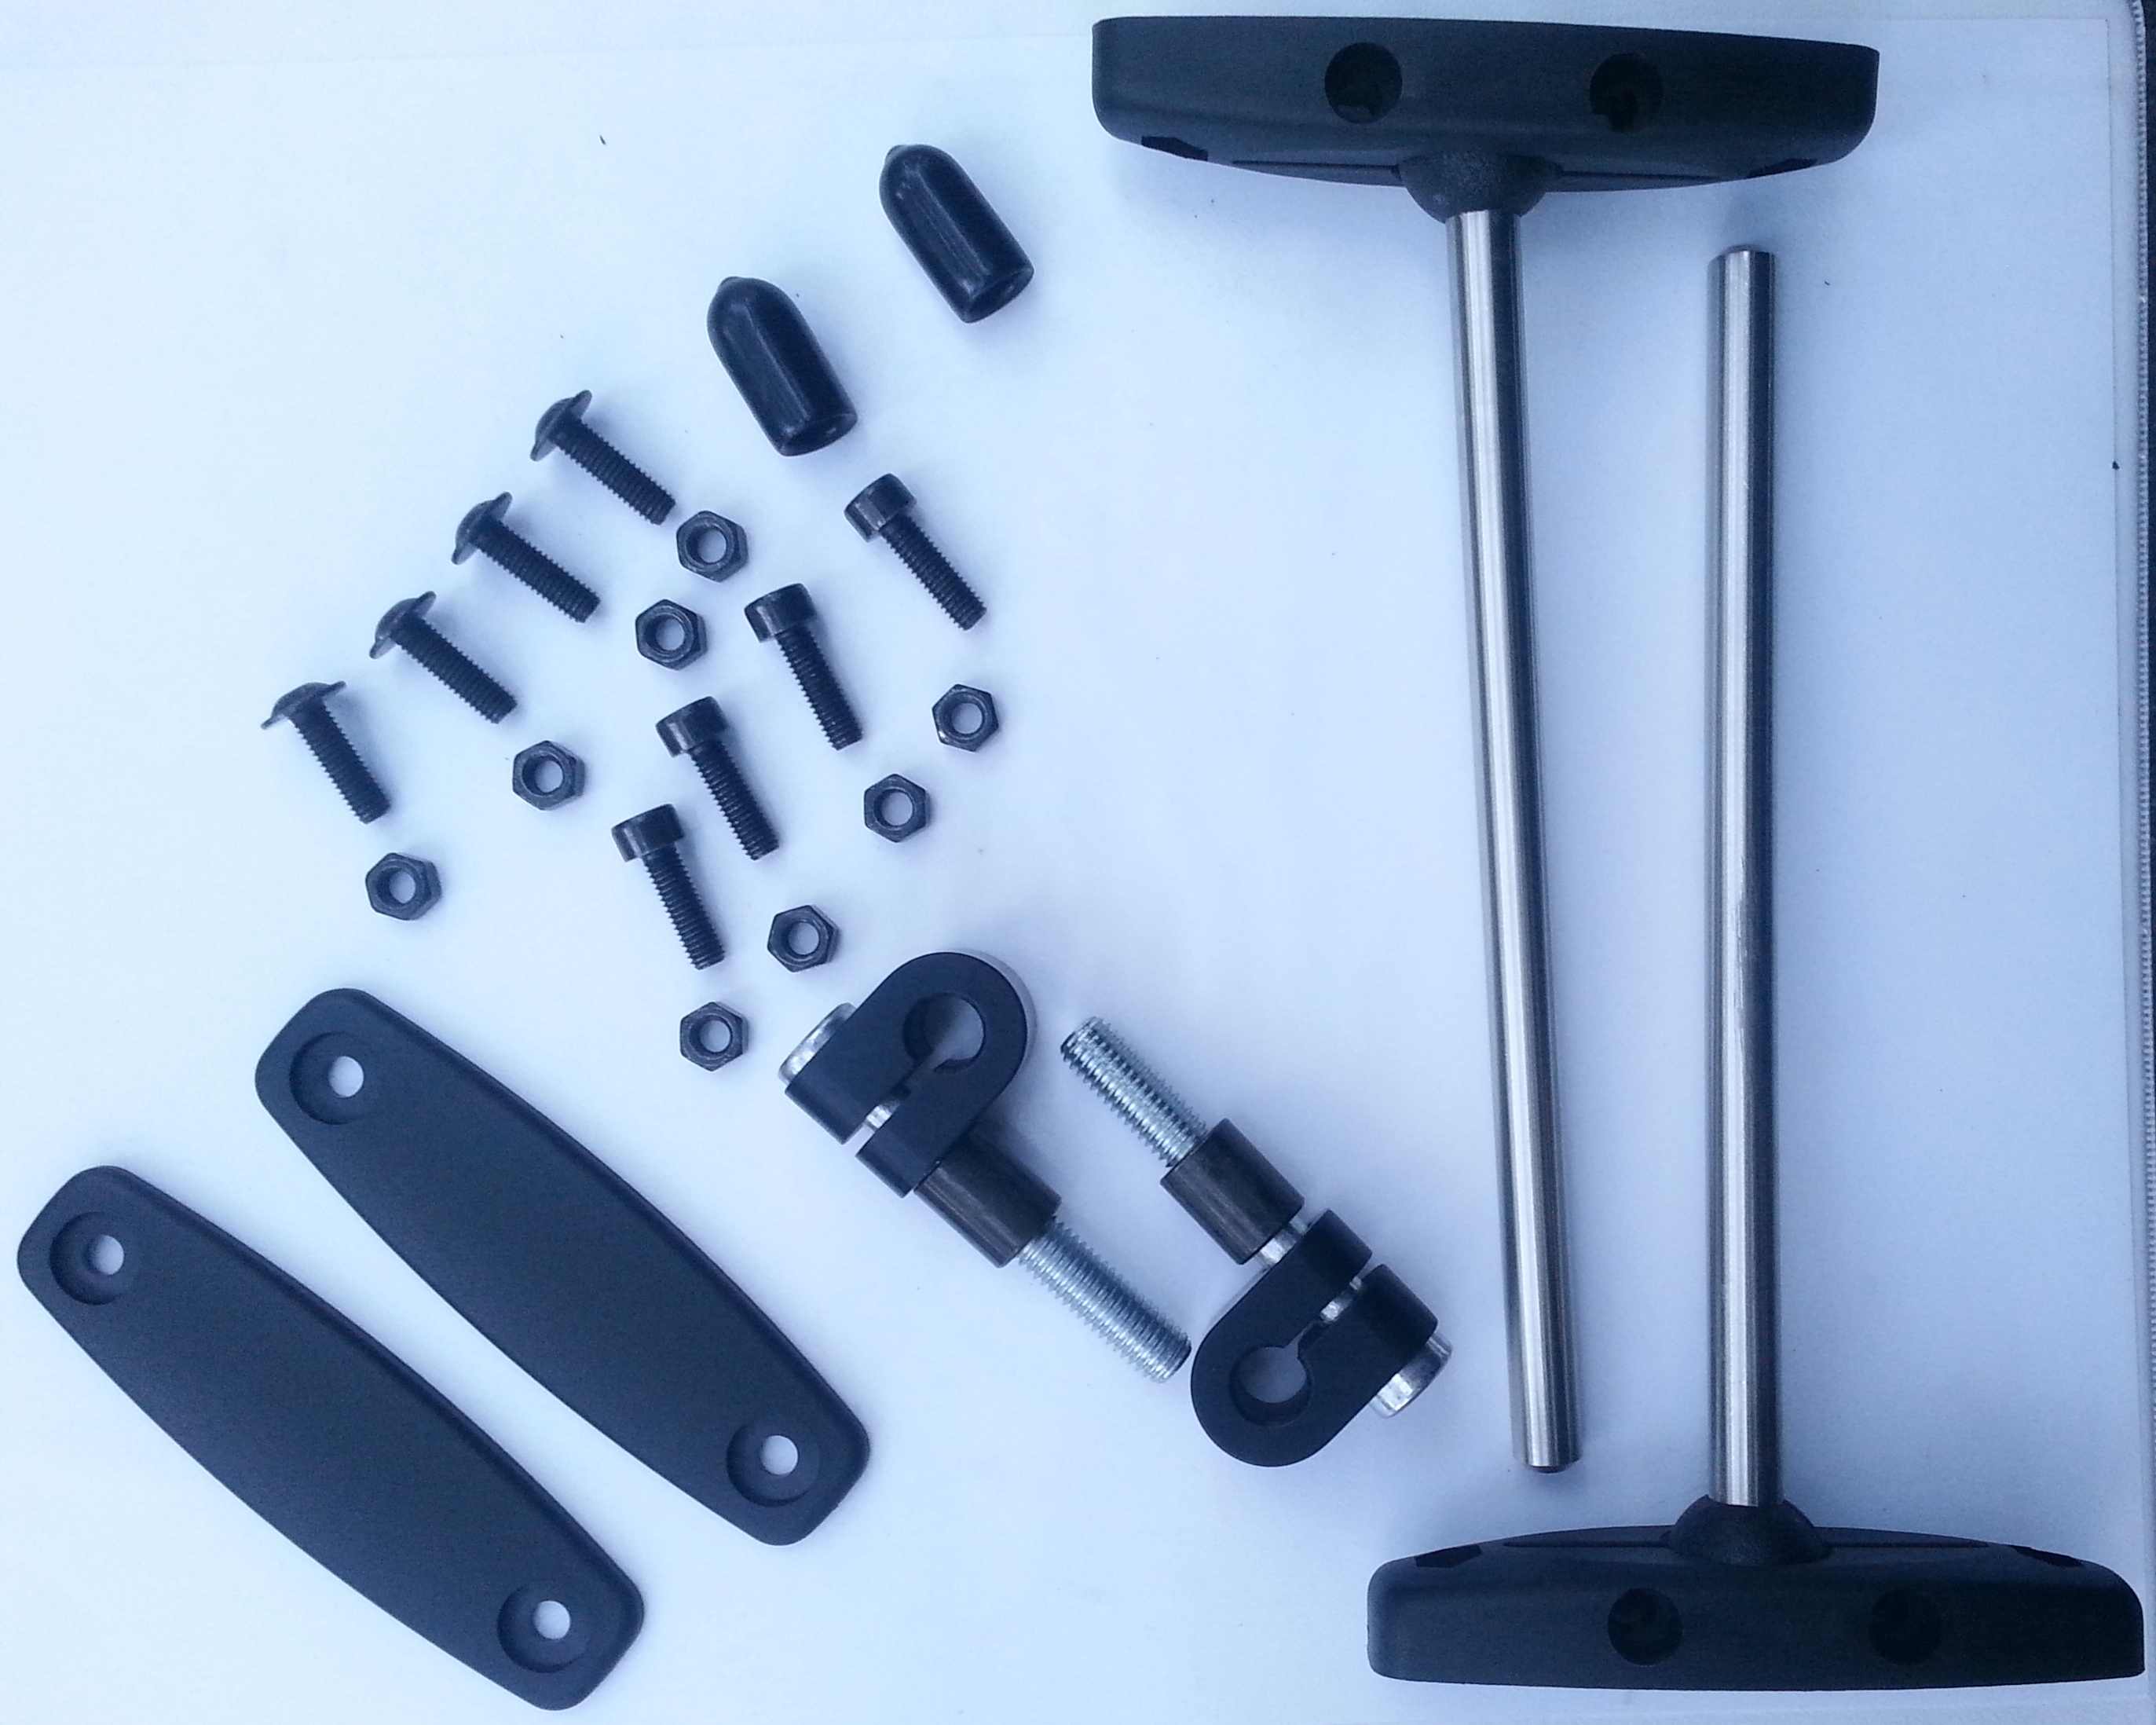
- Assemble ball socket windscreen things to be tensioned by nuts and socket head bolts
-
- Orient ball mount assemblies and slide on handlebar mounting brackets
-
- Prepare windscreen through-mount pieces and affix to windscreen
-
- Mount to handlebars using provided bolts to replace the top stock handlebar clamp bolts. Torque per the owner's manual.
-
- Add piping
- Begin with one end
-
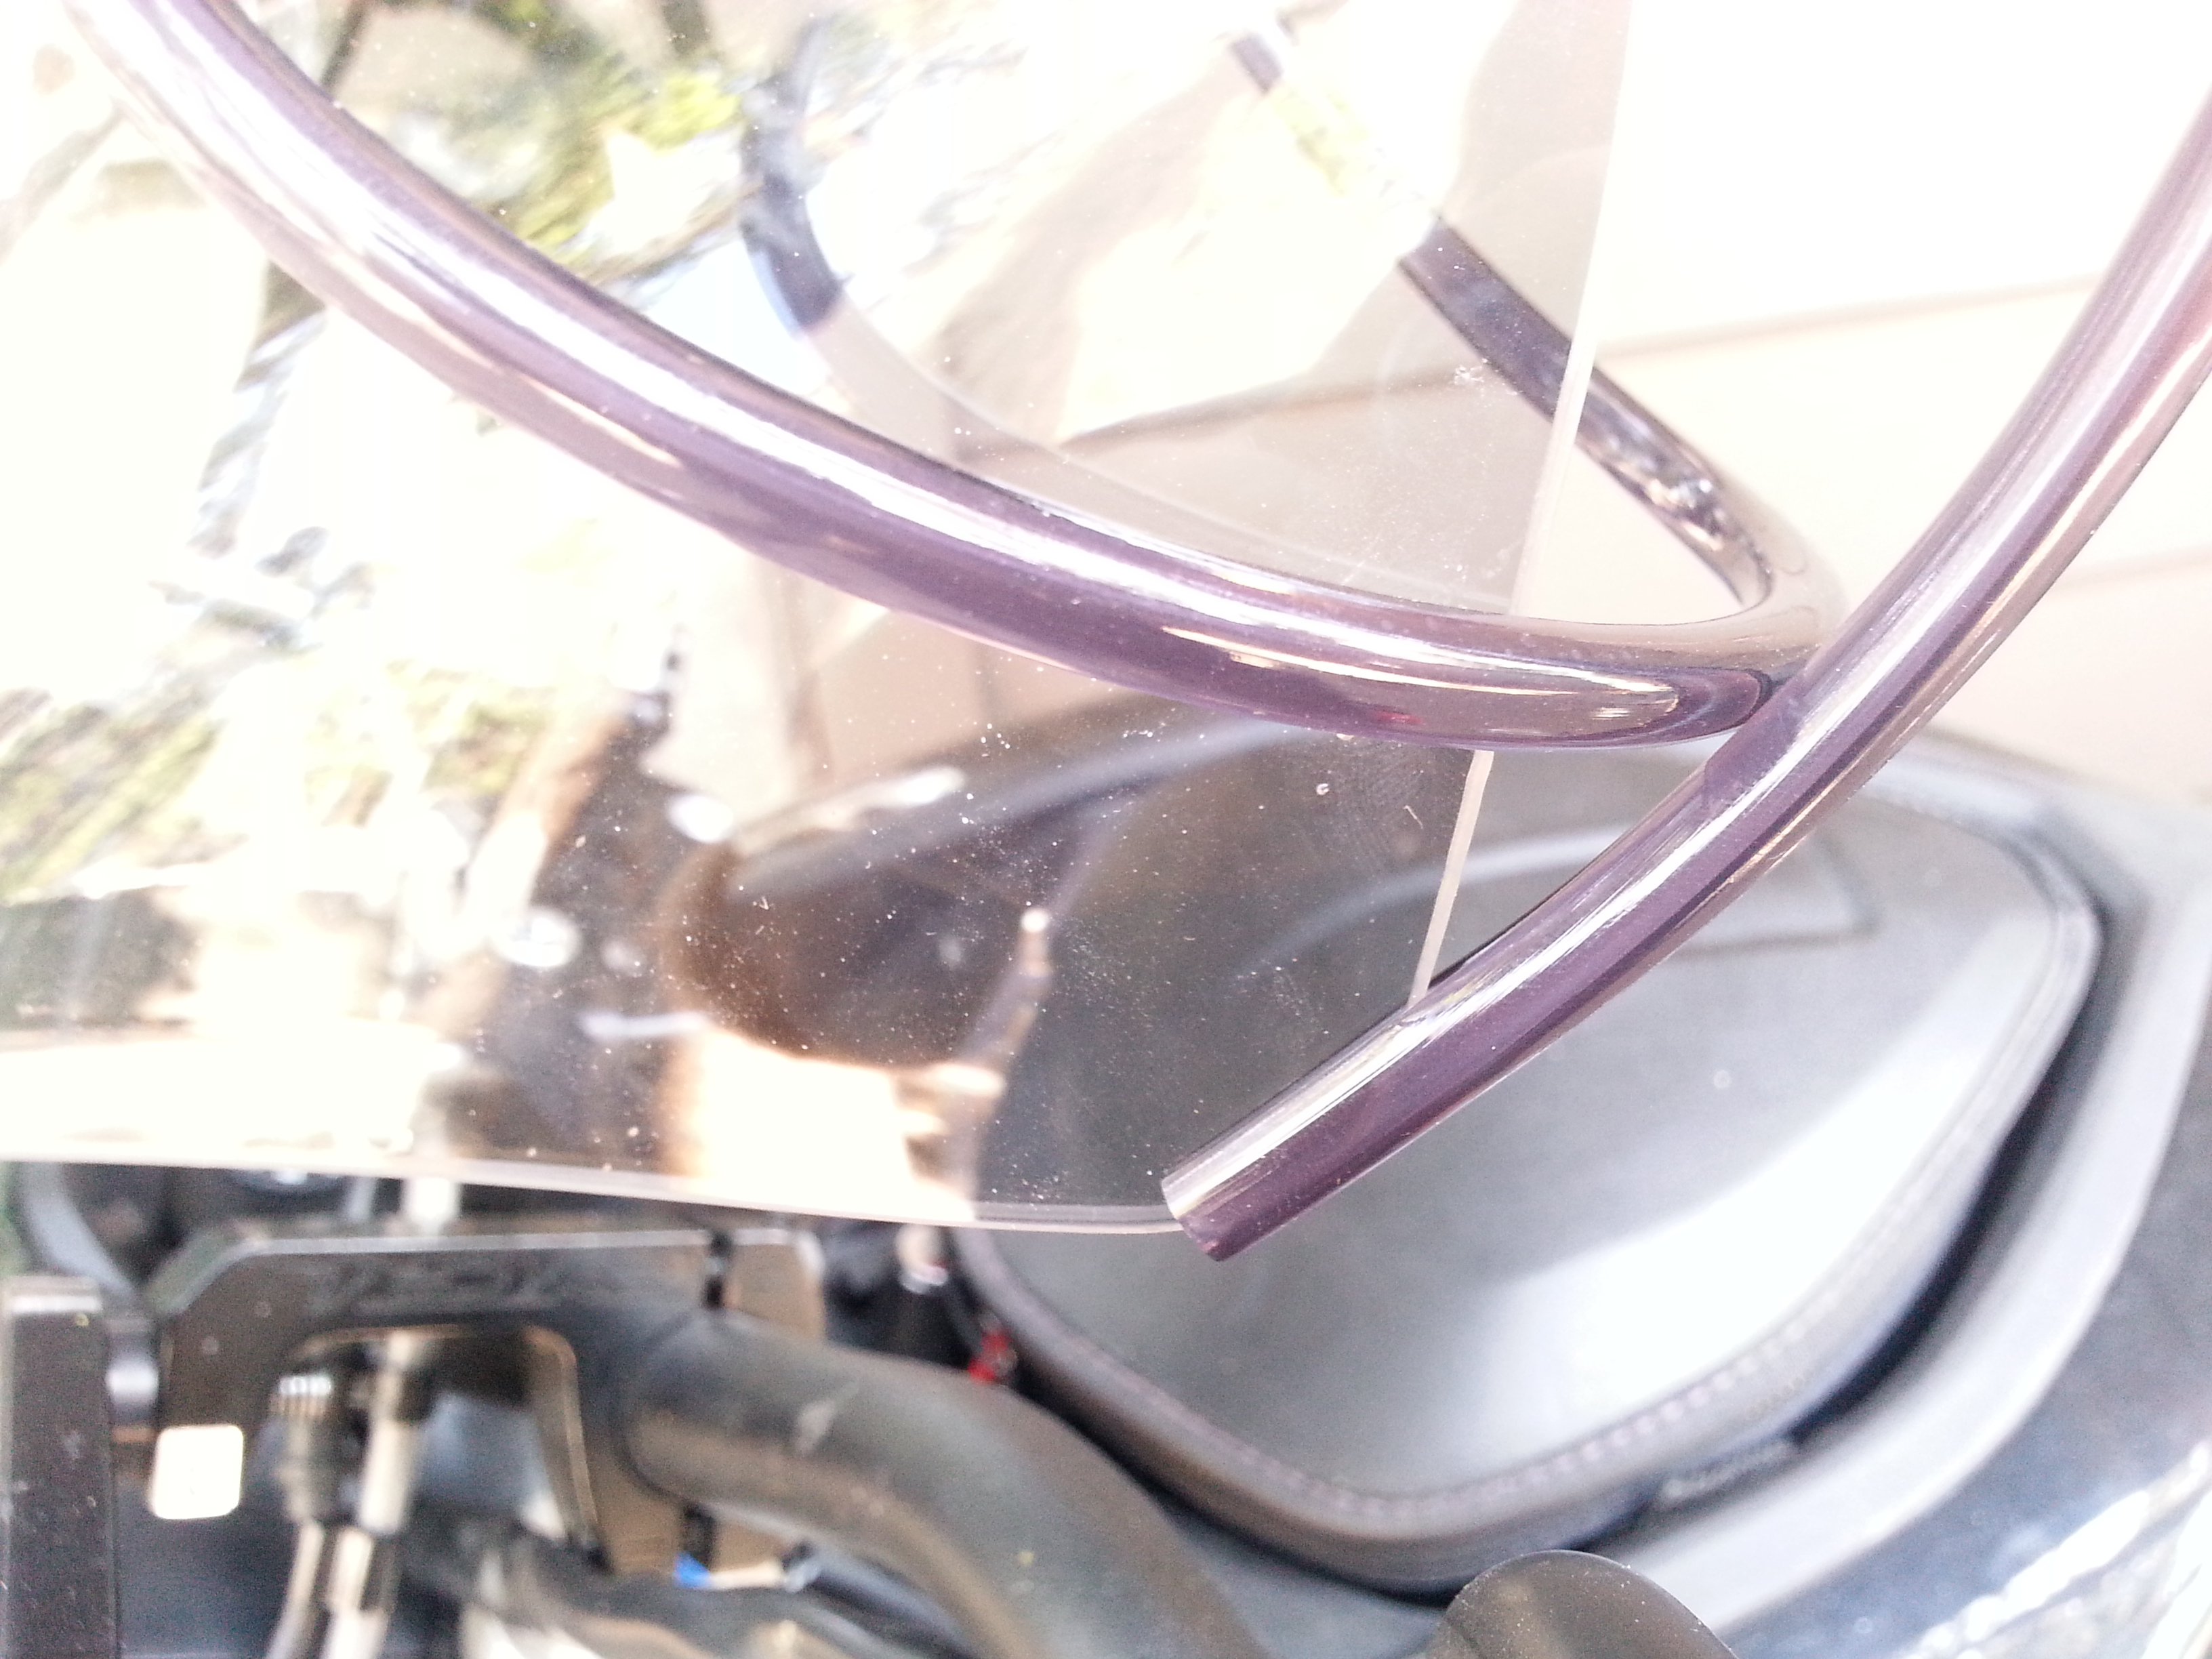
- Add a clamp
- Error creating thumbnail: /bin/bash: /usr/local/bin/convert: No such file or directory
Error code: 127 - Trim to length and add the other clamp. If enough is left over you could attach some to the bottom.
- Error creating thumbnail: /bin/bash: /usr/local/bin/convert: No such file or directory
Error code: 127


- Left-over parts
-
- Handlebar clamp bolts
- Piping scrap.