Difference between revisions of "Gen2/Charging Inlet"
From Unofficial Zero Manual
< Gen2
BrianTRice (talk | contribs) (extract from service manual) |
(No difference)
|
Latest revision as of 05:28, 5 December 2019
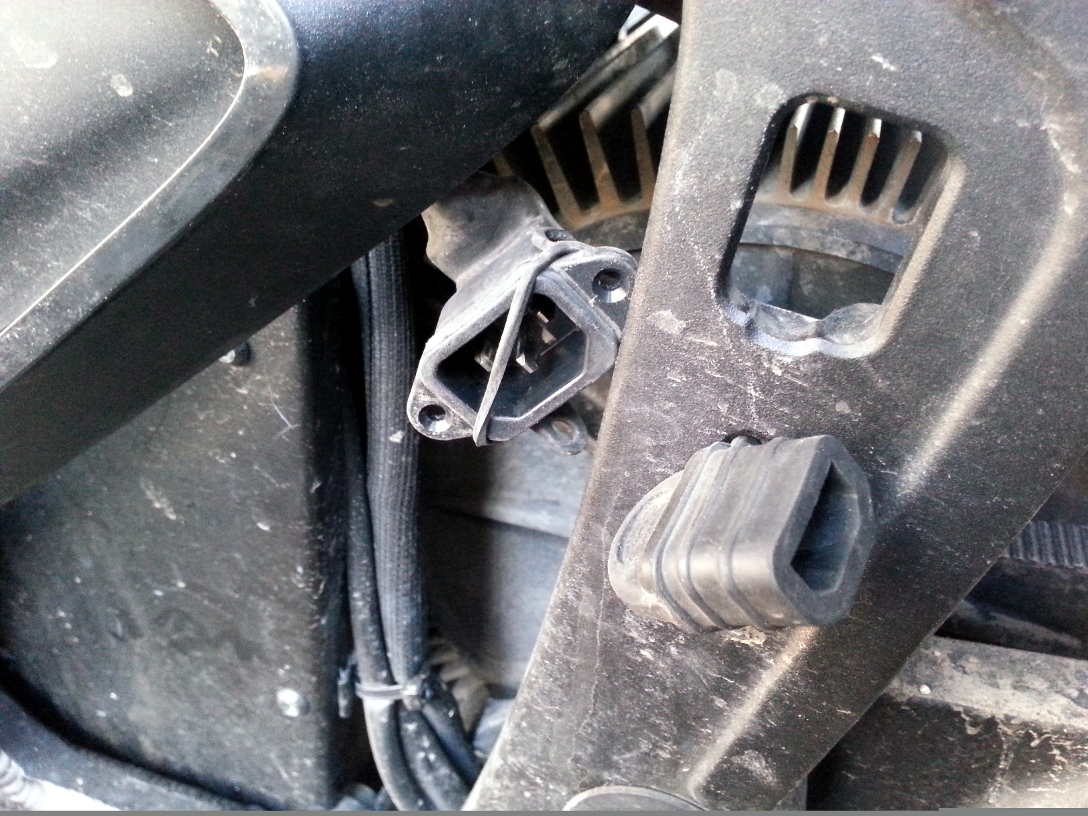
The onboard charger is connected to an IEC C14 inlet hard-mounted to the lower left side of the frame above the footpeg.
- Fasteners
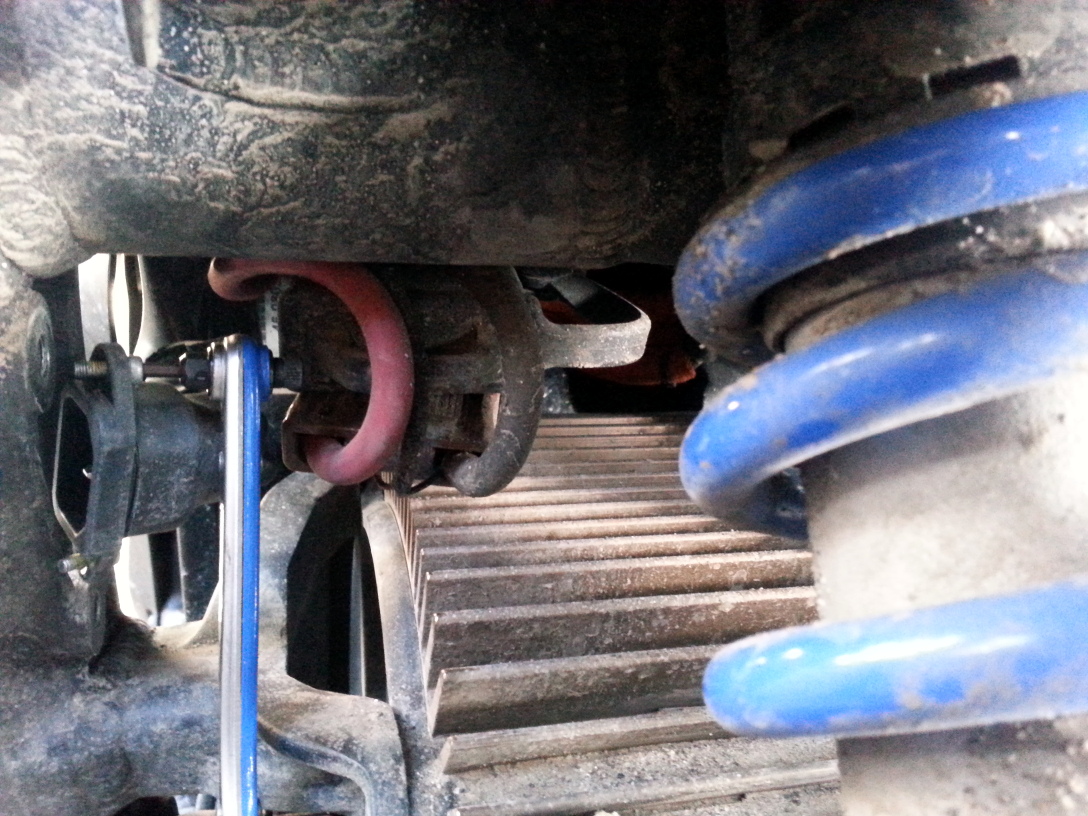
- The C14 inlet is fastened to the inside of the frame by 2 tiny M2×7.5 socket head bolts taking a 2.5mm Allen/hex key.
- The bolts are positioned above and below the body of the inlet; the lower can be accessed from the front, and the upper from the rear.
- The space around the fasteners is very tight, facing the motor, and difficult to see or access.
- NOTE: Because of the close proximity to the motor, front sprocket, and other electrical connections, take care not to drop or lose these bolts as you remove them.
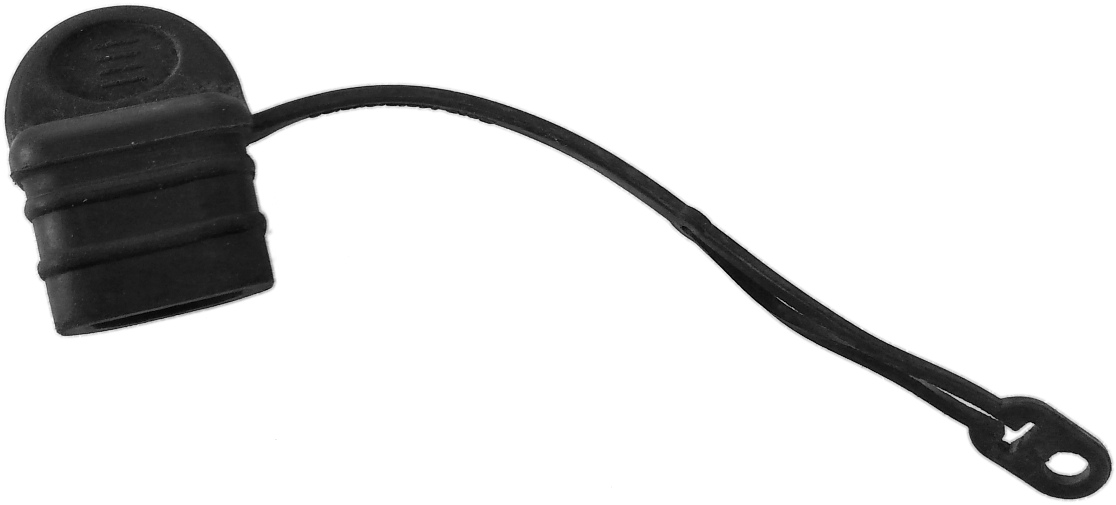
- Rubber Plug
- A rubber plug is included to protect the inlet from the elements (which then protects the onboard charger from sparking currents that can degrade it over time).
- Keep the rubber plug on when the inlet is not connected to a cord.
-

- Plug Replacement


