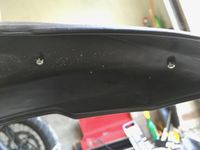
Fender Brace
From Unofficial Zero Manual
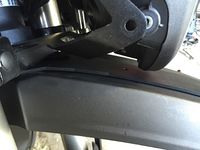
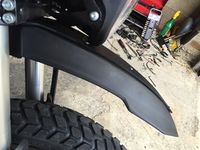
The DS/DSR/FX/FXS models have a dual sport high fender which does flex a bit at speed.
- Some research indicates that the bolt pattern mounting the fender matches the Honda XR650L, allowing third-party fenders to replace it.
- Confirmed Fits
- JSN Engineering's fender braces.
- JSN Engineering also offers an auxilliary LED mount that uses the same attachment point.
- Steps
- The pattern is 4 holes in a rectangular shape 58mm (2.3in) wide and 50mm (1.95in) front to back (center to center).
- The bolts are M5x15mm button head socket screw for a 3mm Allen key.
- Remove the fender with a 3mm Allen key.
- Install the fender brace above the fender and replace the fender.
- Flex the fender to match the fender brace while keeping the mounting bolts in the fender to hold the brace the way it will be installed.
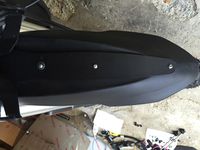
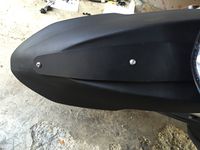
- Mark the fender where the holes for bracing align with the fender plastic.
- Remove the fender and drill holes matching the marks.
- Double check how the alignment should happen since flexing will cause it to differ.
- Replace the fender with the brace above it, and then fasten the fender to the brace.
- Trivia
- the S fork bracket has the same hole pattern as the DS, allowing it to mount hardware there.
