SDS Platform/Zero Drop Bars
From Unofficial Zero Manual
- Overview
- OEM S Platform Drop Bars
- Zero has a parts catalogue for dealers for the police (SP/DSP/FXP) models - the crash guards and crossbar, and the upper left and right brackets, but they don't sell the hardware (screws and bolts).
- The manual entry for the Frame attachment points is sufficient now to source the hardware easily.
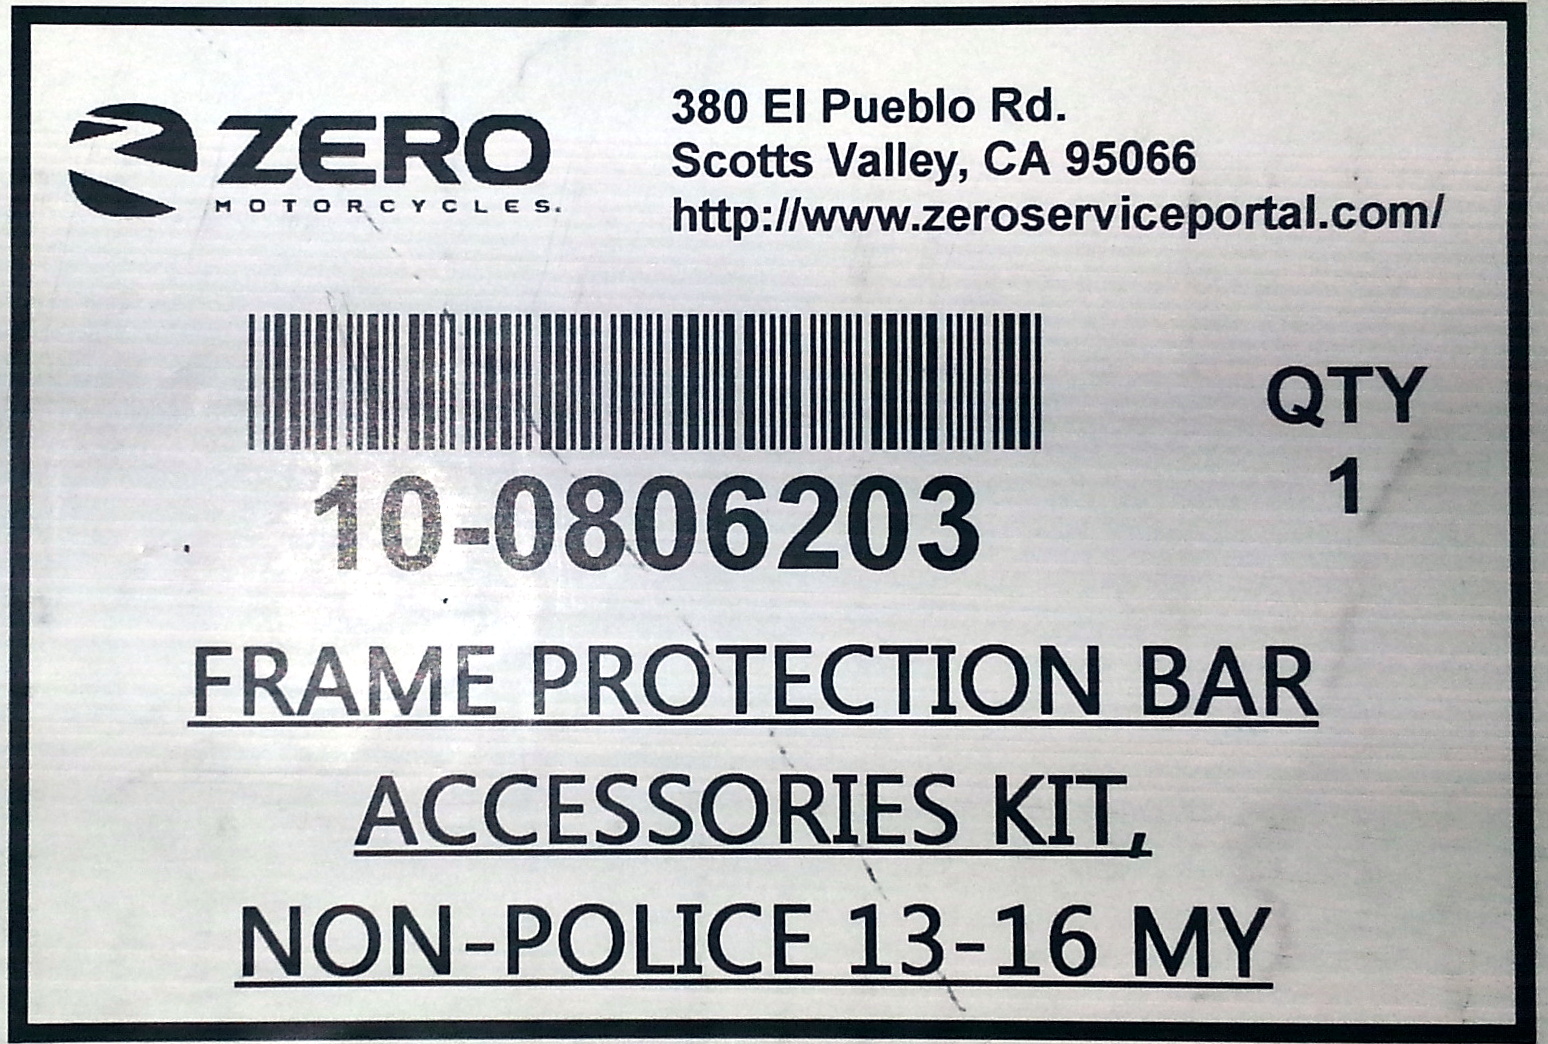
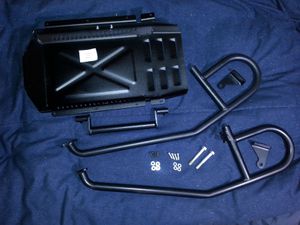
- This product is a "retail civilian version" of the Drop Bar Kit that is complete.
- It includes a new skid plate because the S/SR skid plate is not designed with the drop bars in mind (lighter weight, probably plastic, with no pre-drilled holes for mounting).
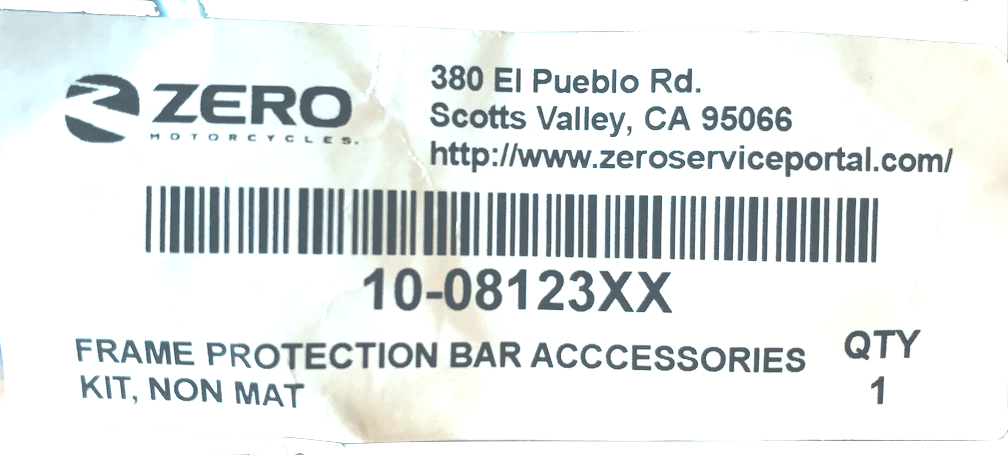
- The civilian version does not include brackets for mounting extra hardware, however, but it is apparently cheaper.
- Pre-2015 Fitment
- The pre-2015 frame does not support the drop bars' intended shoulder attachment points.
- A 2013-indicated protection kit has been spotted in Zero's catalogues, but it likely requires machining to install and could weaken the 2013 frame if not installed professionally.
Install
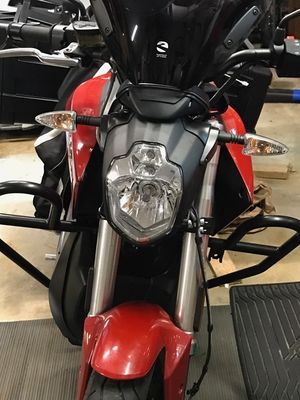
The police models (SP/DSP) include some drop bars with bracketing to mount law enforcement specific equipment like a siren and flashing lights.
- Both the police versions of these drop bars and less expensive drop bars without the bracketing are available to all owners.
- The width is broad; about 7 inches on the top half (for a total 26" width around the frame there), but they taper to the bottom so lean angle is not affected.
- Zero does not list all drop bar options on their website, but dealers can request them by part number.
- Instructions have not been observed included yet.
- Construction
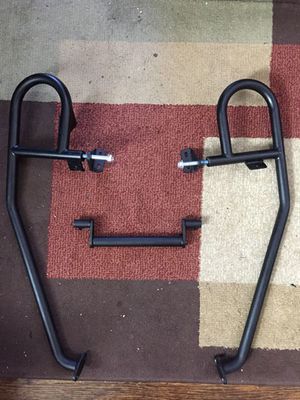
- Steel tube of 1" outer diameter with a black finish.
- Upper Fastening
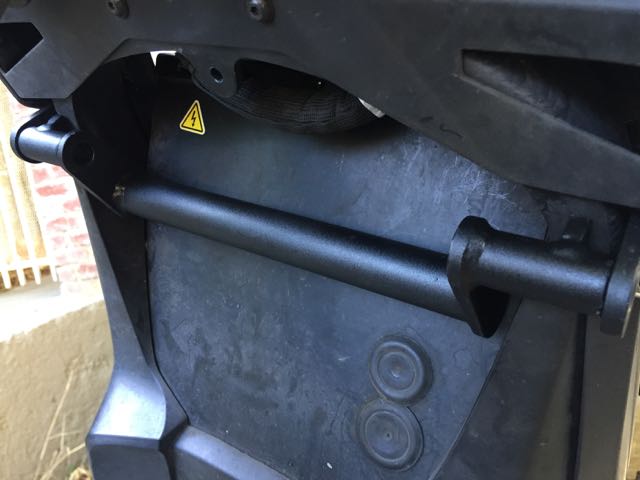
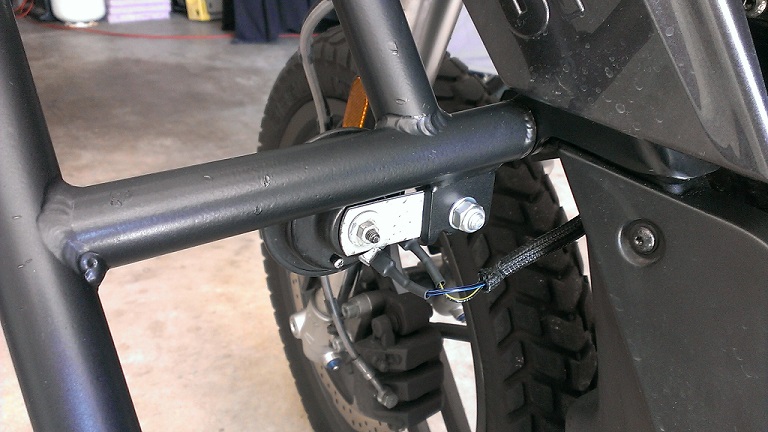
- The bars attach to each other via a crosspiece just in front of the frame.
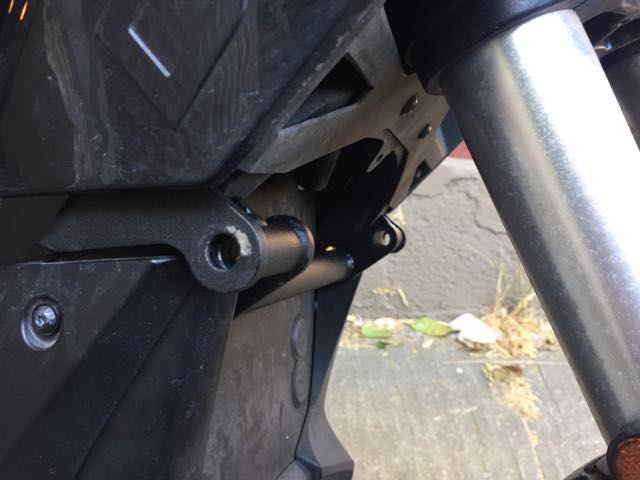
- The crosspiece is held to the frame by shoulder brackets on each side.
- Lower Fastening
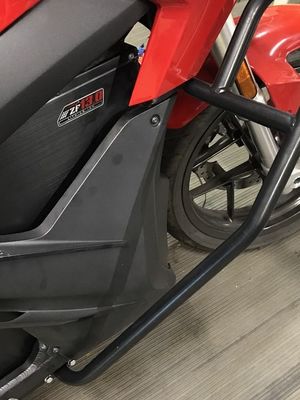
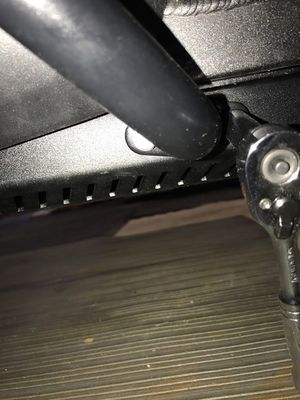
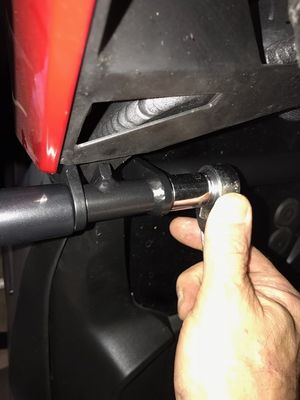
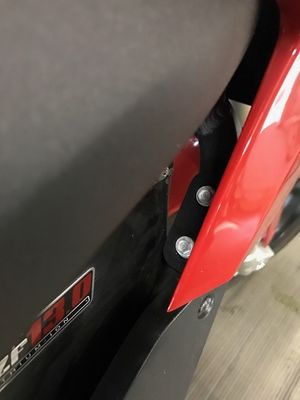
- The bars have a flange that bolts directly to collared inserts in the metal skid plate.
- The metal skid plate is provided on the DS/DSR.
- The plastic skid plate provided on the S/SR is swapped for the DS/DSR metal skid plate during installation.
- Install Variations
- 2015+: the frame is predrilled to mount them, but the lower mount varies slightly per model year and may require modification to the belly pan.
- 2014: the belly pan required drilling, and use of Rivnuts. Zero was not cooperative in acquiring, but parts from a downconverted SP were found.
- 2015+ DS,DSR: The skidplate included in the 10-08062XX kit is redundant.
- It is the exact same one already on a factory new DSR, with plastic plugs in the threaded inserts that need removed.
- Parts
- (2) Side bars (left and right).
- (1) Crossmember piece.
- (1) Metal skid plate; identical to DS/DSR original skid plate, and must replace an S/SR plastic skid plate.
- (2) Shoulder brackets (left and right).
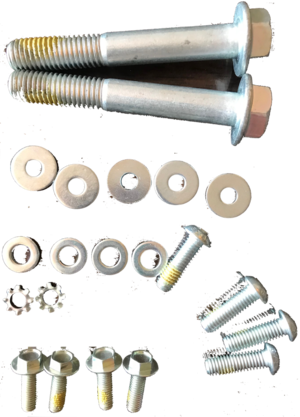
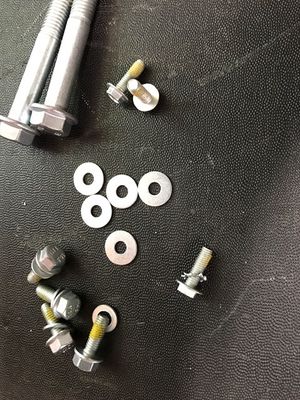
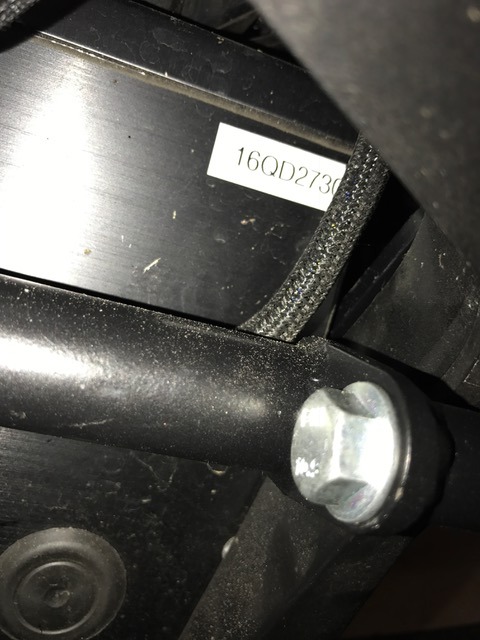
- (2) Heavy hex head M10x70mm stay bolts - 30mm thread with 40mm shoulder. Stamped "FMI 10.9" on the head.
- These join the crossmember to the bars through the shoulder brackets.
- (4) Shoulder mount bolts: M5x20mm cap head bolts (replacements can have a 5mm long shoulder that is 6mm diameter).
- (5) Wide washers: 6mm ID, 14mm OD
- (4) Narrow washers: 6.5mm ID, 12mm OD
- (2) Toothed lock washers: 5mm ID
- These may be mistakenly included when recorded? No known application
- (4) Lower mount bolts: M6?x15mm hex head bolts.
- Allen wrenches for M5 and M6 bolts (depends on what is chosen).
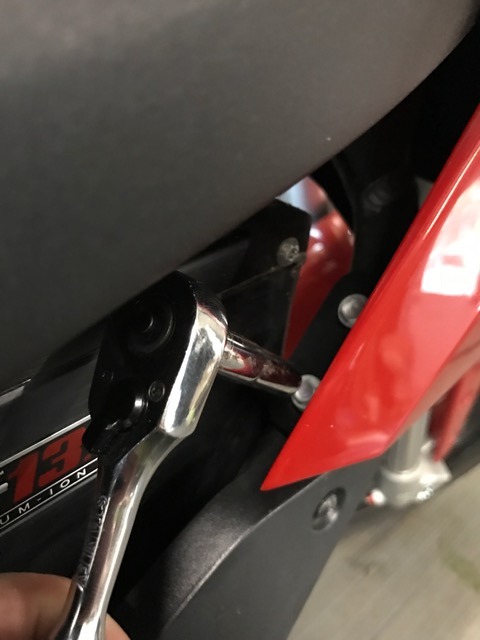
- 10mm hex socket wrench for the stay bolts.
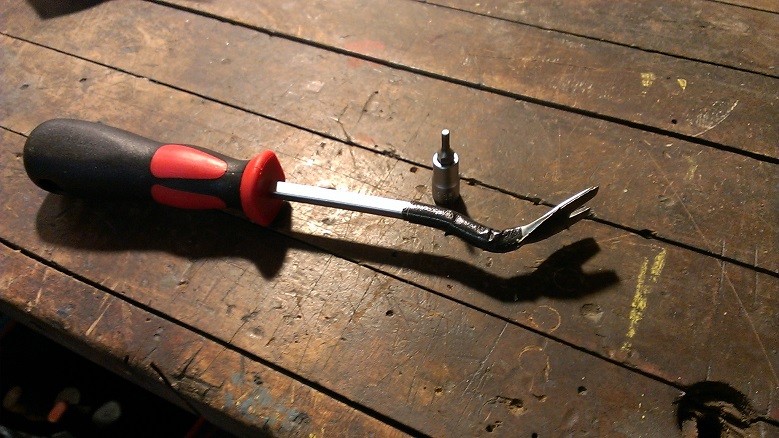
- Optional: Plastic rivet removal tool
- Steps
- Pre-2015: Create frame holes for the upper and lower pair of bolts on each side of the frame.
- Installing rivet nuts as Zero started doing for 2015+ frames is a good practice.
- Zero chose M5 rivet nuts with a 5mm deep, 6mm diameter shoulder space above it. M6 might be a more robust choice.
- One pair goes into the rear/top of the angled bar before it comes to the frame shoulder, 30mm between hole centers.
- One pair goes into the side of the belly pan / bash plate. The DS' metal bash plate is more suitable for this.
- S/SR: Remove the original plastic skid plate and install the included metal skid plate.
- Remove the plastic threaded cover inserts in the pair of holes on each side of the bash plate.
- You may need to remove the plate to rotate them out from the inside. Remount after.
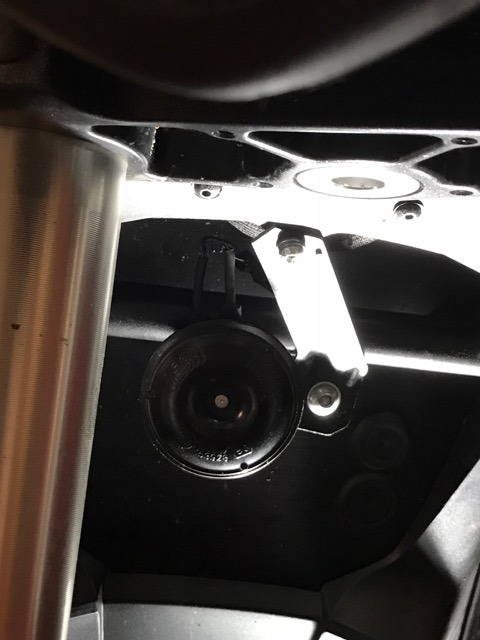
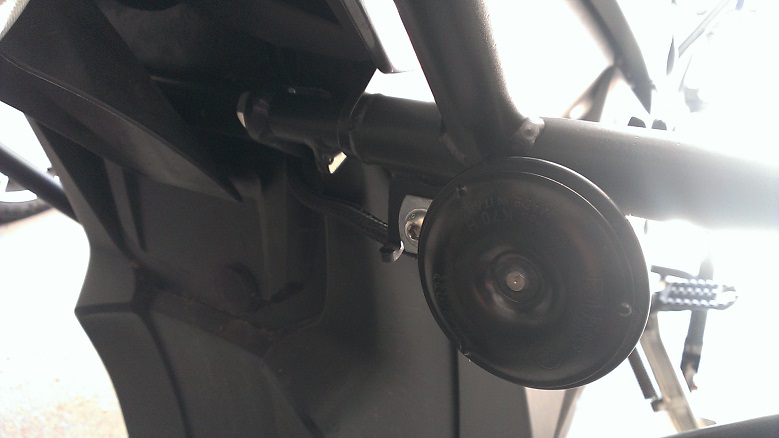
- Detach the horn bracket (via a hex nut and lock nut) and set it aside.
- You may relocate it closer into the front of the frame or move it to the side (no recommendation here).
- DS/DSR: The front fender will interfere with this and the next step. Detach it and set it aside.
- Install the small shoulder brackets on each side of the frame shoulder area, using the pair of holes to anchor the brackets.
- Take the cross member and place it between shoulder brackets.
- Hold the cross member in place by running the M10x70mm bolts through the main holes.
- Attach each drop bar:
- Place the bar against the shoulder bracket with the lower end hanging back but under the bike.
- Thread the M10 bolt through the shoulder bracket into the bar's top opening to support the bar.
- Rotate the supported bar's bottom end to cover the skid plate.
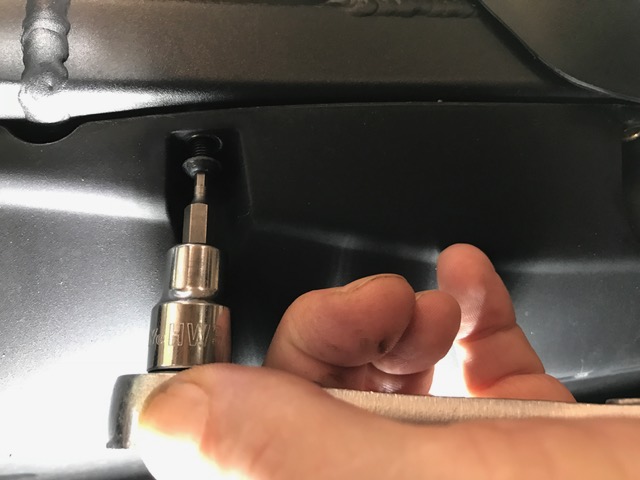
- Thread M6 bolts through the lower end's flange into the collared holes on the side of the skid plate.
- Tighten the bolts (M10 at top and M6 at bottom) in concert.
- The M10 bolt at top could benefit from either a telescoping socket across the bike behind the forks, or a shallow side socket wrench.
- The M6 bolts below can use a hex socket with an extension.
- Re-mount the horn by either:
- Once both crash guard bars are fastened tightly, check and tighten the bolts holding the small shoulder brackets.
- DS/DSR: replace the front fender if you removed it before.
- References
